
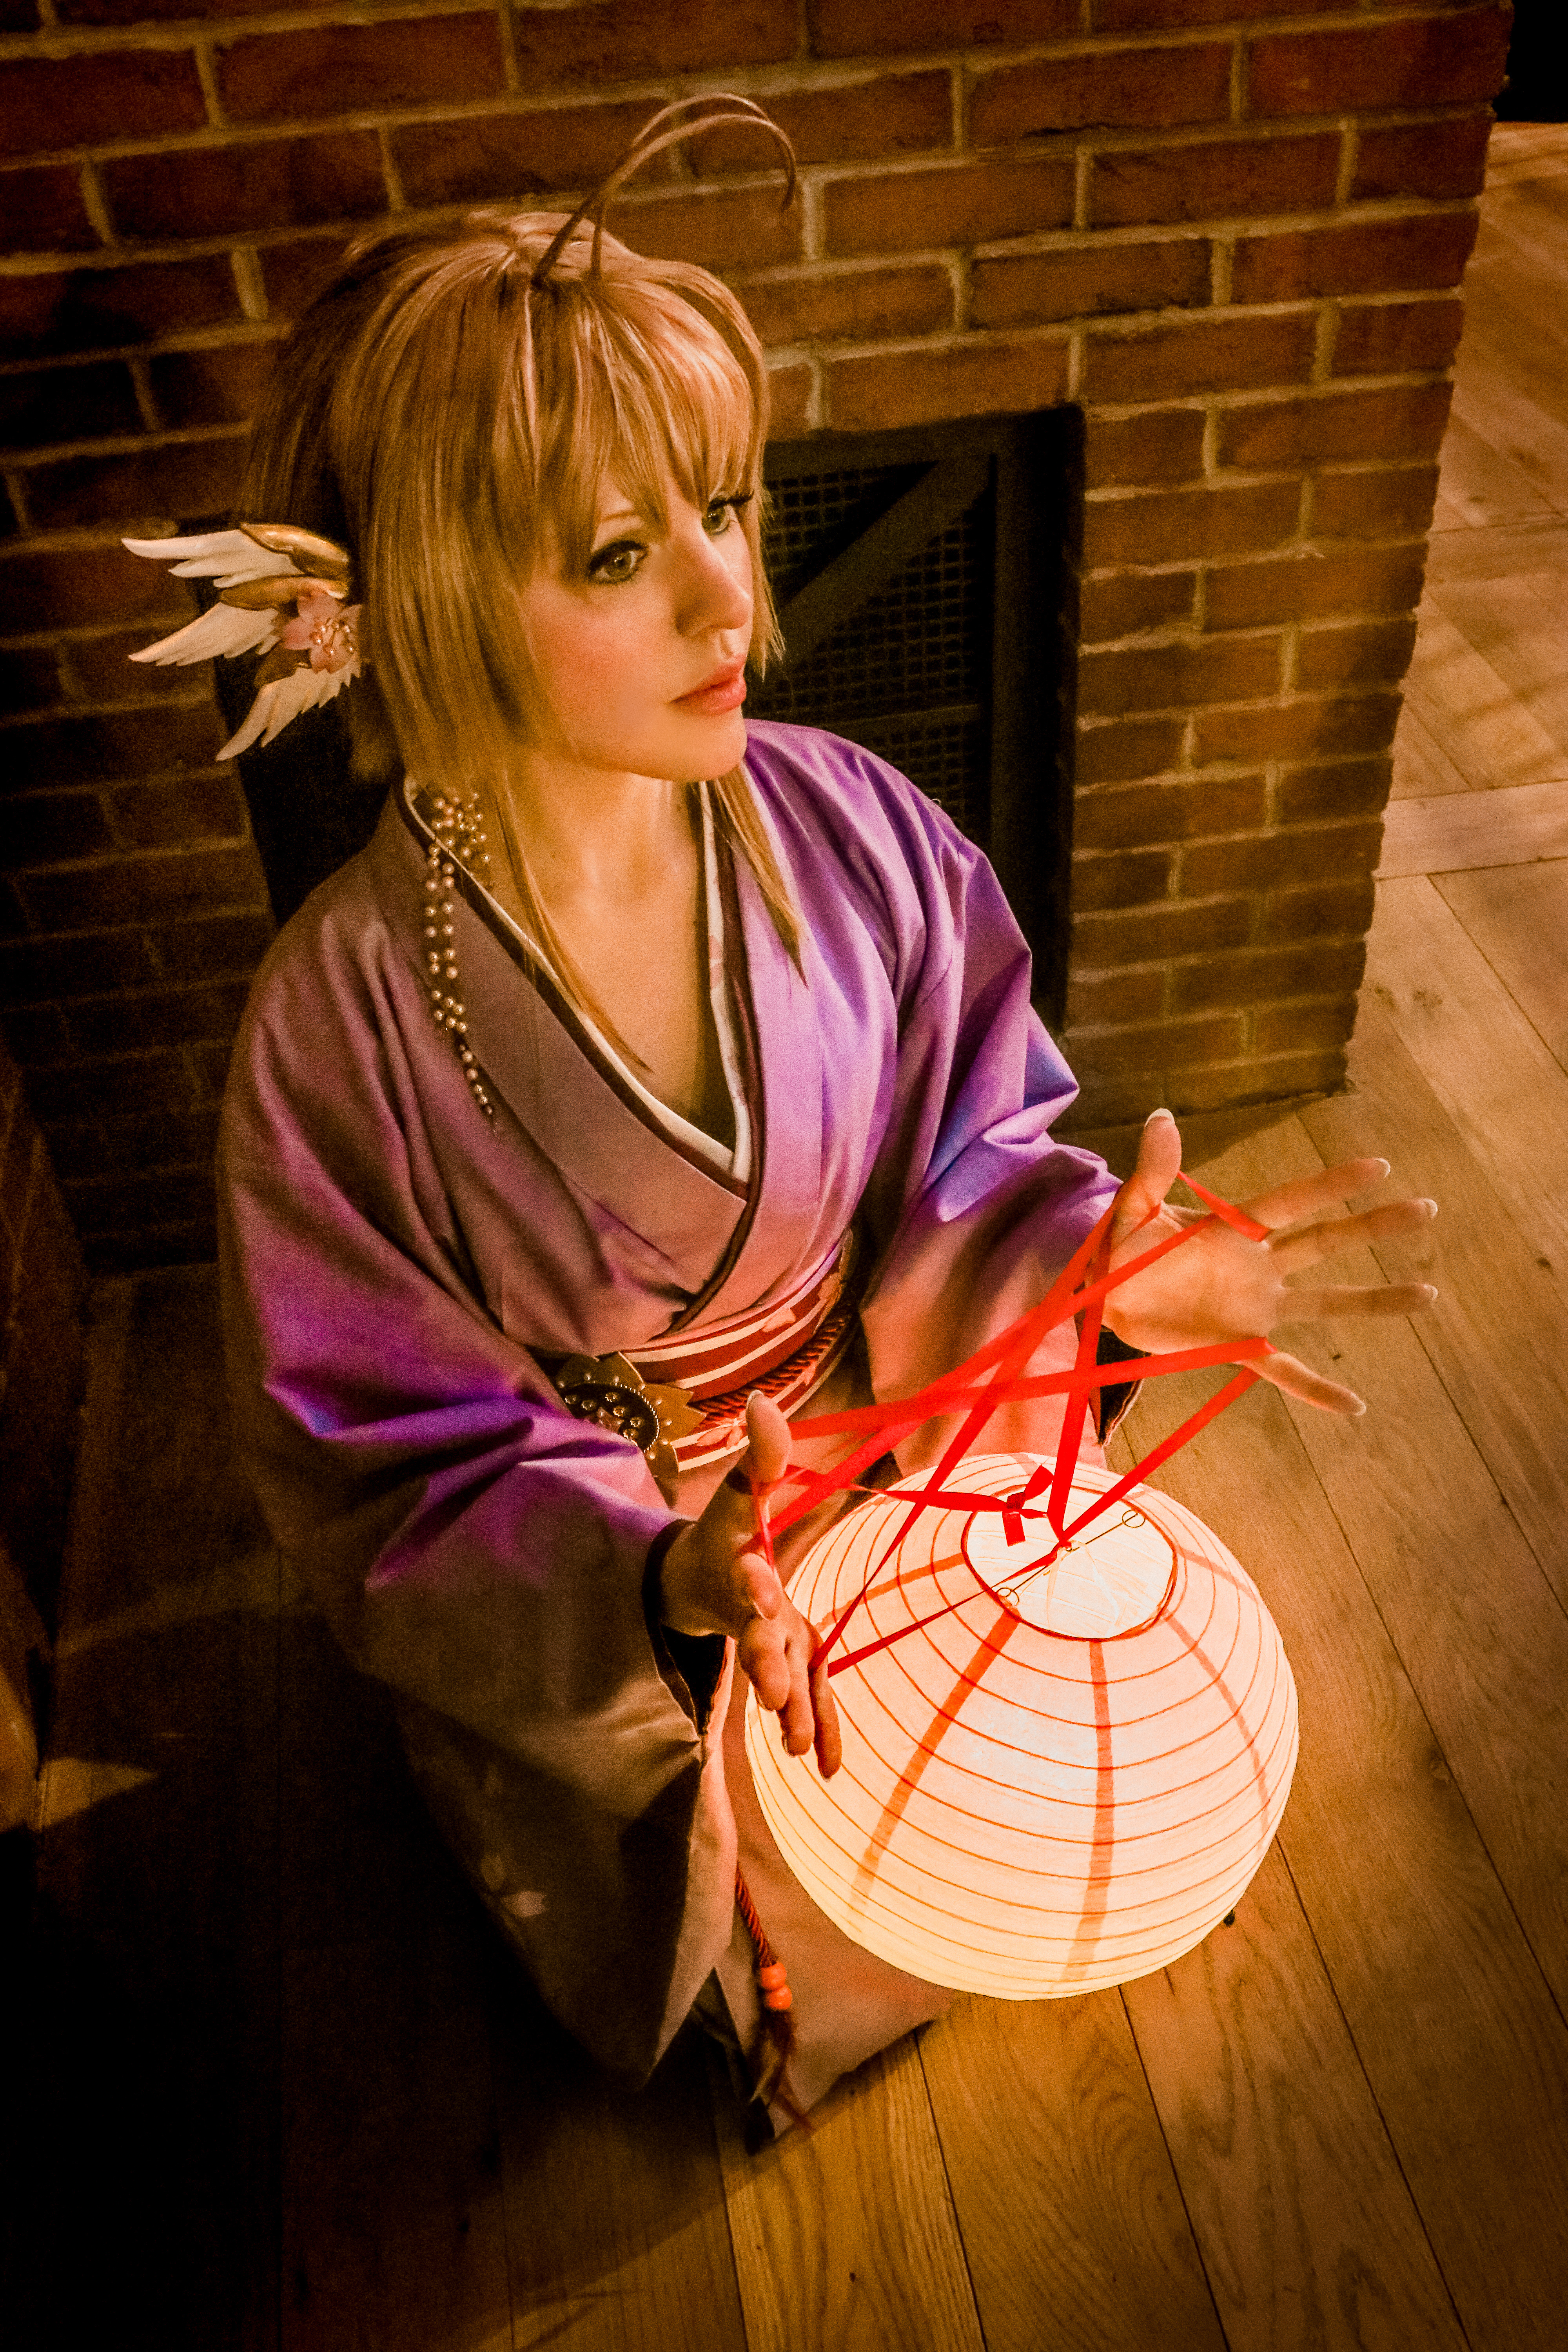
“Even if she knows, she can’t tell. Even if she wants to help, she cannot. There’s nothing as painful as this, is there?”
What doesn’t have to be painful is the process of styling your Sakura wig! Whether you’re aiming for her Cardcaptor or Reservoir Chronicles self, I hope this tutorial guides you in your quest.
As always, thank you to Arda Wigs for sponsoring this wig project!
Wig Supplies
- “Sandy Brown” Jane from Arda Wigs
- Pack of short wefts in Sandy Brown from Arda Wigs
- Wig brush
- Cutting sheers
- Thinning sheers
- Teasing comb
- Firm-control hairspray
- Clear tacky glue
- Needle & thread
- Floral wire
- Blowdryer
- Flat-iron hair straightener
Sakura Wig Tutorial
Please note: There are many ways to interpret Sakura’s hairstyle, depending on which version of her you are cosplaying, or how natural vs. comical you want your wig to appear! I based mine on her Tsubasa Reservoir Chronicle design, and in terms of styling, I aimed for a blend of natural and anime.
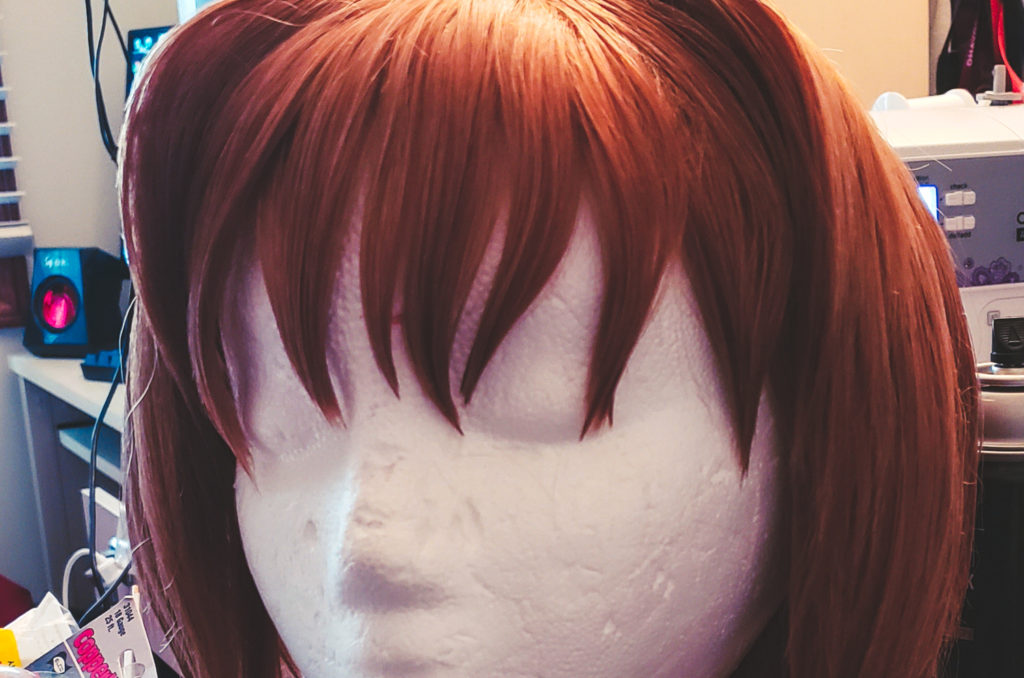
#1. Using the flat-iron, straighten the curls in the Jane wig. [Note: Arda Wigs are heat resistant up to 420°F but recommend working in a range of 300-325°F. Test a small section on the underside of the wig or a section of your extra short wefts to ensure your straightener isn’t too hot.] After straightening, use clips and pins to section off the bangs.
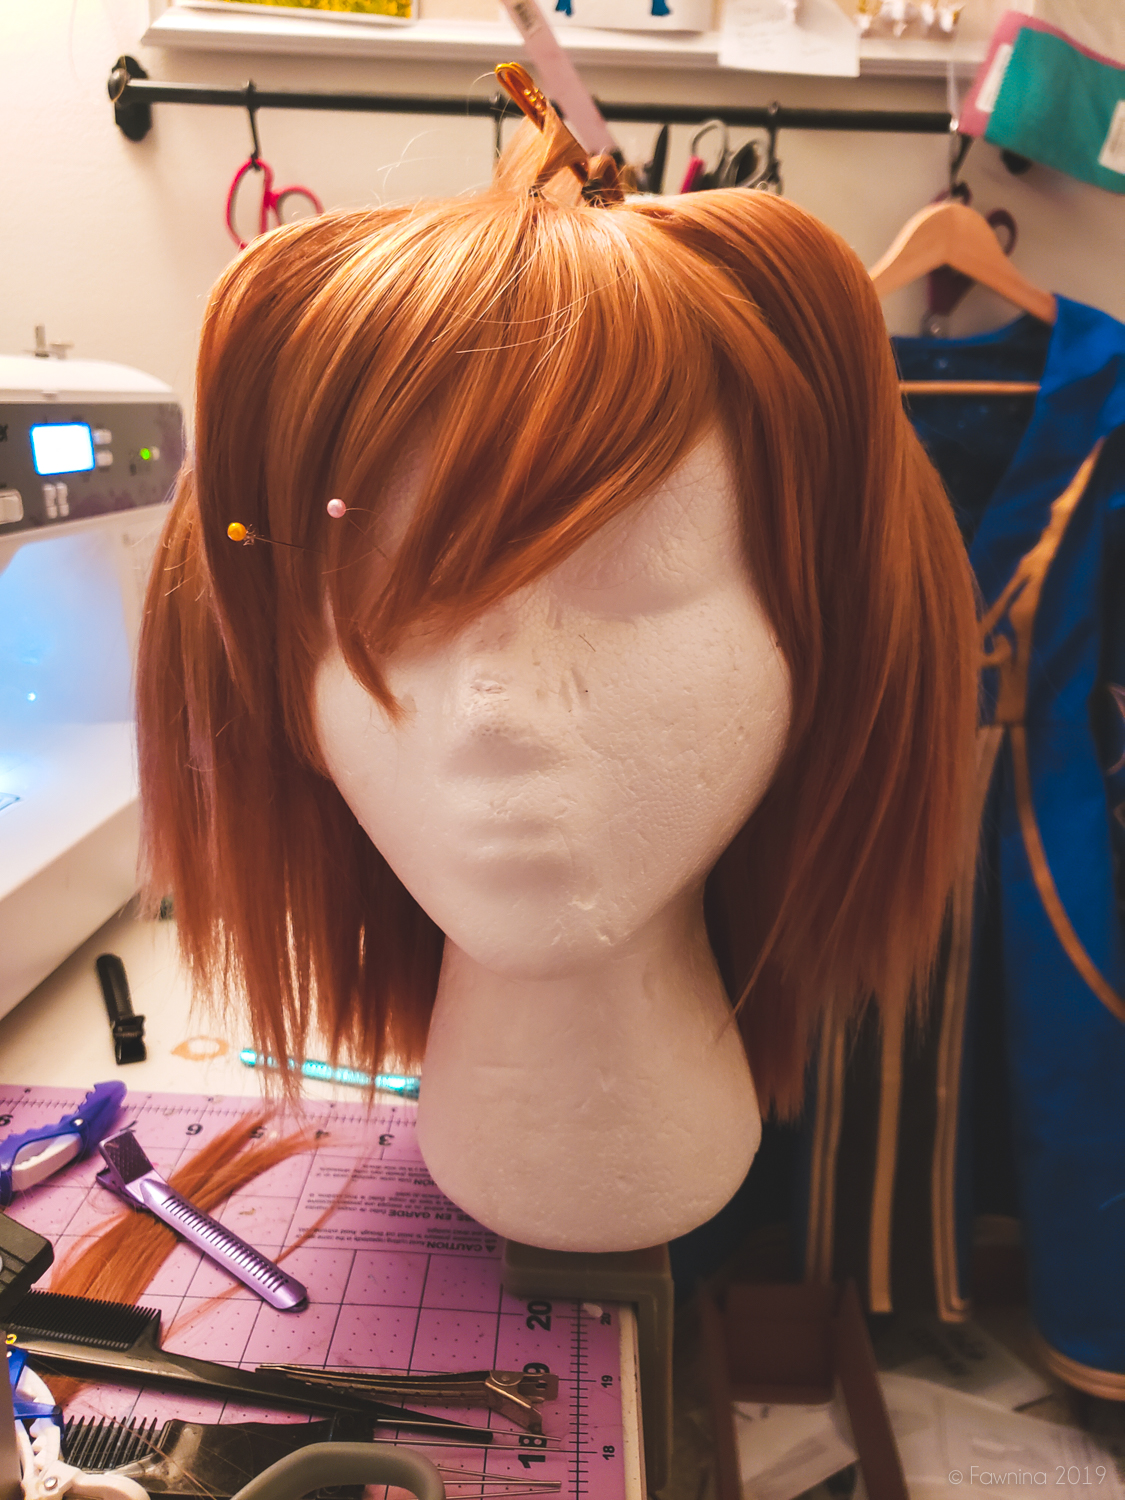
In the photo above, I was already messing around with the early-2000s anime bangs. You can disregard that for now!
#2. Speaking of early-2000s anime hair, we need to add some volume to this baby before we can move on! We’ll do so by teasing the underlying layers of the wig. I recommend sectioning off the uppermost layers and pinning them out of the way while you work to ensure they remain smooth.
- It’s highly recommended that you use a teasing comb for this process. A very thin-toothed comb can do the trick in a pinch, but a teasing comb is made specifically to do this job.
- Begin from the bottom layers of the wig wefts; I like to work in roughly 2″ by 2″ sections. Loosely gripping the end of the fibers, back-comb the fibers up to the roots.
- Spritz the resulting “rat’s nest” with hairspray and a bit of heat with your blowdryer.
- Proceed to the next section, working your way upwards through the wig wefts.
- After you’ve created a voluminous nest of fiber, unclip the remaining upper layers of wefts and smooth them over the teased mess. Use hairspray and heat to set it in place.

Don’t worry if your layering looks “choppy” right now; we’ll come back and even everything out once we’re done with the rest of our styling.
#3. Section off and trim the front bangs, thinning them into points by cutting vertically into the fibers. Spritz with hairspray and heat; if necessary, use a bit of clear tacky glue to pinch the tips together.
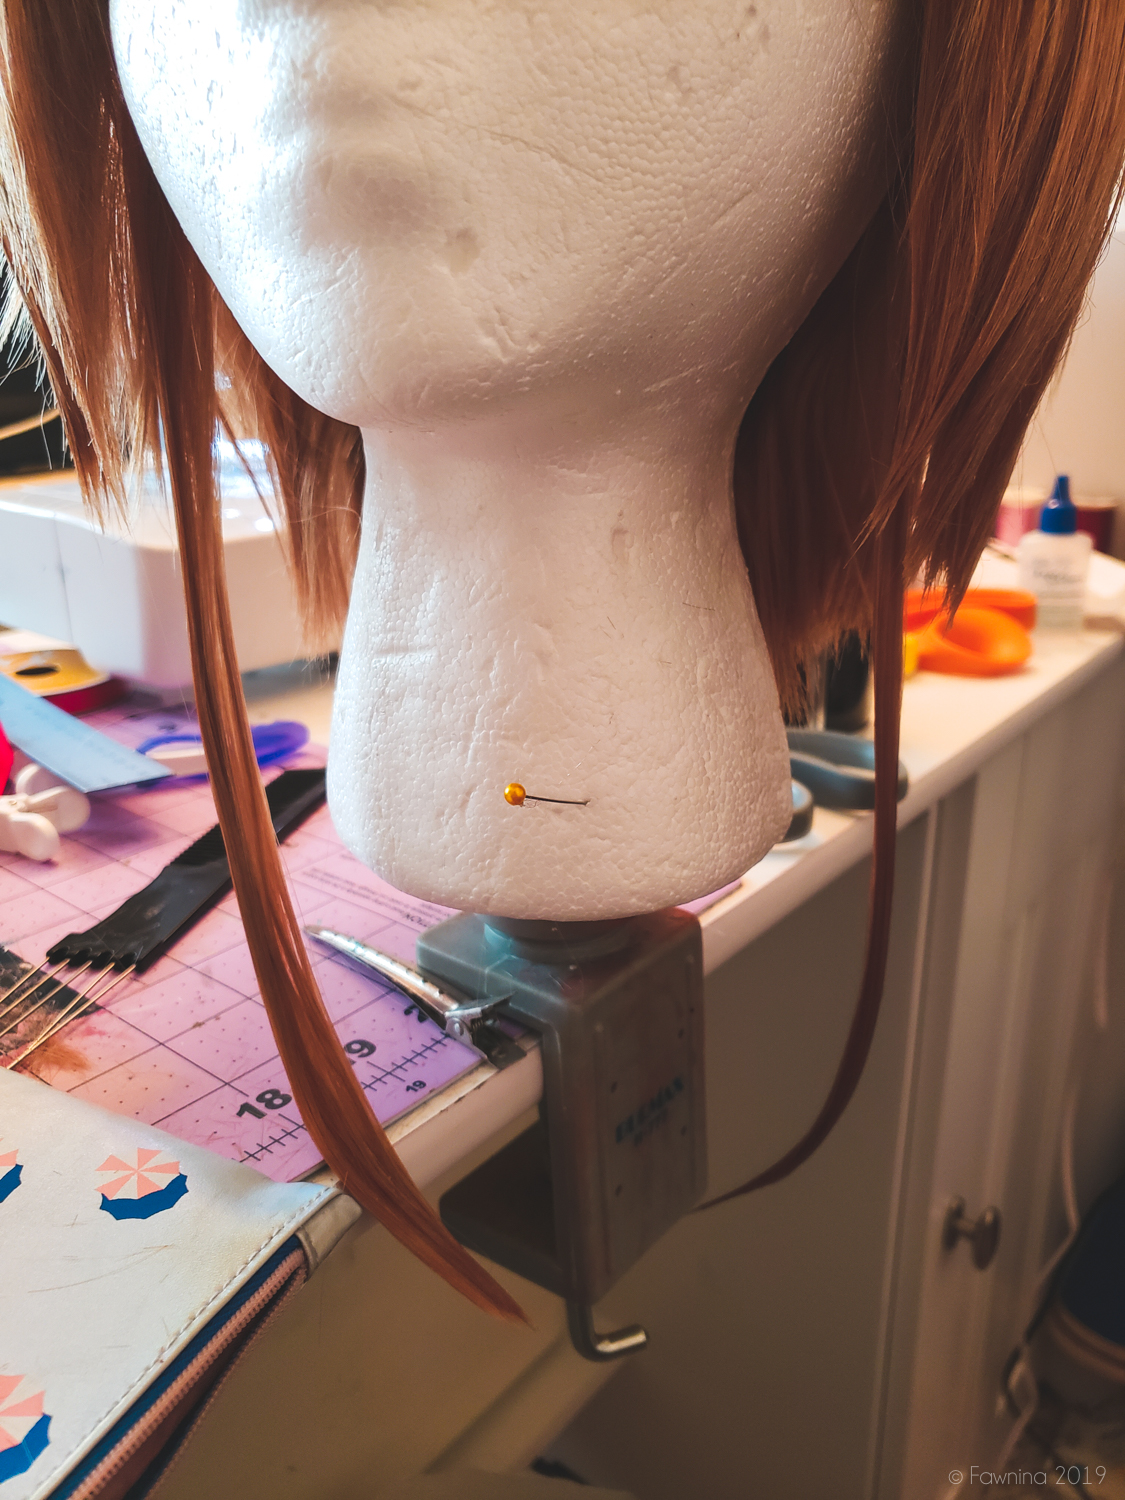
#4. Next, we’re going to add her little “tendrils” that hang down on either side of the wig. For each tendril, take a 3″ length of your short wefts, then fold it into a 3/4″ length. With your needle and thread, sew this folded weft to the underside of the wig cap. The placement should be just behind the ear.
#5. Trim the bottom of the tendril wefts so that they’ll hit just below your collarbones.
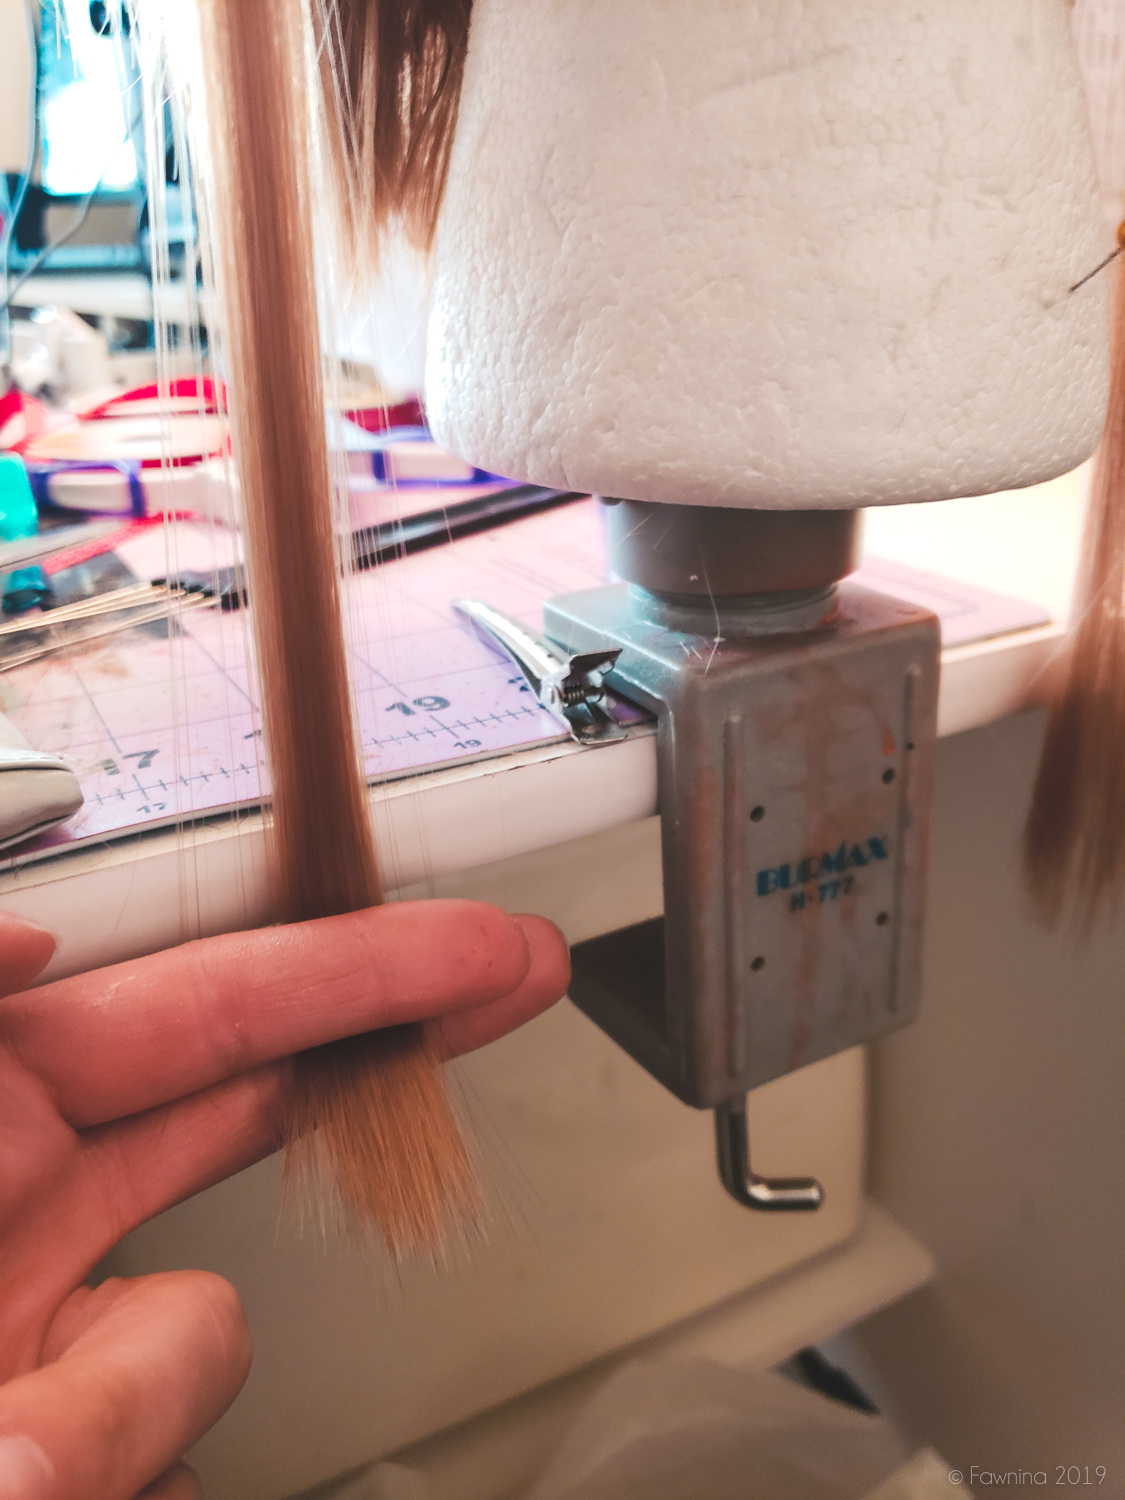
#6. Spray each tendril with hairspray, smoothing it between two fingers so that it is “flattened,” rather than rounded. Pinch the end together so that it tapers. Spritz it with hairspray again, then heat it with the blowdryer, holding it at a gentle curve until the fibers cool to retain the shape.
While you’re working in this area, take the opportunity to section off the side locks and define them using hairspray and a bit of heat from your blowdryer.
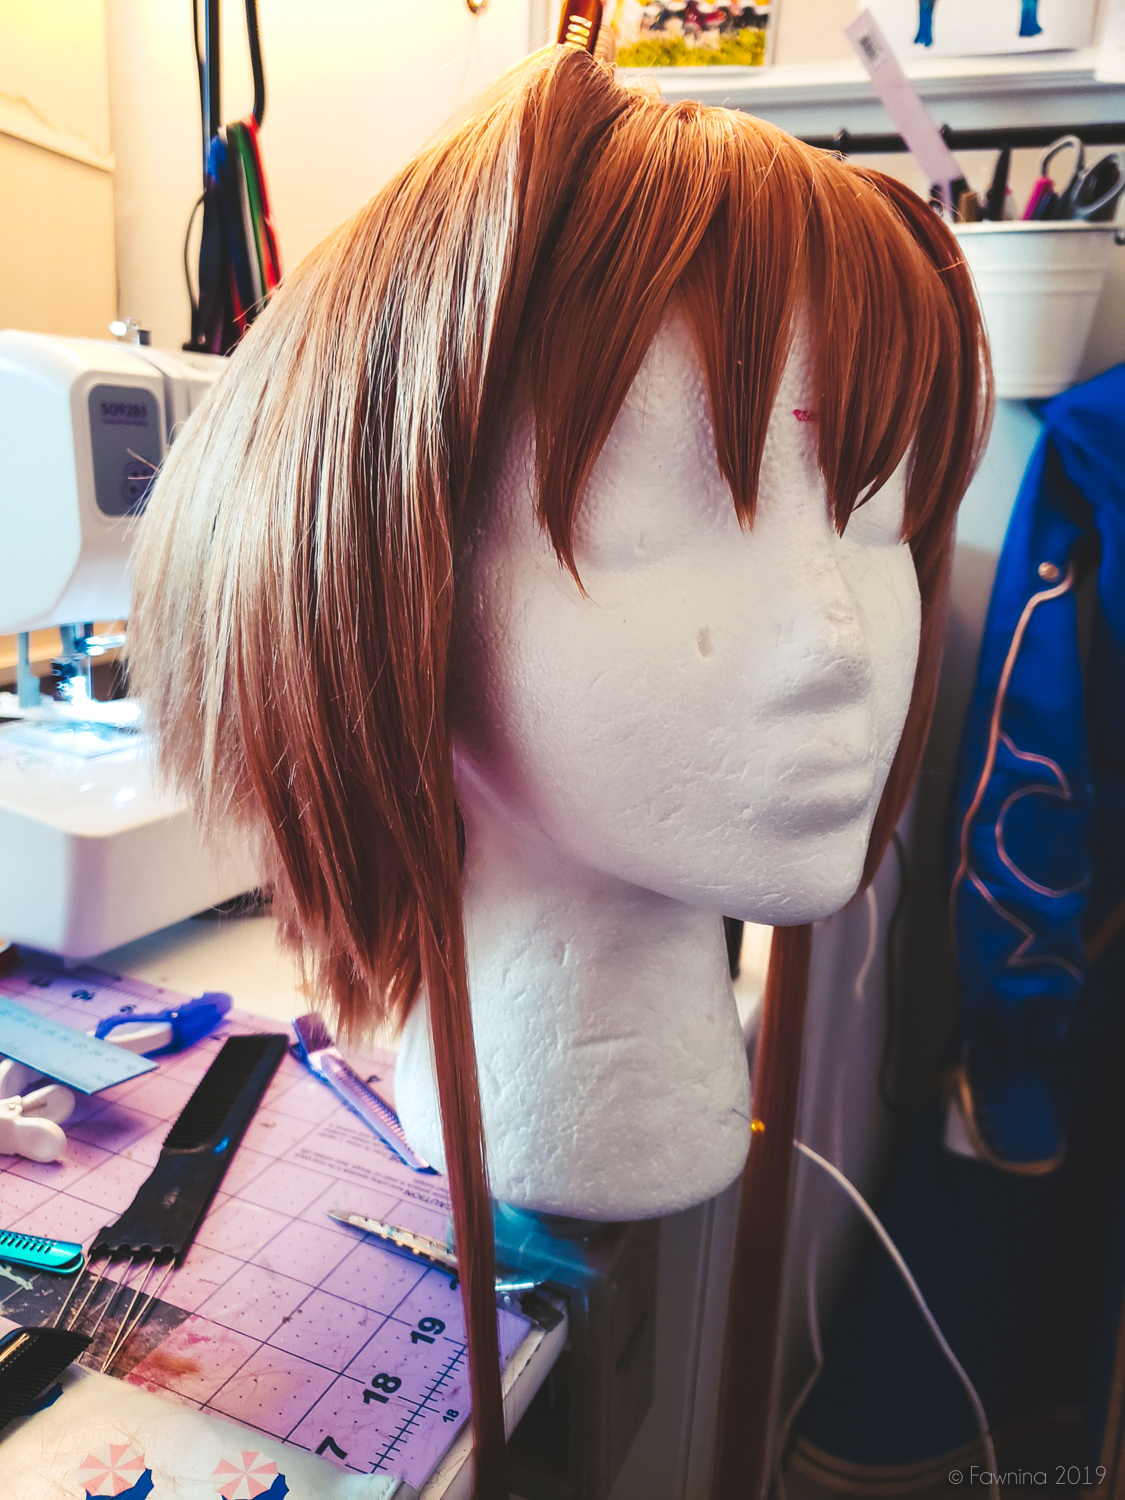
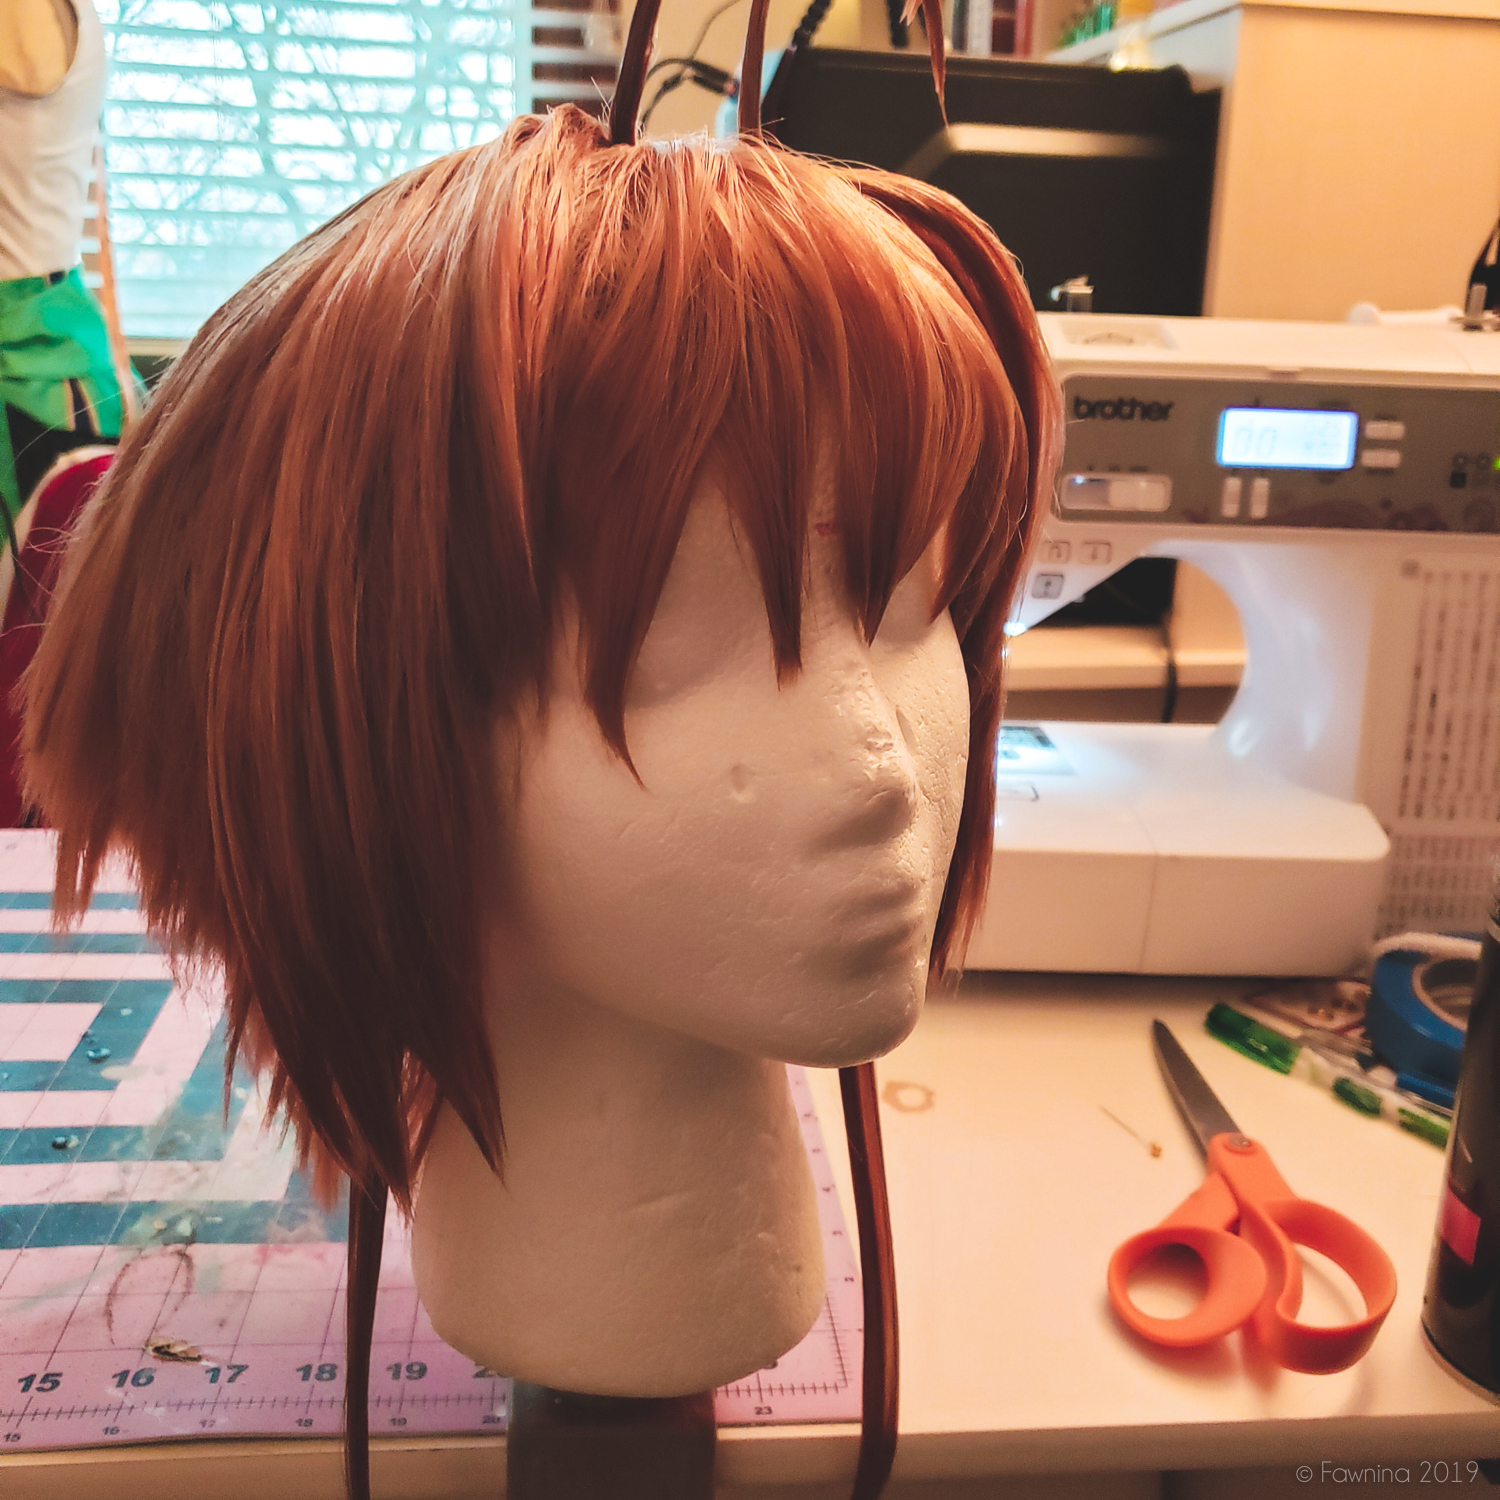
#7. To create the “early-2000s anime bangs,” section out the underlayers of each bang; clip the upper layers out of the way. Tease the underlayers, using hairspray and heat to shape the resulting rats’ nest into the shape of Sakura’s bangs. After the base of the bangs has been formed, smooth those clipped-back upper layers over the teased fibers, securing them with their own dosage of hairspray and heat.
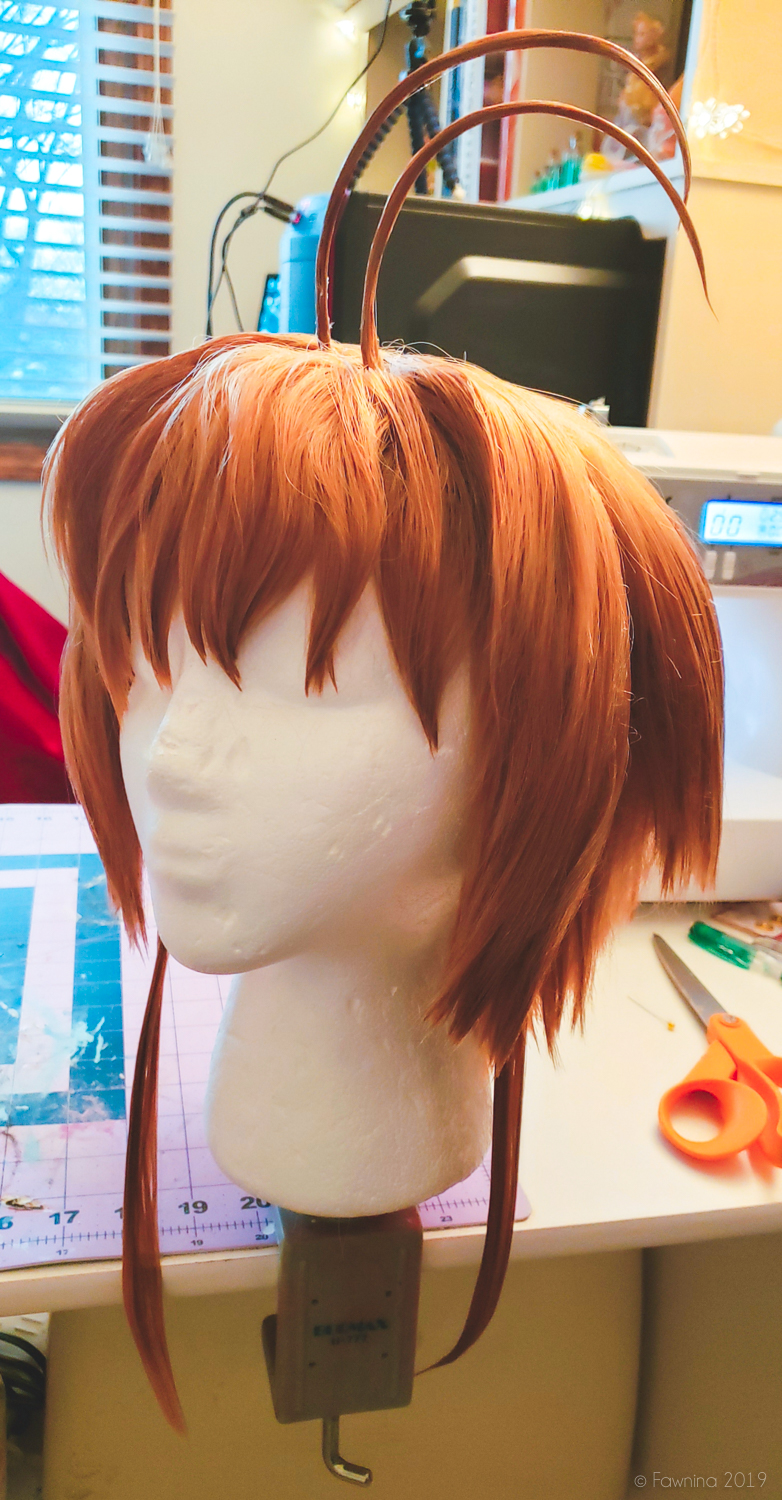
#8. It’s time to tackle the ahoge! Sakura has two separate “antennae” that sprout from the top of her head. There are many methods commonly used for ahoge, but here’s how I like to approach this styling challenge:
- Cut a length of floral wire equivalent to the length of your ahoge + 5″. (For example: my ahoge for Sakura had a finished length of 7″ and required a 12″ wire.)
- Mark the length of the ahoge on your cut floral wire with a permanent marker. (In the example above, I made a mark at 7″ on my cut wire.)
- Bend your wire into the shape of your ahoge. For Sakura, it is a simple and gentle curve.
- Pour out a generous amount of clear tacky glue onto a spare surface, such as a paper plate or sheet of wax paper.
- Select a small section of your loose, short wefts that are the same length as your wire up until the mark you made, roughly ¼” in width. Make sure all strands within the weft are traveling in the same direction.
- Wet the weft with tacky glue, then mold it to the floral wire. Pinch it in place, then hit it with heat from your blowdryer until it retains the shape of the wire.
- Repeat the previous two steps until the floral wire is entirely covered.
- Allow the ahoge to dry for approximately 24 hours.
- After the ahoge has dried, attach it to the wig! Do so by poking a hole in the wig cap where you would like the ahoge positioned, then insert the excess floral wire through that hole. Once the wire has been inserted, bend it so that it is perpendicular to the wig cap. You can either stitch the wire in place, or secure it with glue (and perhaps a small bit of felt for comfort).

#9. Repeat the above steps for the second ahoge.
#10. Using your thinning sheers, even out the layers in the back of the wig to reduce any “choppiness.” Give the back an overall treatment of hairspray and heat to hold the smooth layers in place over the teased fibers. And with that… congratulations, your Sakura wig is finished!
Thank you so much for visiting my blog! If this tutorial was helpful, please feel free to share your results with me by tagging @fawnina on Twitter or Instagram, as well as using the #ardastyle hashtag to share the Arda Wigs love!
And, as always, if you have any questions about this tutorial, please don’t hesitate to ask!

 Sewing Anastasia’s Bodice, Sleeves, & Bows
 Costuming Supply Masterlist
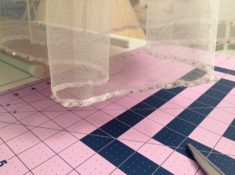
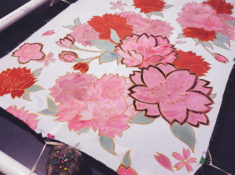 Silk Painting Sakura’s Robe
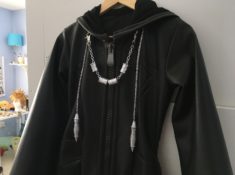 Organization XIII Coat Tutorial