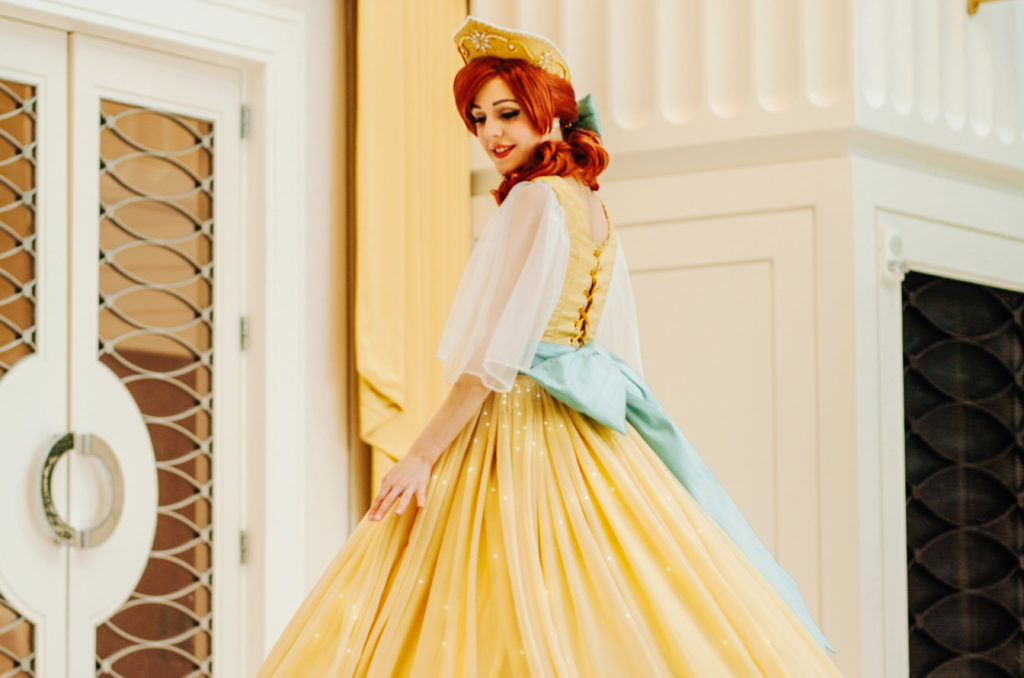
Photography by World of Gwendana.
Somehow, even after ten years of making costumes, Anastasia’s ballgown was my first attempt at constructing a proper corseted bodice. Mistakes were certainly made, but it taught me a number of skills that I’m eager to apply to future projects! While I’m no expert on bodice-making, I hope that these project notes will be of some use to you!
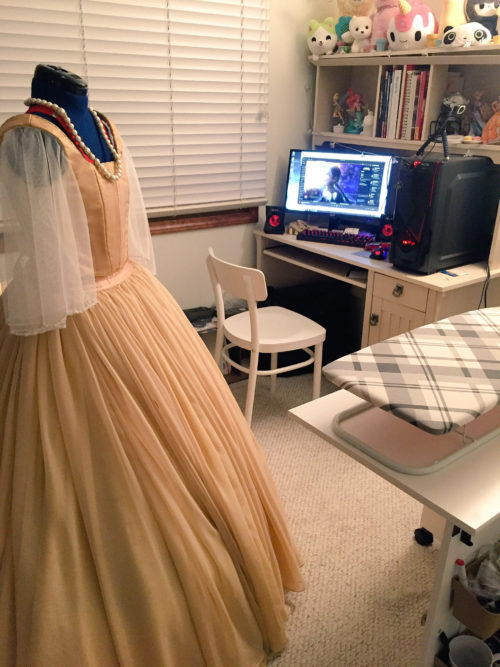
The Bodice
The bodice was comprised of five layers: the cotton lining (added by hand at the end of construction); the underlining of brushed cotton canvas; a cushioning layer of cotton flannel; and the two fashion fabric layers of double-faced silk satin and glitter organza.
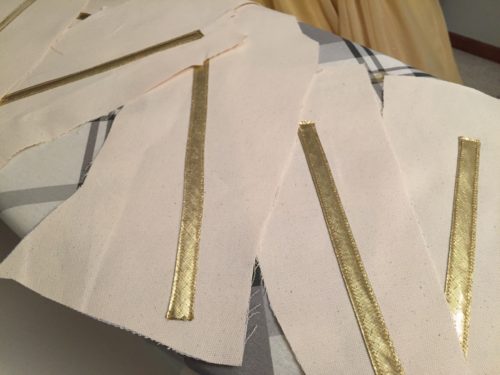
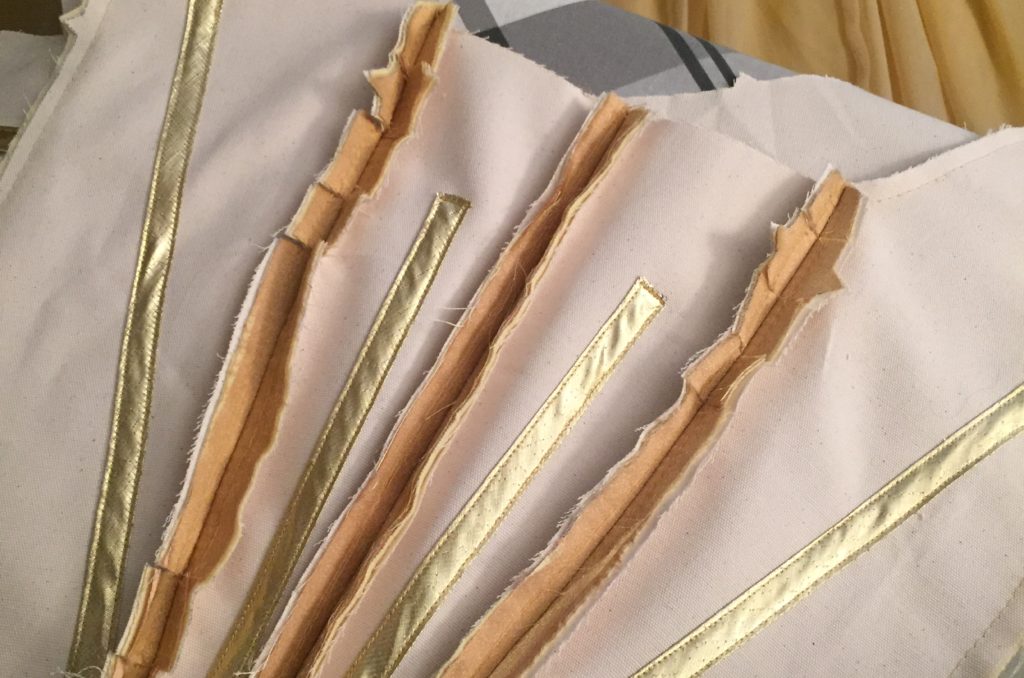
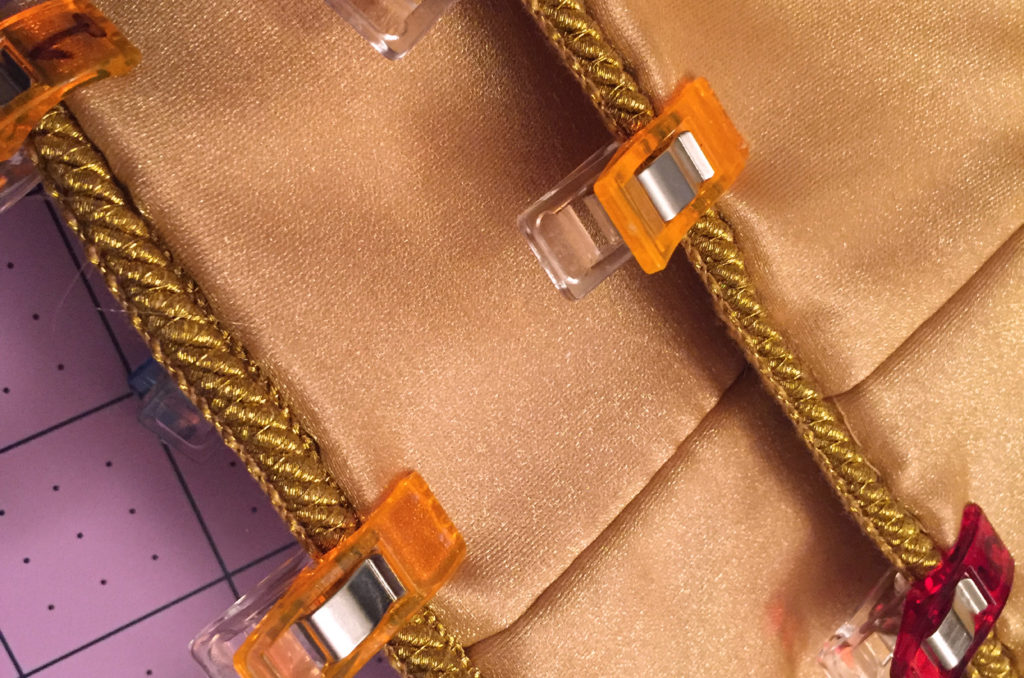
The fashion fabrics for the bodice consisted of double-faced silk satin with a glitter silk organza overlay. The two layers were basted together prior to being attached to the underlining, which was made of brushed cotton canvas. This underlining (the “strength layer”) contained the steel spiral boning, which was encased with channels made from gold bias tape. (Totally unnecessary, just like with the elliptical cage ribbons, but…)
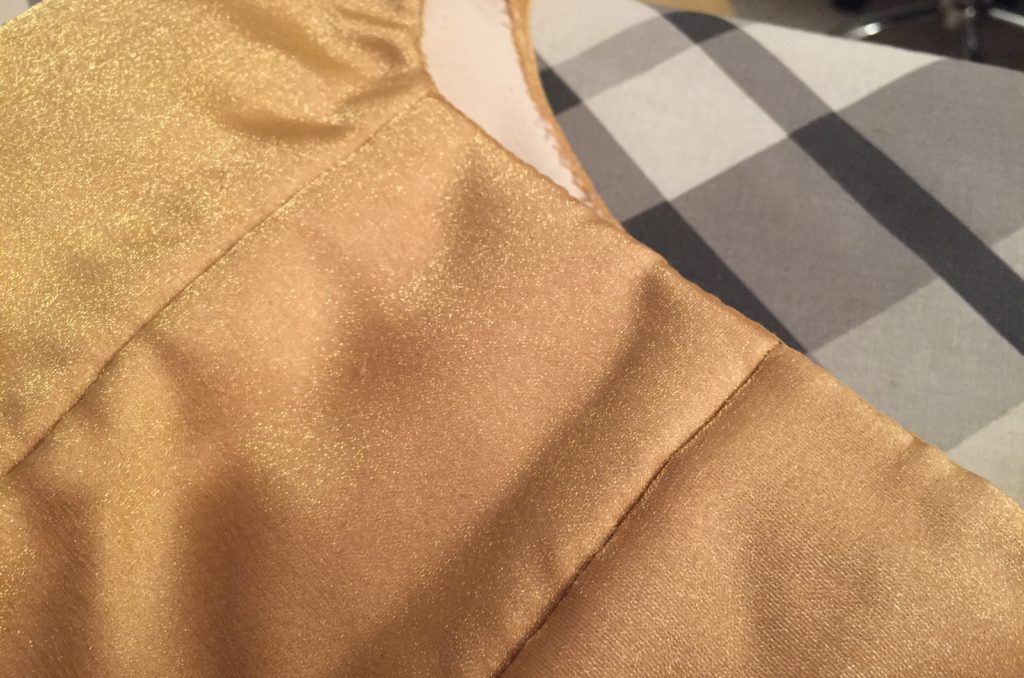
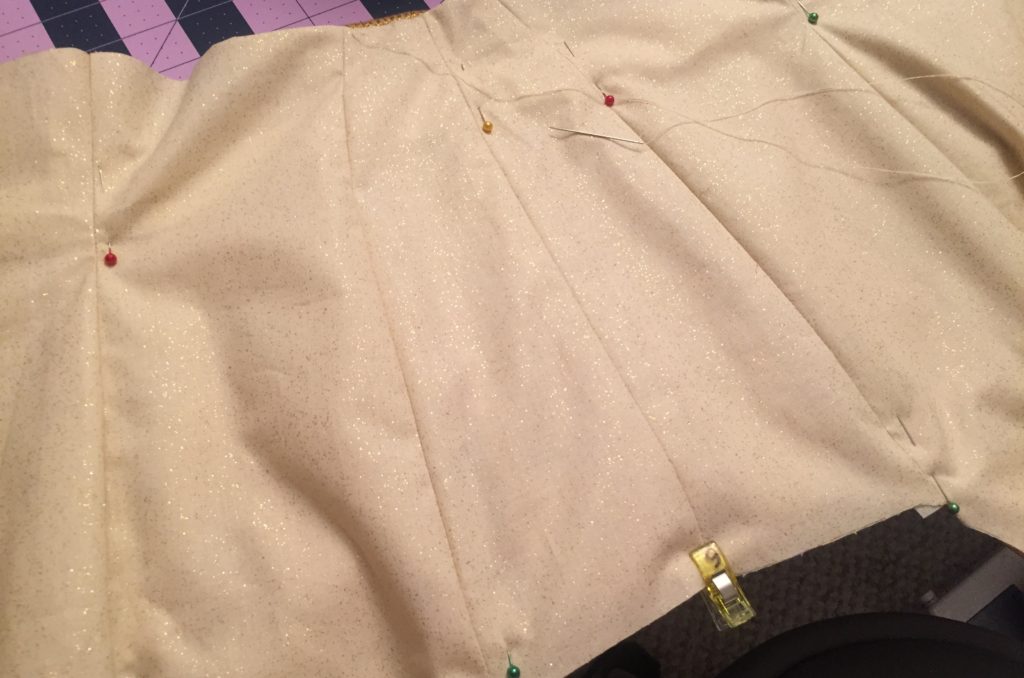
After I installed the boning channels, I roll-pinned and basted the strength layer to the fashion fabrics. Finally, the panels were ready for assembly! I attached the center panel to the front sides, then stitched up the side seams and attached the back panels. I clipped the curves of the seams, then proceeded to catch-stitch all of the seams.
Catch-stitching is a method used in couture garment construction. While it isn’t necessarily complex, it is very time-consuming, as it is all done by hand. The seam allowance is attached to the strength layer, which holds the seams open without requiring any top-stitching that shows on the outside of the garment.

After finishing the seams, I installed the steel spiral boning and closed the channels. I then catch-stitched the neckline and lower hemline of the bodice to provide a clean finish.
Next up, I attached piping to the lower hem — not that it would be seen while wearing the full costume, but simply for an extra detail that I would know existed. At this point, I also attached the waiststay made of grosgrain ribbon to the seam allowances.
Finally, to hide all of the inner “guts” of the bodice, I sewed up a cotton lining and hand-sewed it into the bodice. This process alone took seven hours.
For the back of the bodice, I chose to use a grommeted corset closure. At this point, I just installed the grommets; the gold satin ribbon was added at the time of dressing.
To finish the bodice construction, I installed trim on the neckline that matched that on the upper hem of the kokoshnik, as well as adding yet more rhinestones.
The Sleeves
I struggled for some time trying to decide what fabric to use for the bodice sleeves, if only because there are so many ways to interpret such a simple animated design! I debated between organza and chiffon, but in the end, I decided I wanted something with a soft, gentle drape, much like the wedding veils I handled while working a a bridal consultant during college. And if it was going to be inspired by a wedding veil, why not look to the fabrics of royalty for inspiration?
Yes. I absolutely Googled “what fabric was Kate Middleton’s wedding veil.”
Fun fact: Kate’s veil, designed by Alexander McQueen, was made of silk tulle. If you’re curious, real 100% silk tulle runs about $50.00-$90.00/yd. Considering how much money I’d already dumped into this costume, entirely from by budgeting carefully and saving up…
…Well, it’d be a shame to start skimping now. So silk tulle, it was!
The sleeves themselves were simple to construct, in comparison to the rest of the bodice. I cut out long rectangles of tulle, stitched the ends together, then gathered them to the sleeve facings. After they were attached, I leveled the lower hems, incorporating a slight angle with the lowest point being
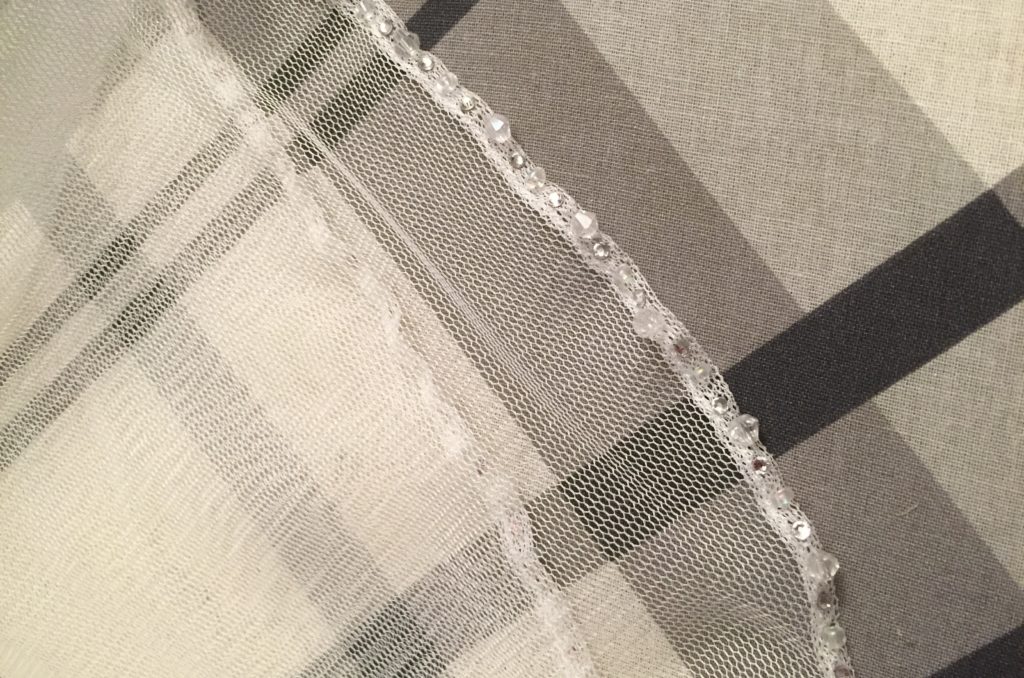
After double roll-hemming the sleeves, I decided to add some extra bling to Anastasia’s sleeves, just so they didn’t look too plain next to the skirts. I laid down more Swarovski rhinestones at 1cm intervals, then attaching crystal glass beads with invisible thread in-between the rhinestones. ![]() ✨
✨
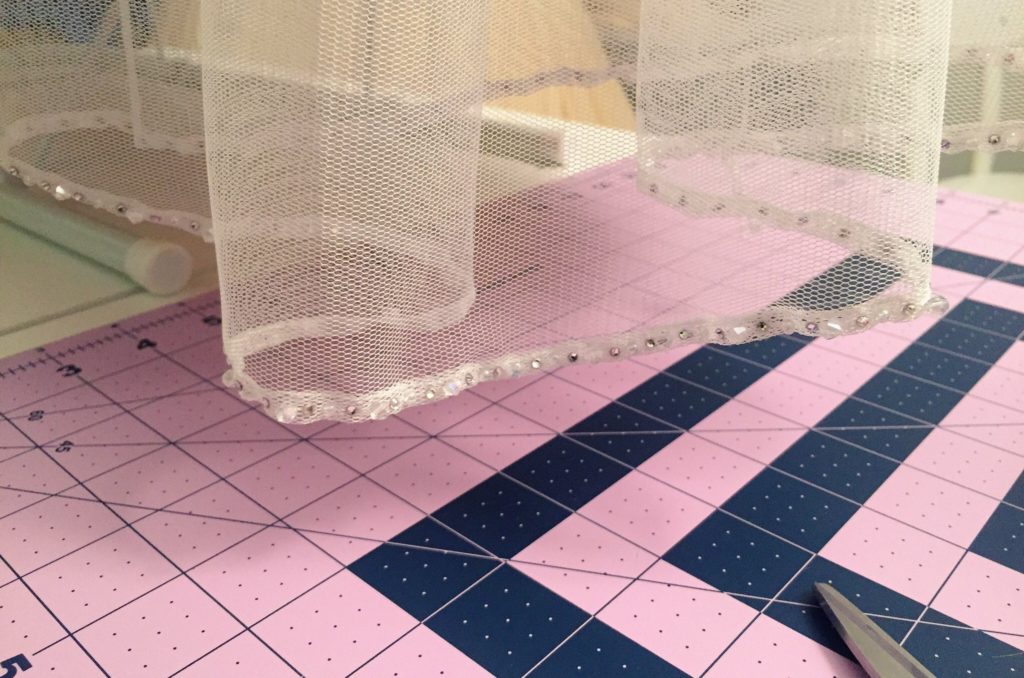
Between laying down the Swarovskis and attaching all the glass beads, each sleeve took 4 hours. I wasn’t sure if this detail would show from a distance… but it made me happy to know it was there! And, at the end of the day, it did add a bit of glam that caught the eye of the camera.
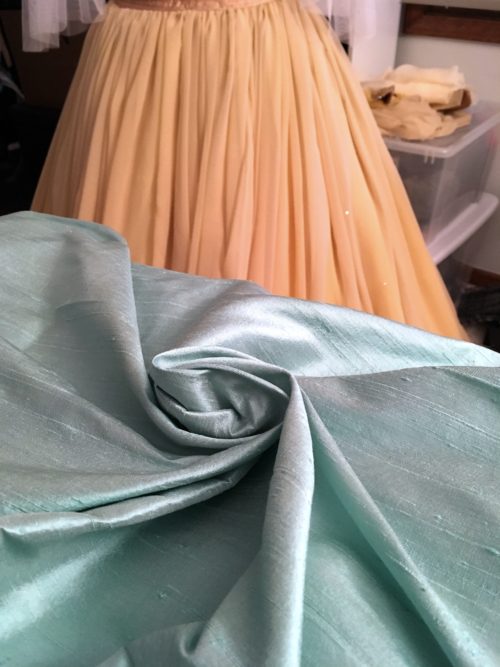
The Bows
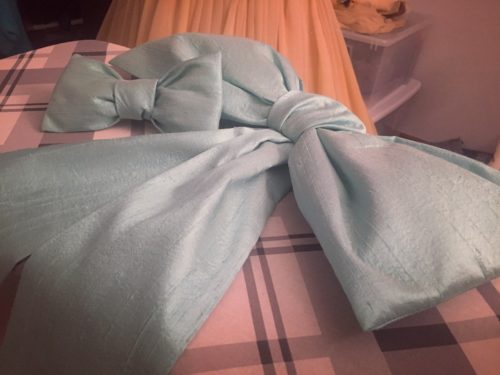
Apologies for the poor late-night lighting!
Photography by World of Gwendana.
It has its flaws, and I’m fully aware of them. It did not end up as a perfect ball gown — and ultimately, I’m okay with that. Like I said at the beginning of this construction process, perfection wasn’t my goal. Finishing this project for myself was the goal, and… somehow, after eight months, Anya was complete.
Wearing her at Katsucon 2018 felt surreal, but it was an incredibly validating experience to see all this hard work come together into something that looked somewhat passable. Thank you to everyone who spared a kind word, either in passing at the event or afterwards online. I hope I was able to do Anya justice, and that sharing my progress was helpful to someone out there!

 Sakura Wig Tutorial
 Foam Clay Casting Tutorial
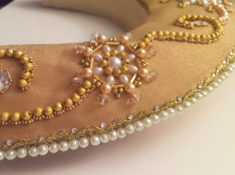 Anastasia’s Kokoshnik Tutorial
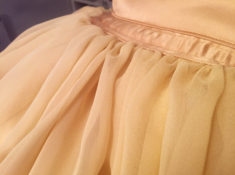 Making the Skirts for Anastasia’s Ballgown