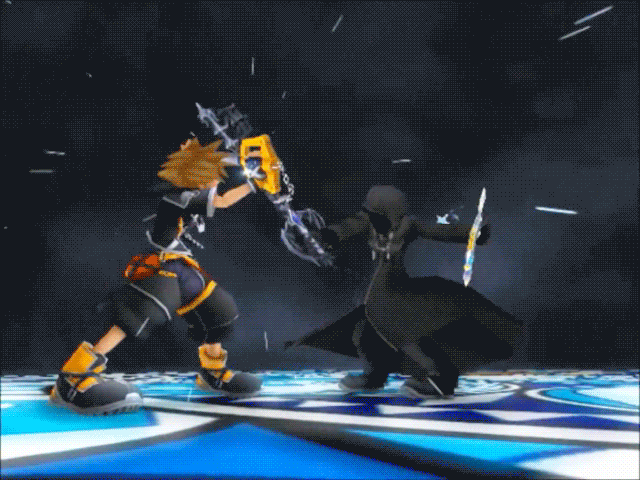
“Organization XIII… they’re a bad group.”
“Bad or good, I don’t know. They’re a group of incomplete people who wish to be whole. To that end, they’re desperately searching for something.”
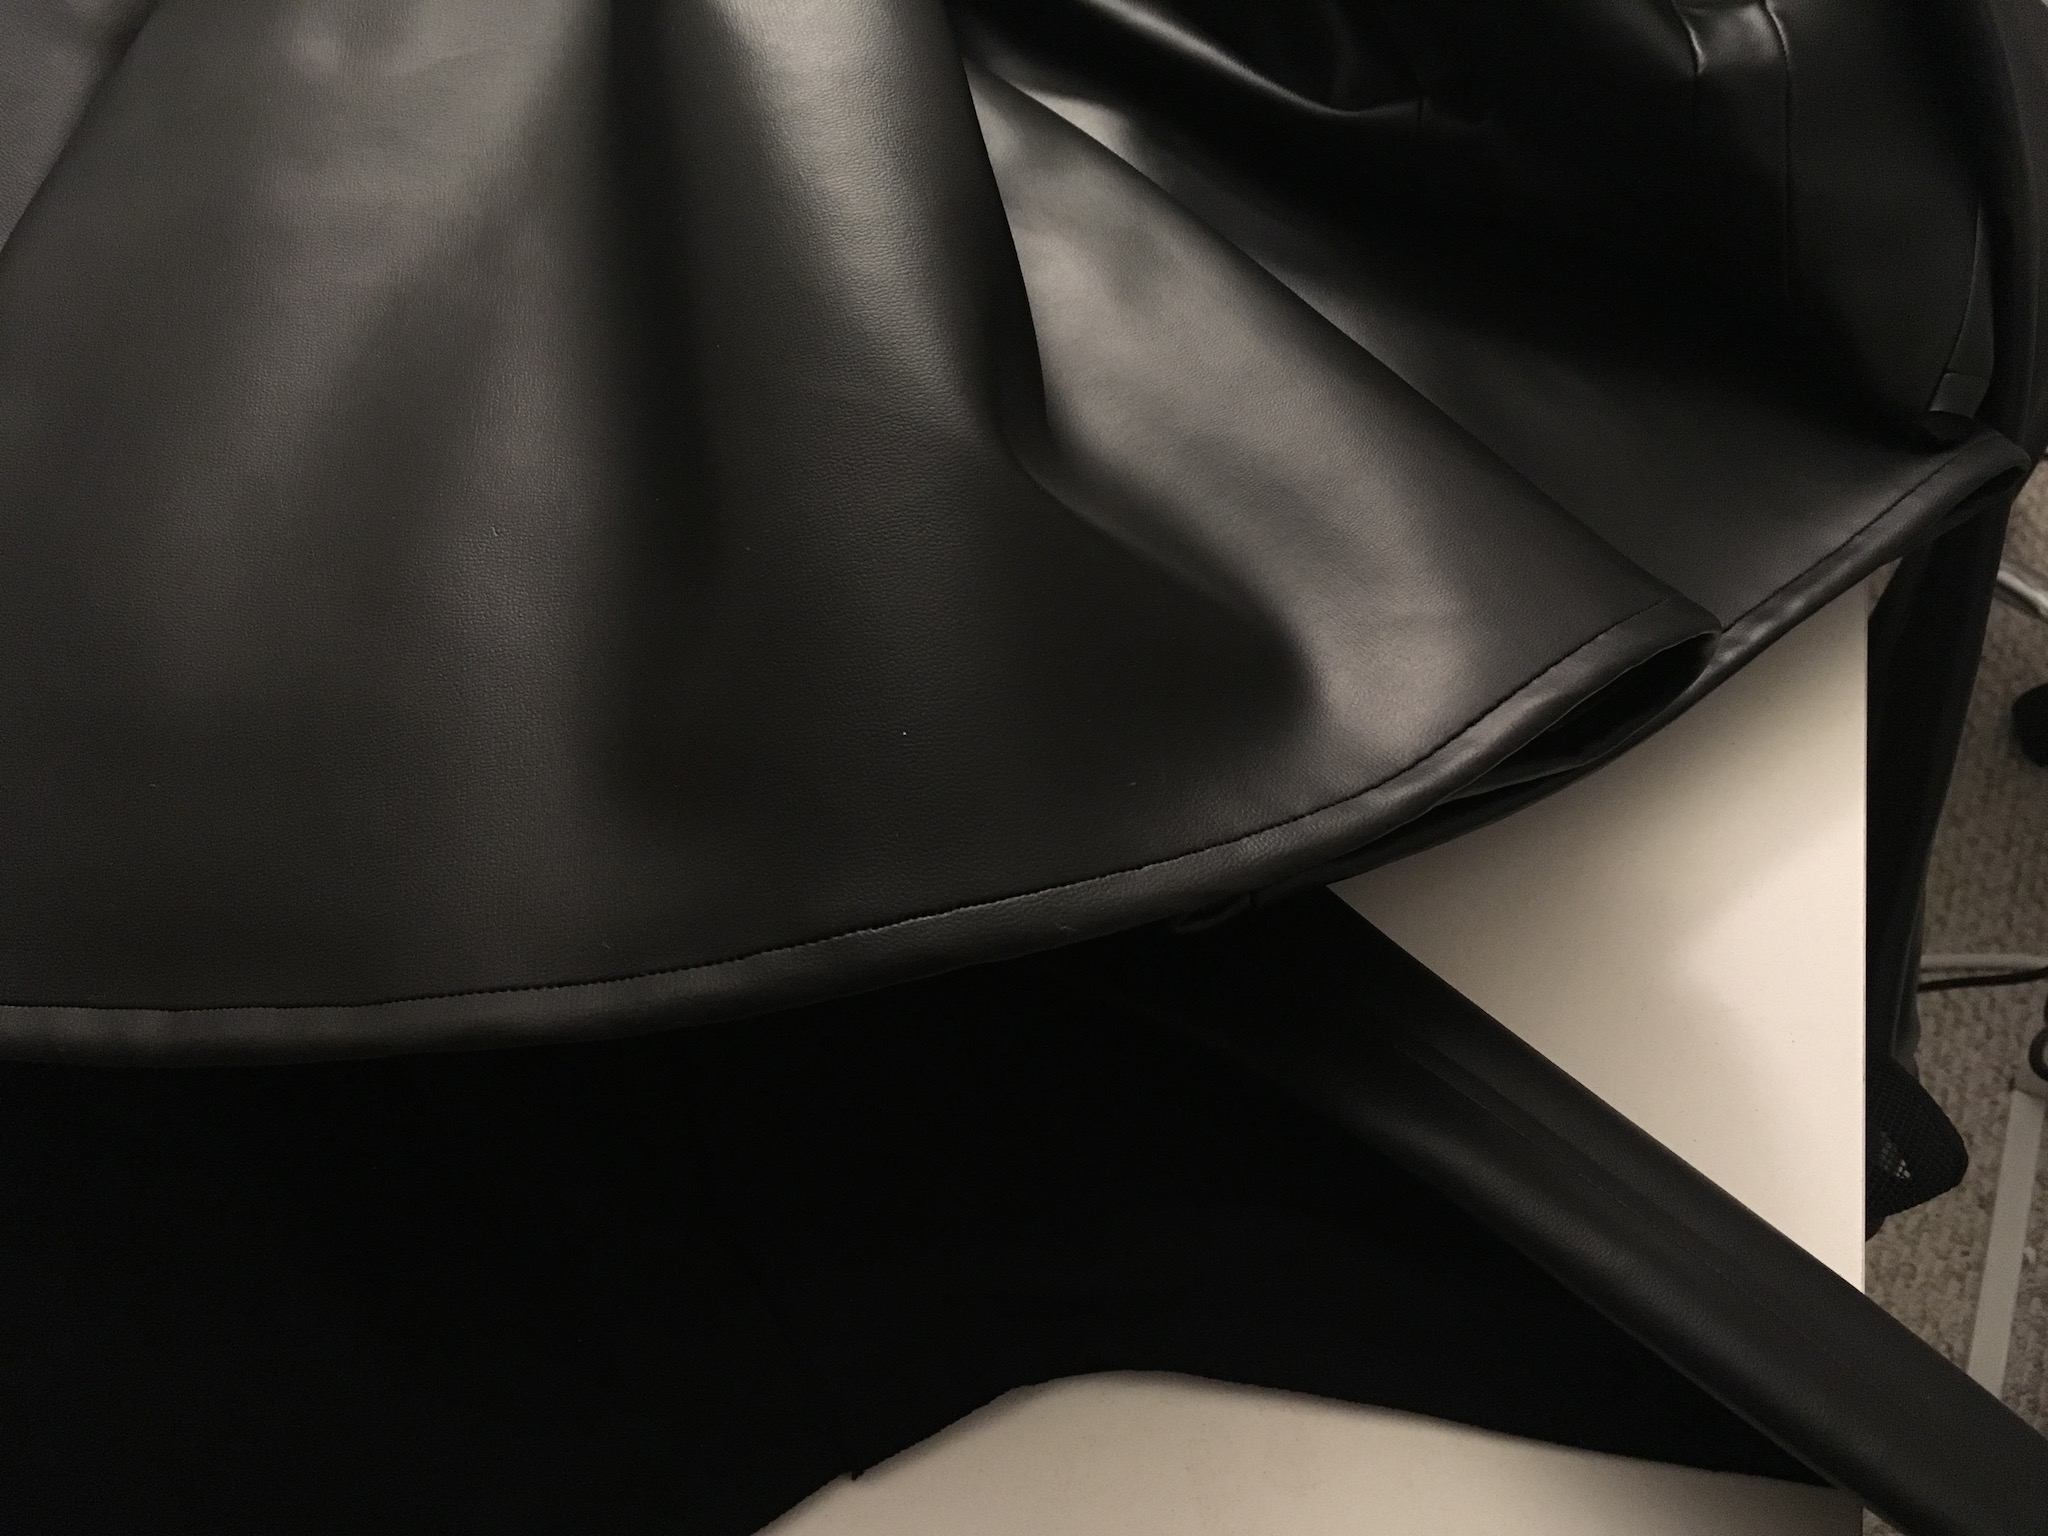
The Organization XIII coat has been a staple of cosplay since the mid-2000s. As common as an Akatsuki cloak, seeing a spiky-haired individual wandering through the dealer’s hall or food court while garbed in a black pleather jacket is a staple of the convention scene, even over a decade since the debut of the design.
Over the years, various methods for making Organization coats have been introduced. I thought I would contribute to the collective Kingdom Hearts cosplay knowledge by contributing my own method; after making four Organization coats over my lifetime, I’ve documented a step-by-step tutorial that will hopefully be useful to someone out there!
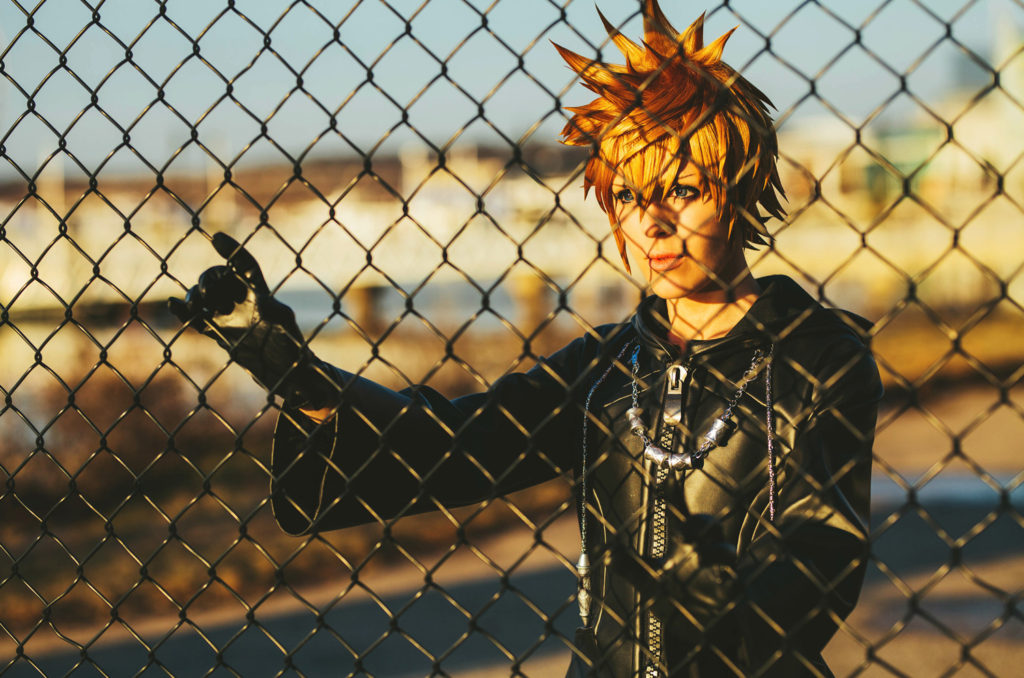
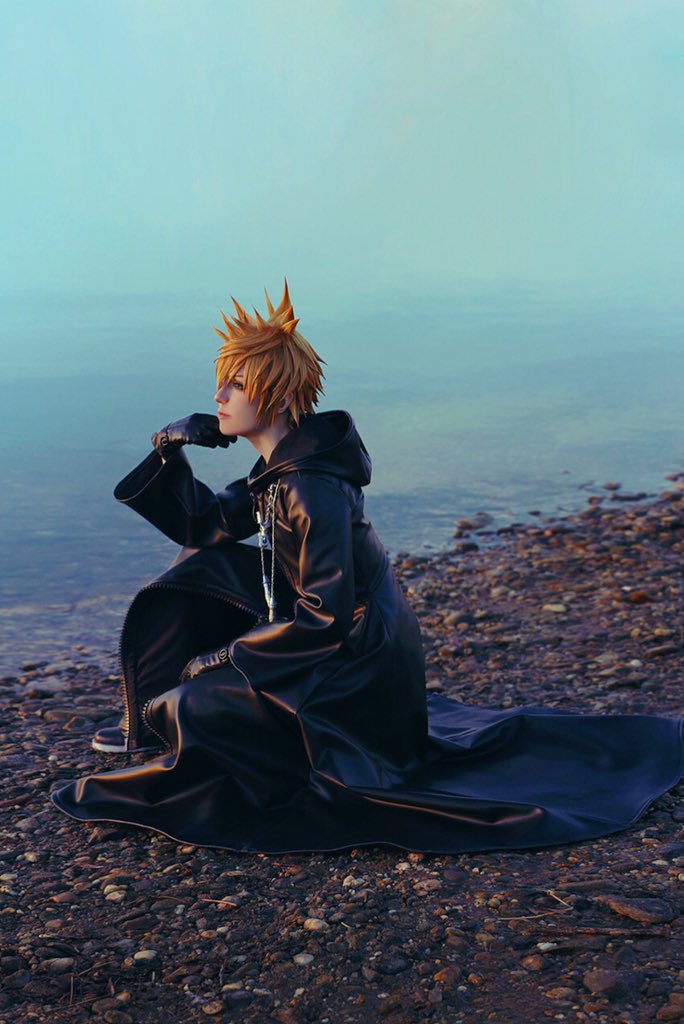
Photography by World of Gwendana (2018).
Note: This tutorial is for the classic/original Organization XIII coat design, as seen in Chain of Memories, Kingdom Hearts II, and 358/2 Days. As of Kingdom Hearts III, the seamwork has been significantly changed. This tutorial can still be used to approach the design of the new coats, but you will have to alter the patterning process and seamwork in order to make an accurate KH3 coat. Y’all are far braver than I. Godspeed.
Resources
This tutorial/method of creating an Organization XIII coat is one that I’ve arrived at after four different coats made in my ten years of cosplaying. During those years, resources I’ve used to approach this project include:
- Organization XIII Supplies + Tutorials (Cosplay.com Forums)
- Matrix Edit Tutorial (by Saeru)
- Tallus-Rip’s Coat Pattern Diagram
All of these were hugely helpful to me when I made my first coat back in 2008; if you’re confused about anything in this walkthrough, especially the pattern process, please refer to those resources! The original Cosplay.com forum is a wealth of info compiled from various topics circa 2007, and I know many of us owe Saeru for developing the original Matrix Coat edit back in the day, along with the approach to the double seams you’ll see in this post. I learned the majority of this from those original sources and owe all the knowledge to them! This walkthrough is simply meant to share my approach to making an Organization coat as many folks have asked me about it after finishing Roxas, but the credit for several of the techniques and pattern modifications goes all to those OG Cosplay.com sources. If you have any questions or concerns, please don’t hesitate to let me know!
Organization XIII Coat Supplies
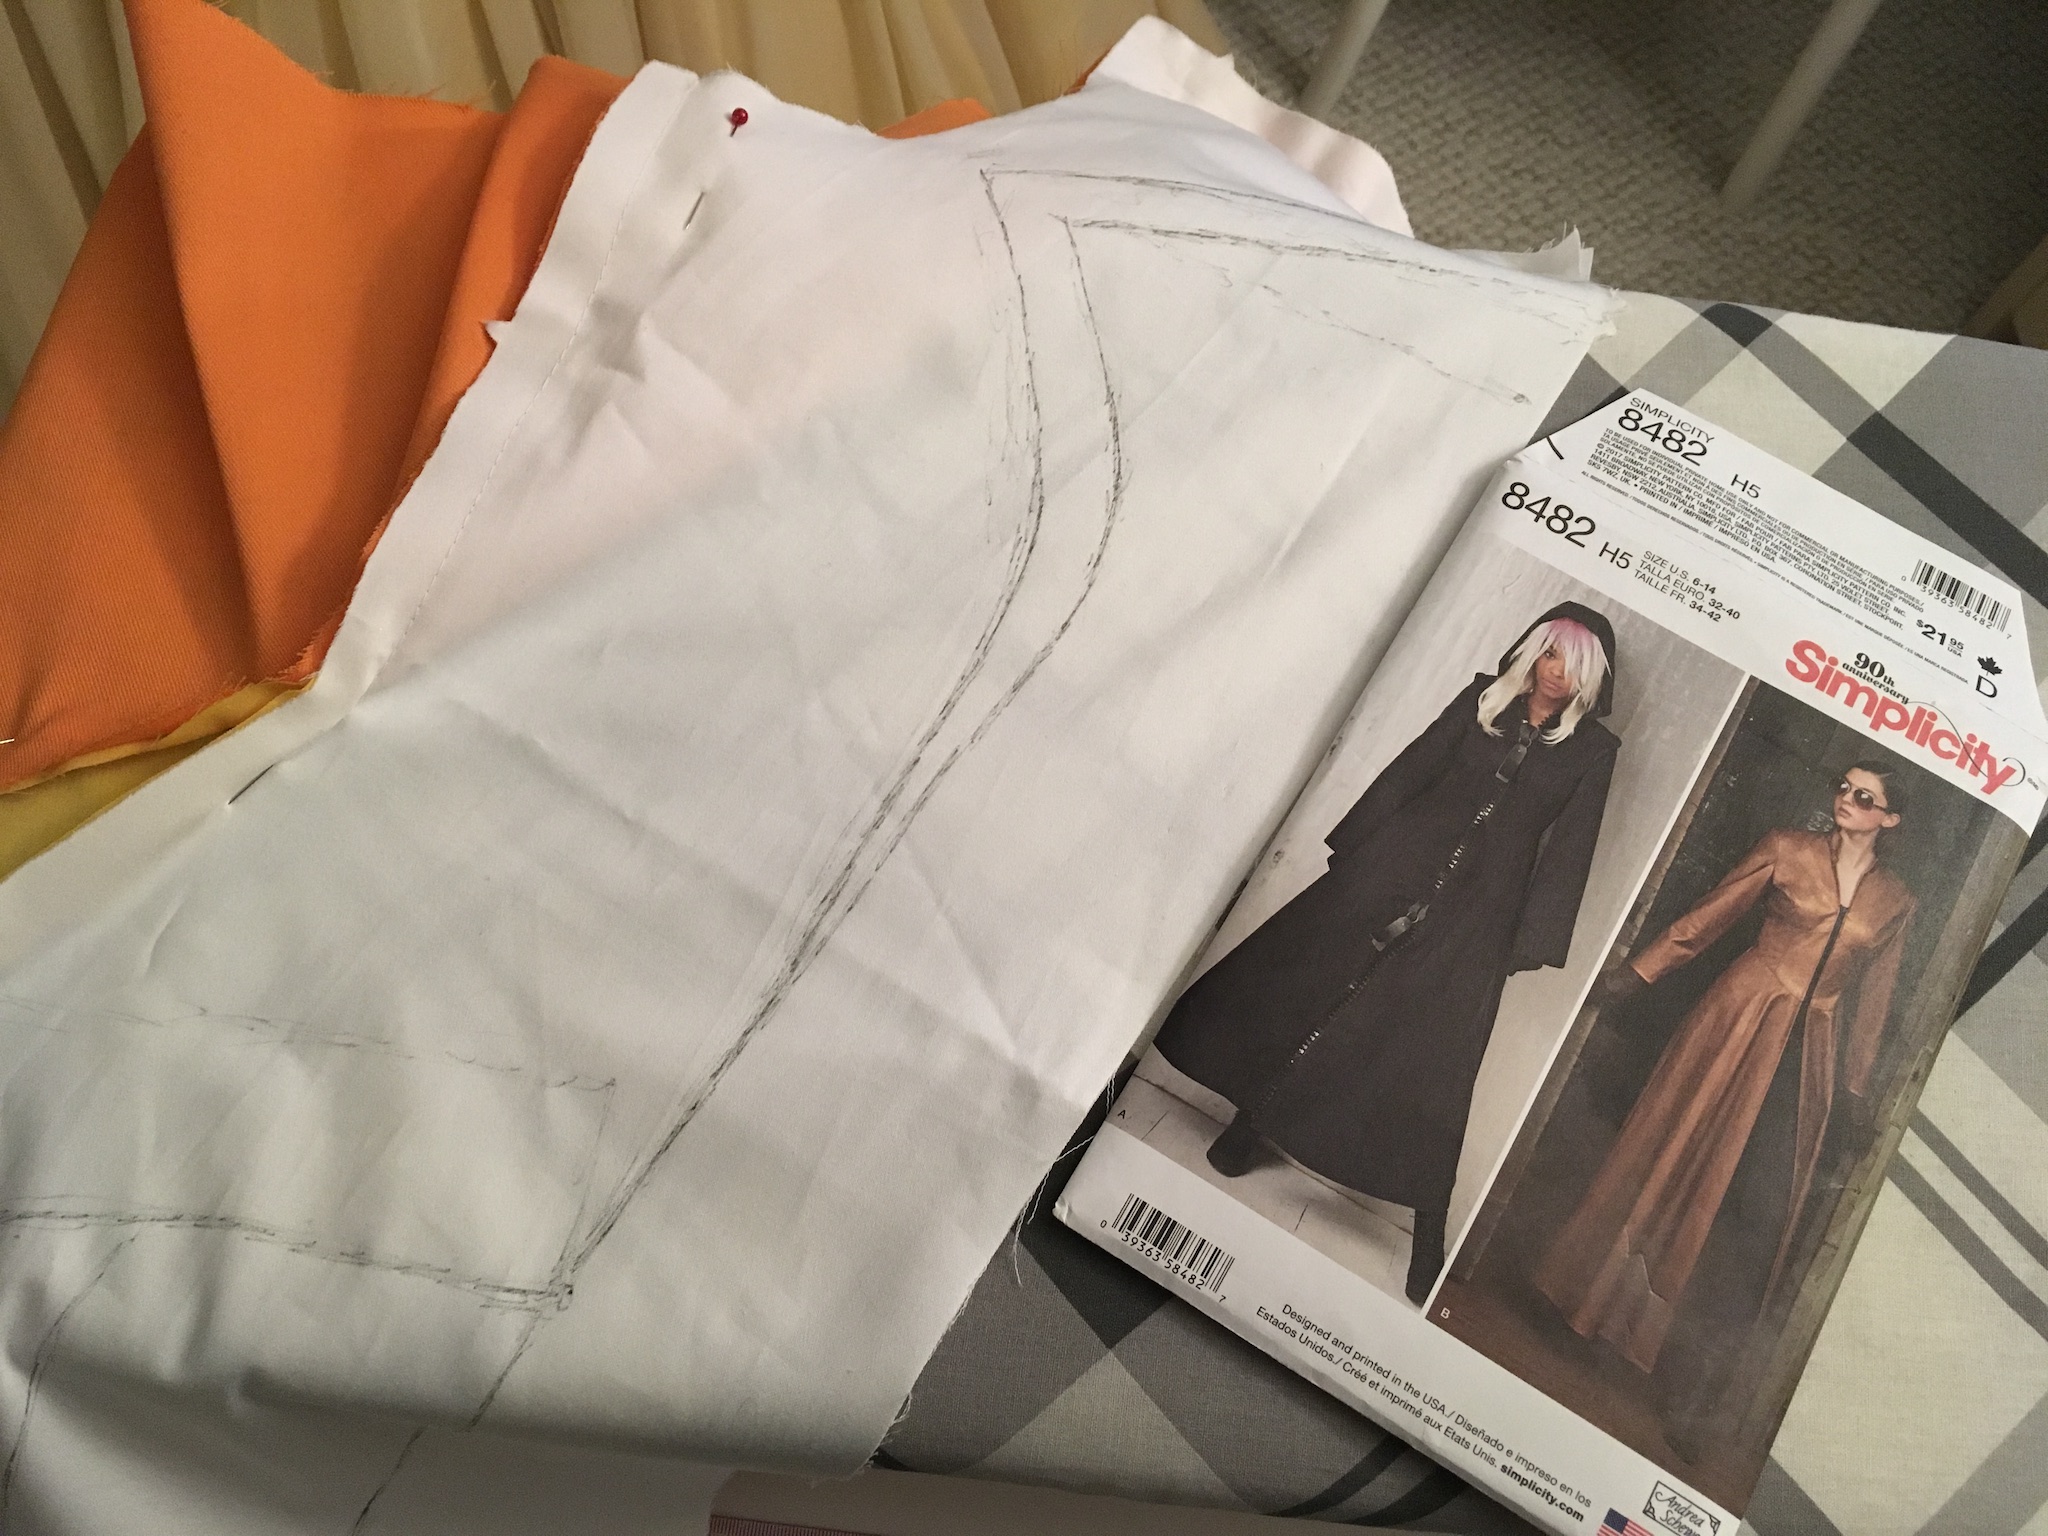
- Base Pattern: Simplicity 8482
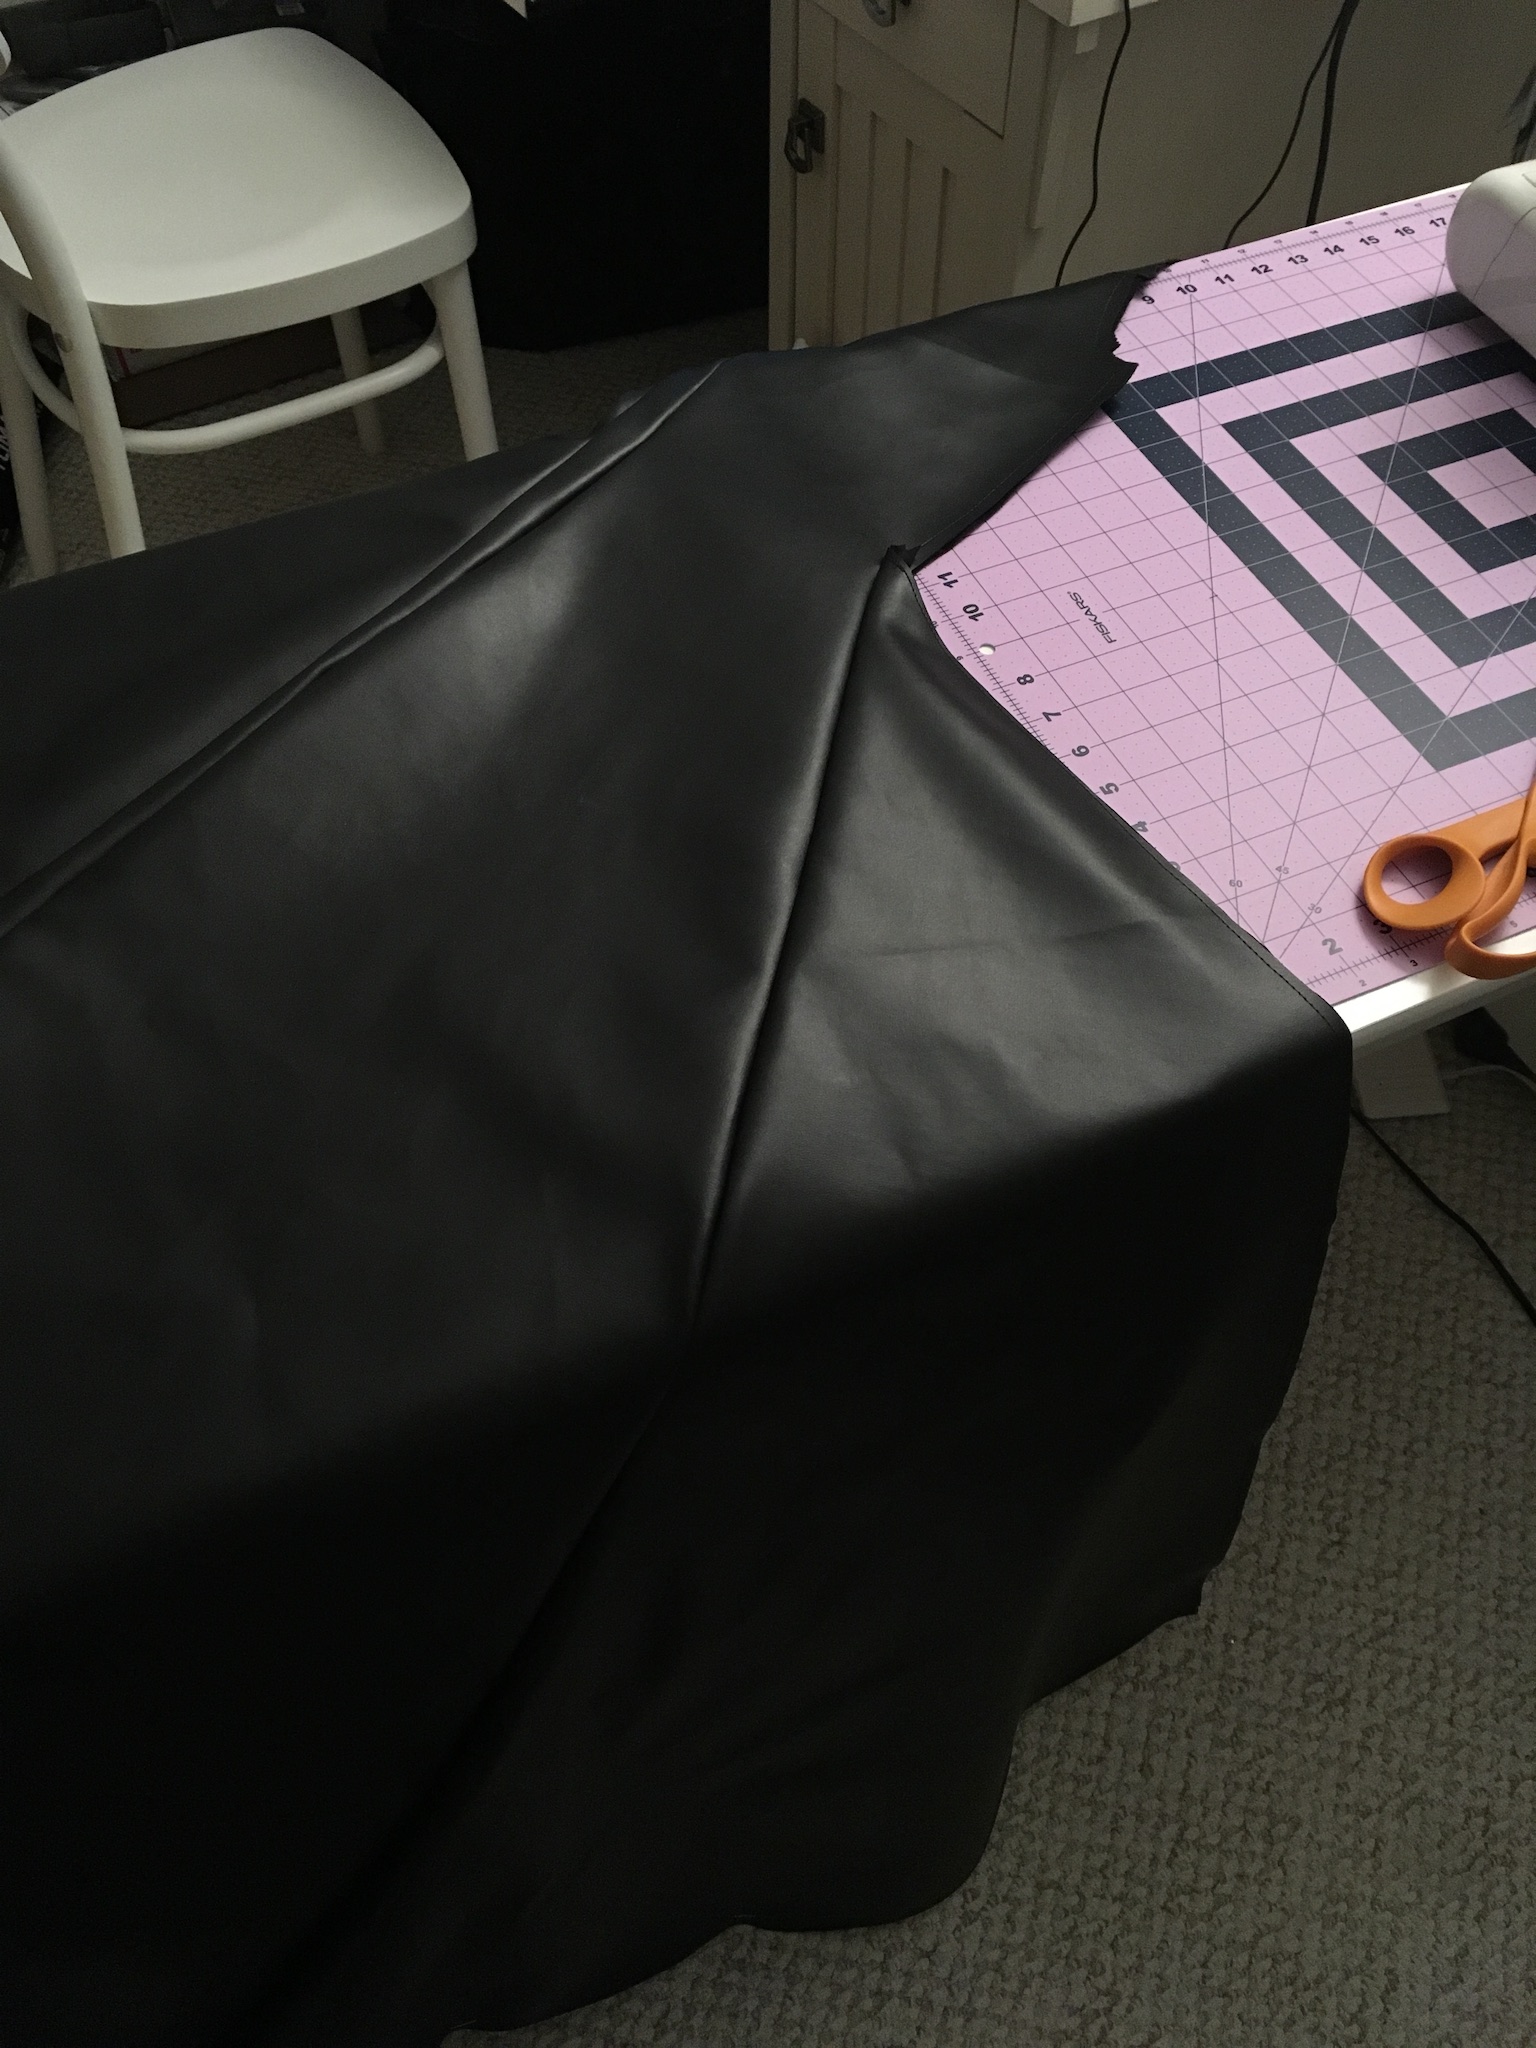
- Black Clothing PVC, 6 yds
- Black Apparel Lining Fabric, 6 yds
- Silver/grey/black #20 separating zipper, approx. 40-44″ (depending on your height)
- Silver jewelry chain
- Baubles for chain (found pieces, sculpted from clay, made from thermoplastic, or 3D-printed)
- Silver spray paint (recommended: Montana Gold Acrylic Monochrome)
- Matte sealant spray
Coat Tutorial
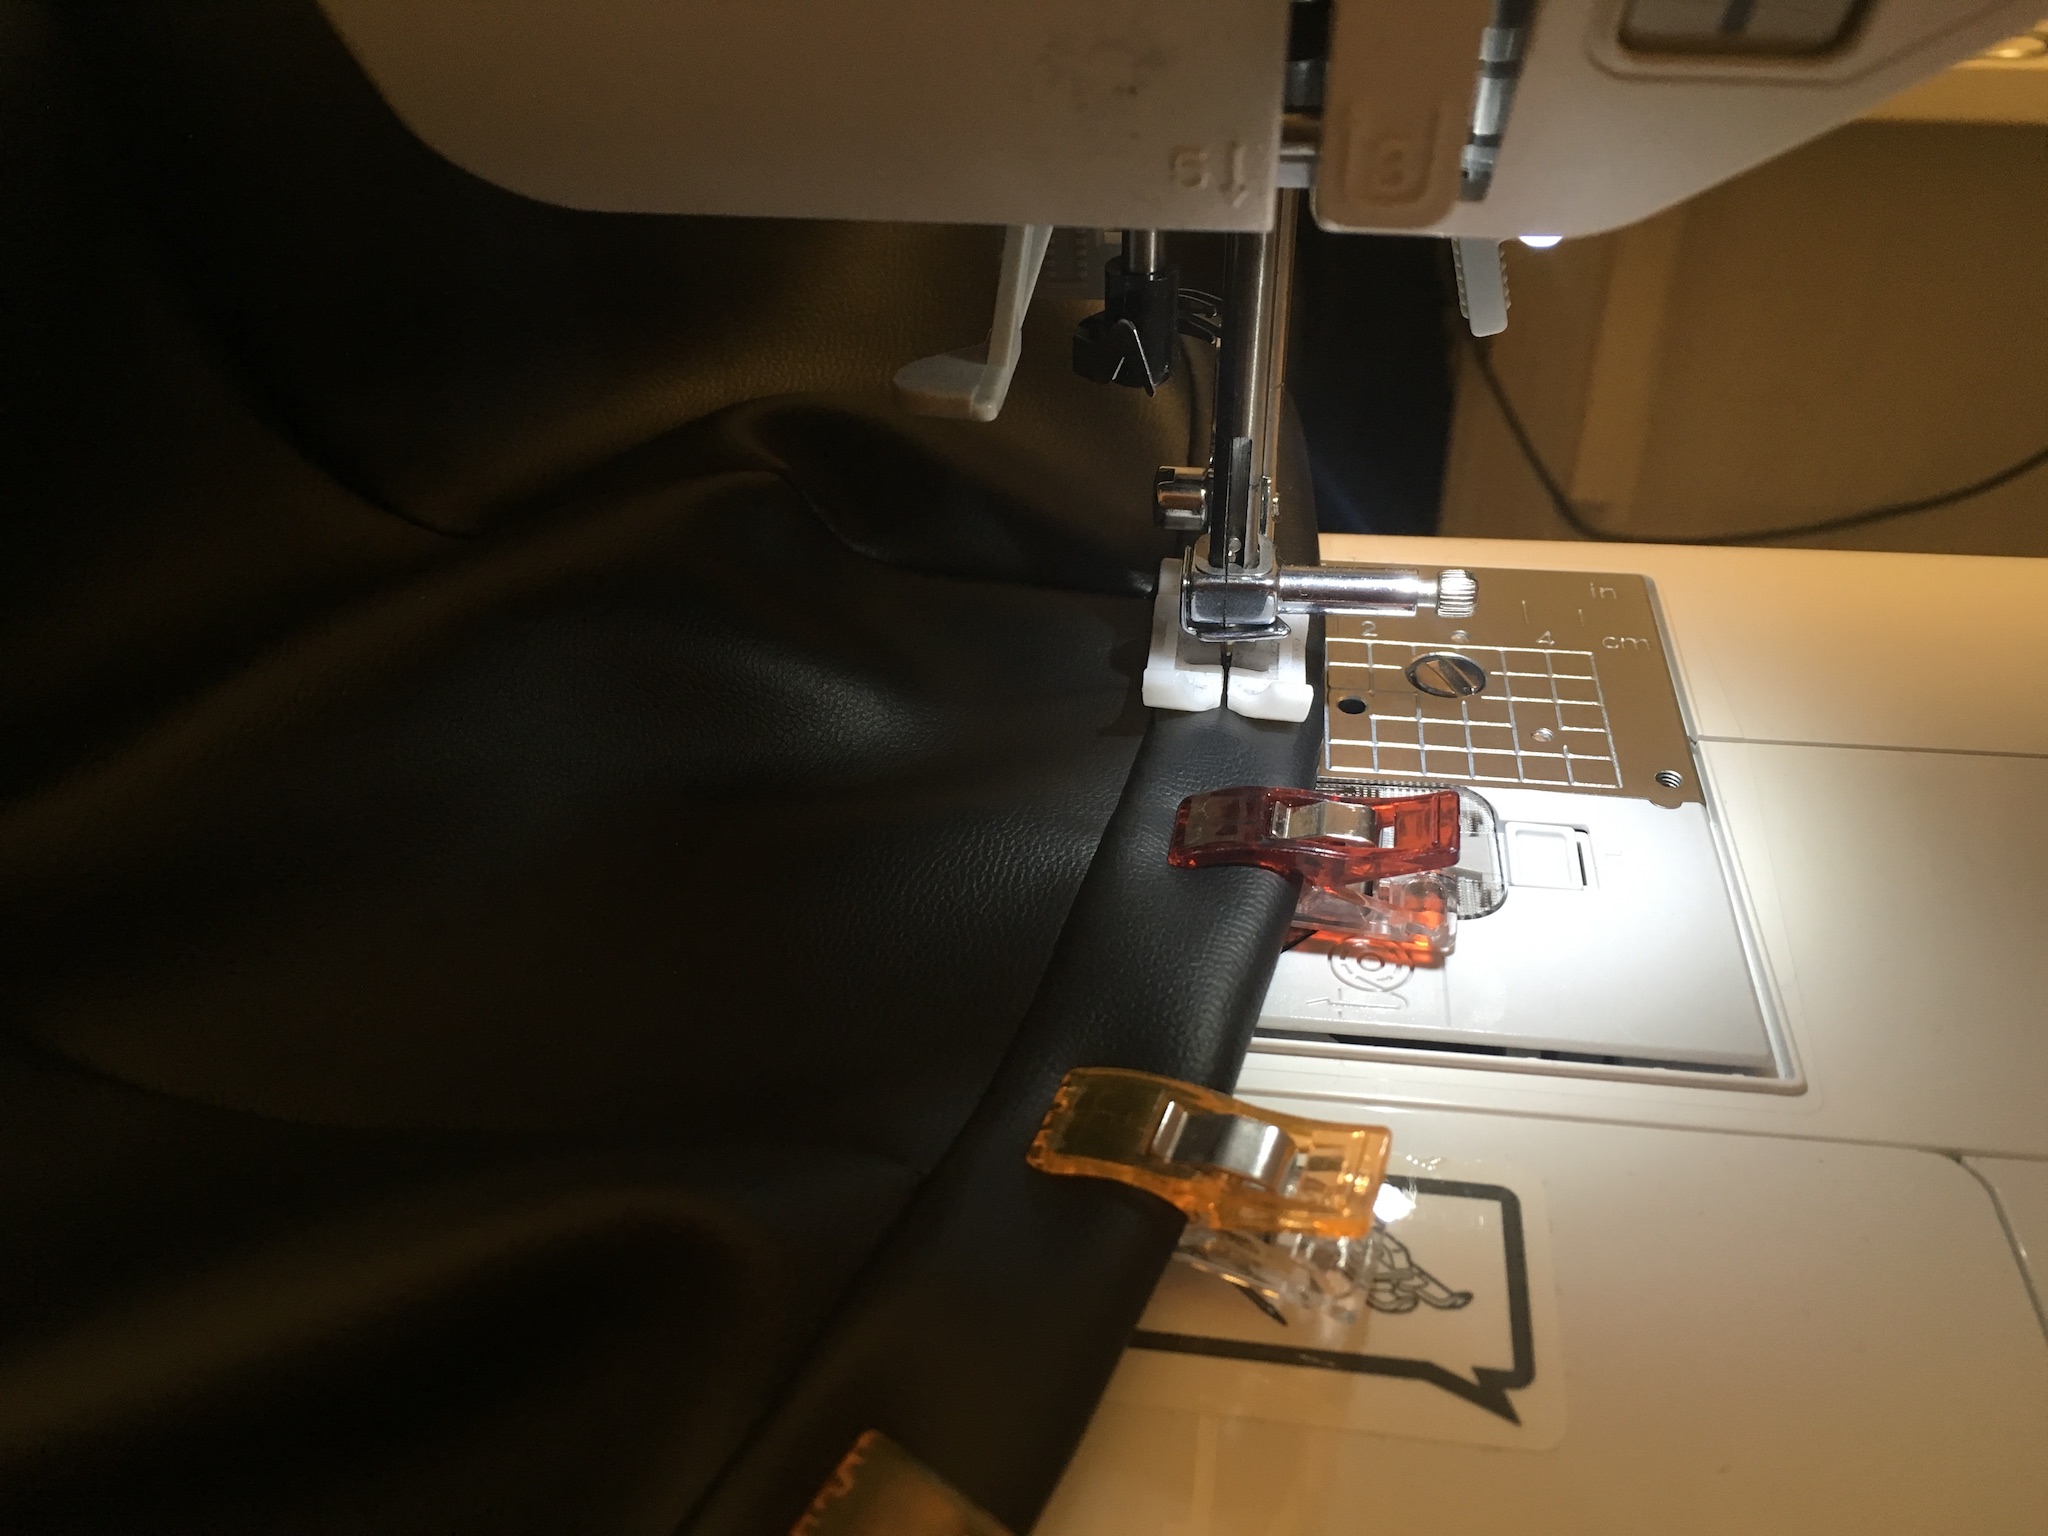
When working with any sort of synthetic vinyl/leather-like material, I highly recommend using a teflon foot! This will make the sewing process much easier; unlike when using a metal foot, your vinyl material won’t stick to the teflon, allowing it to slide smoothly through the machine without warping.
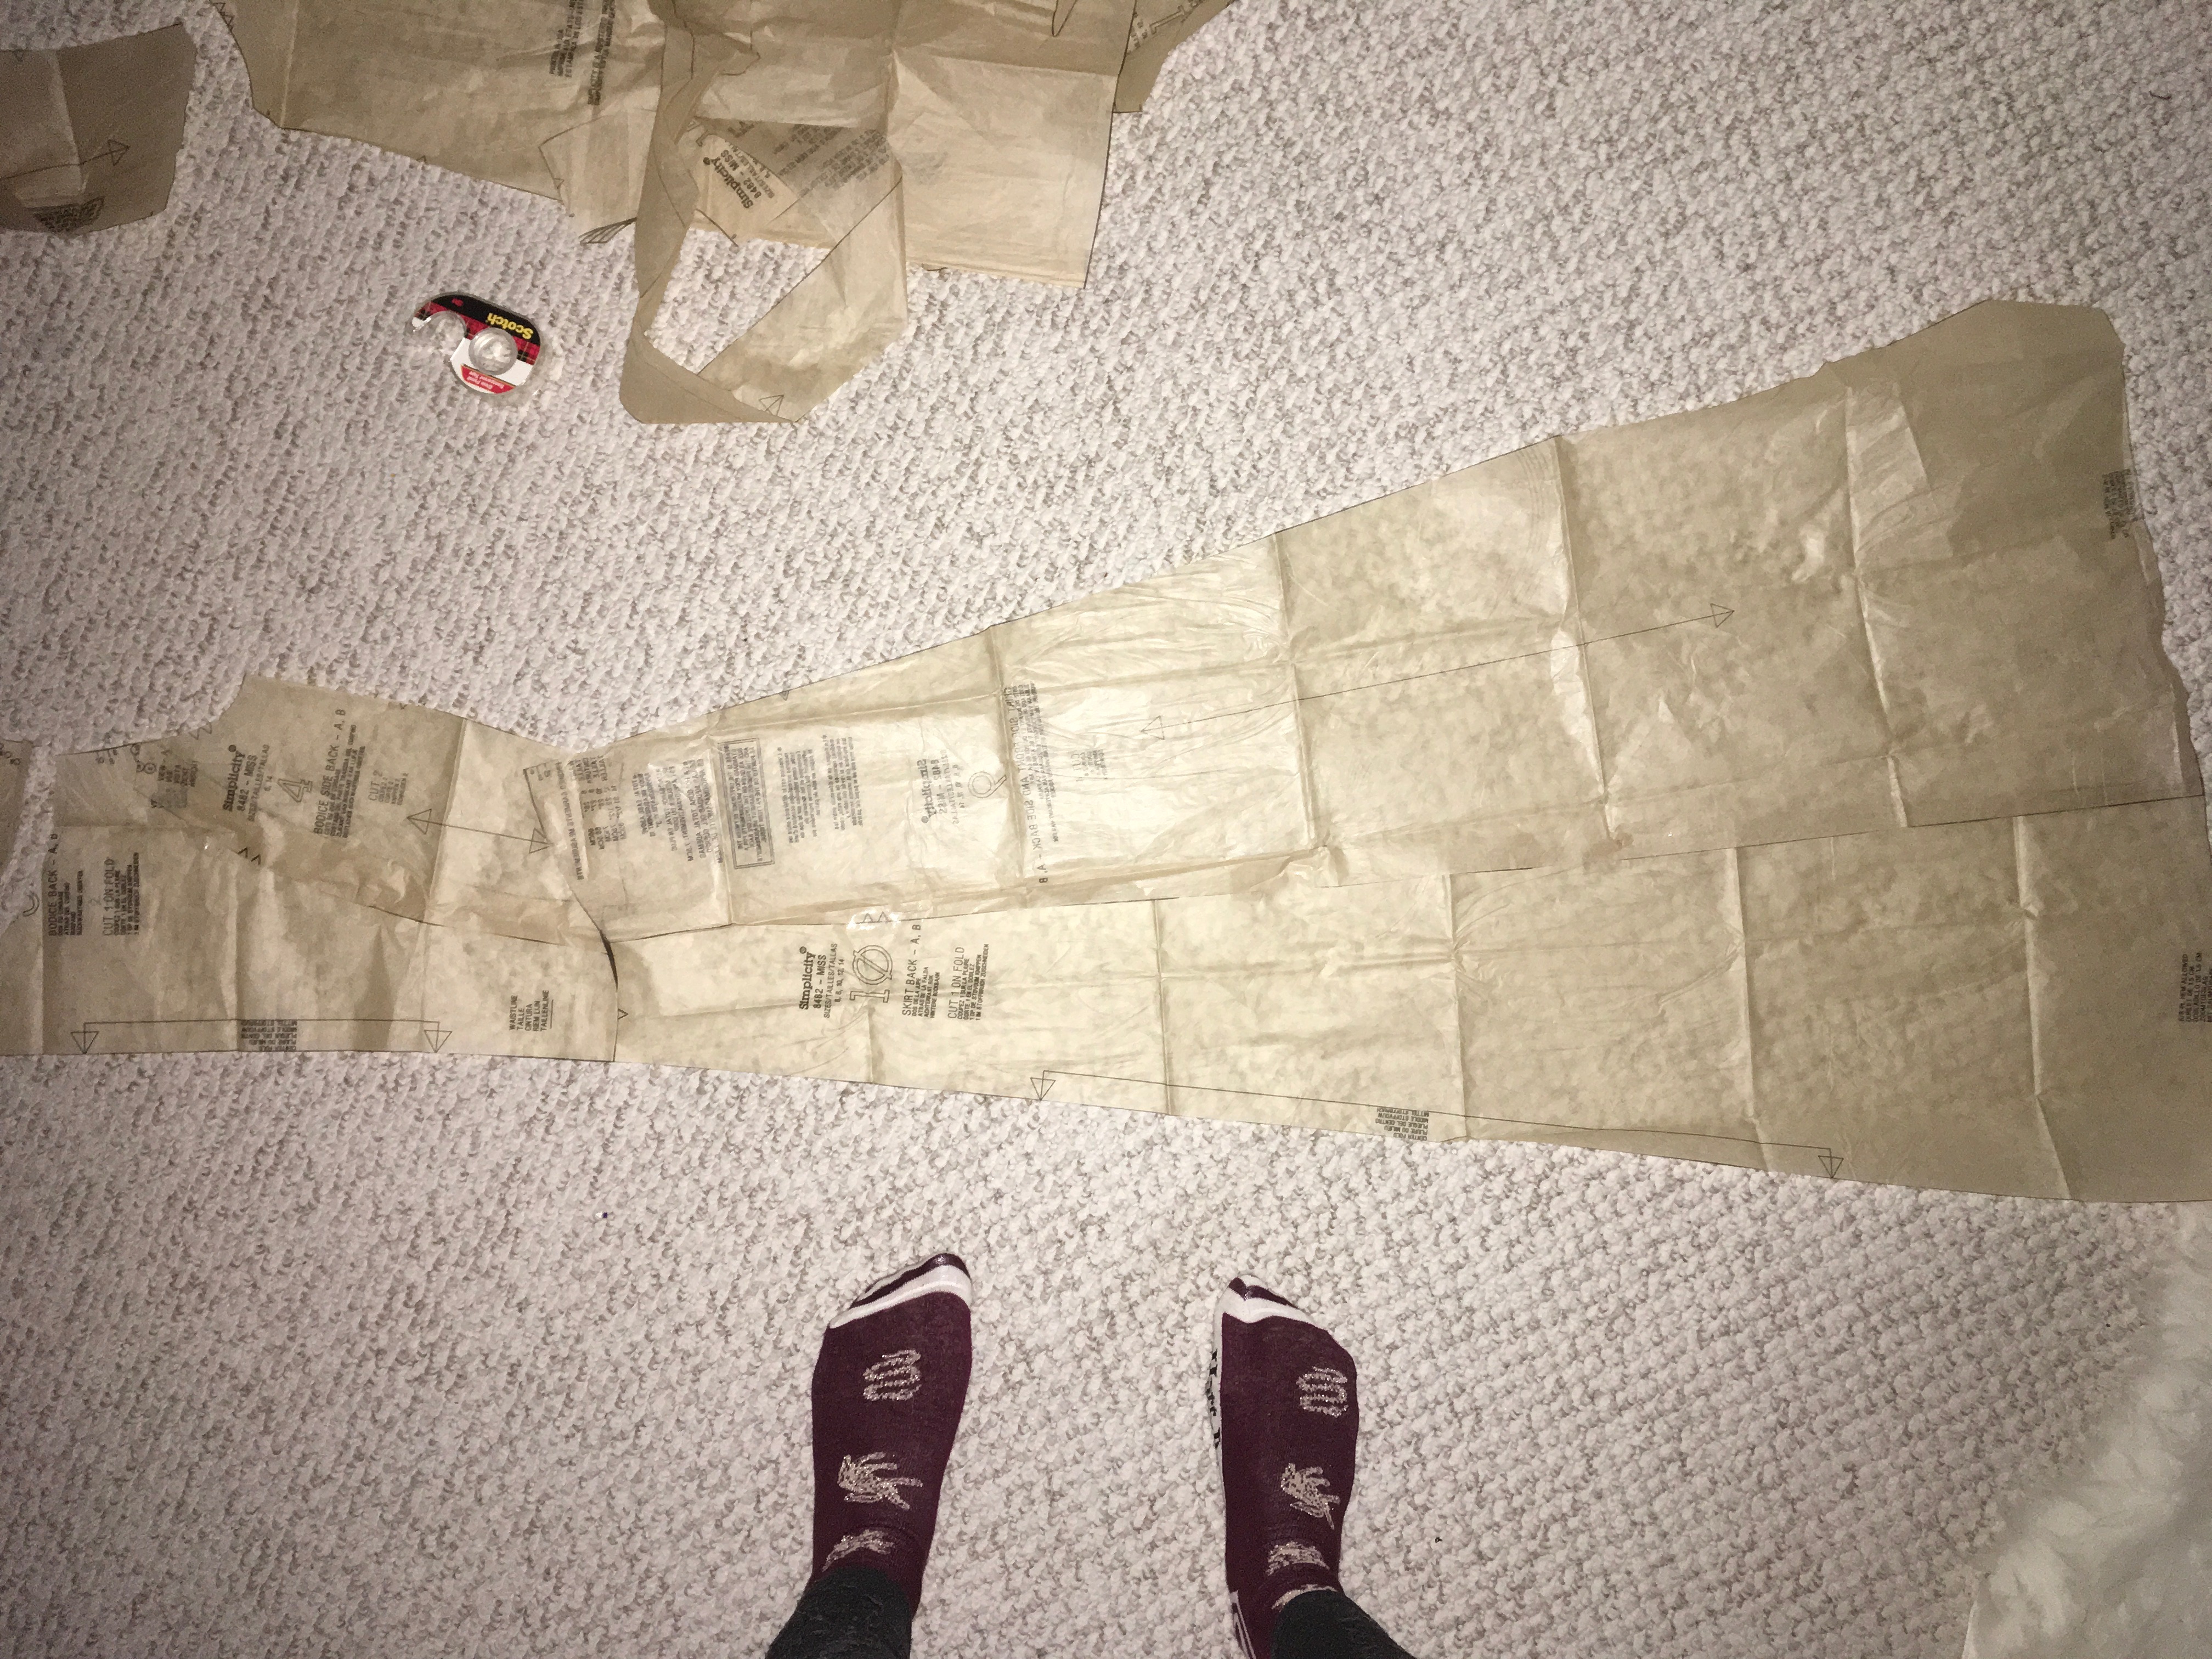
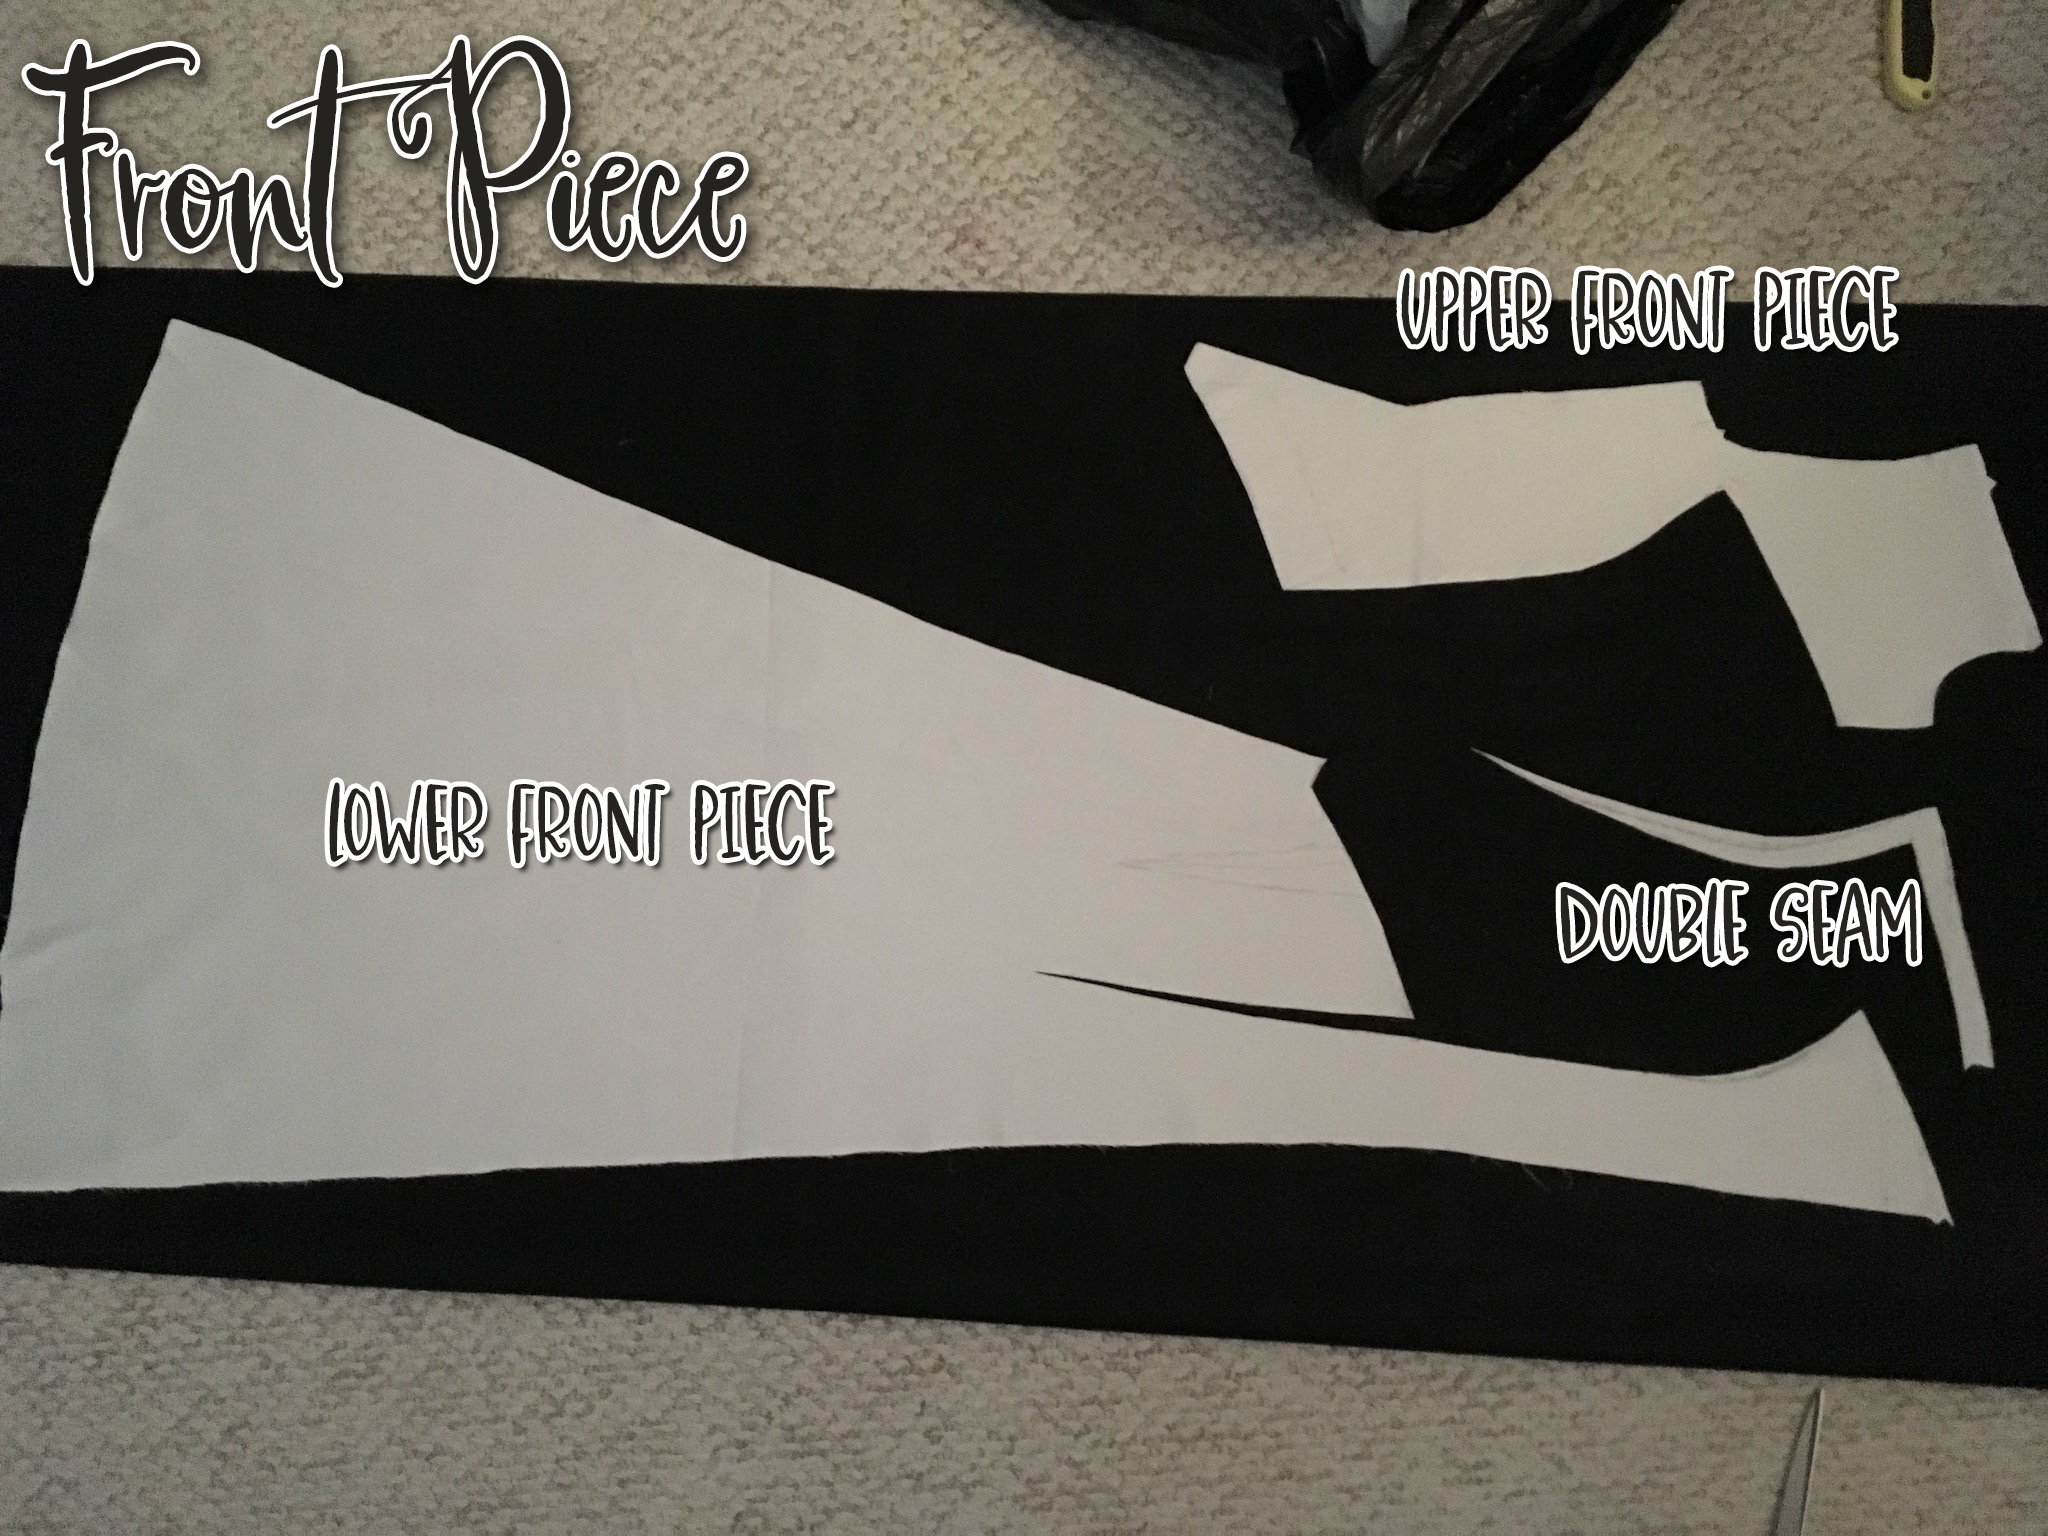
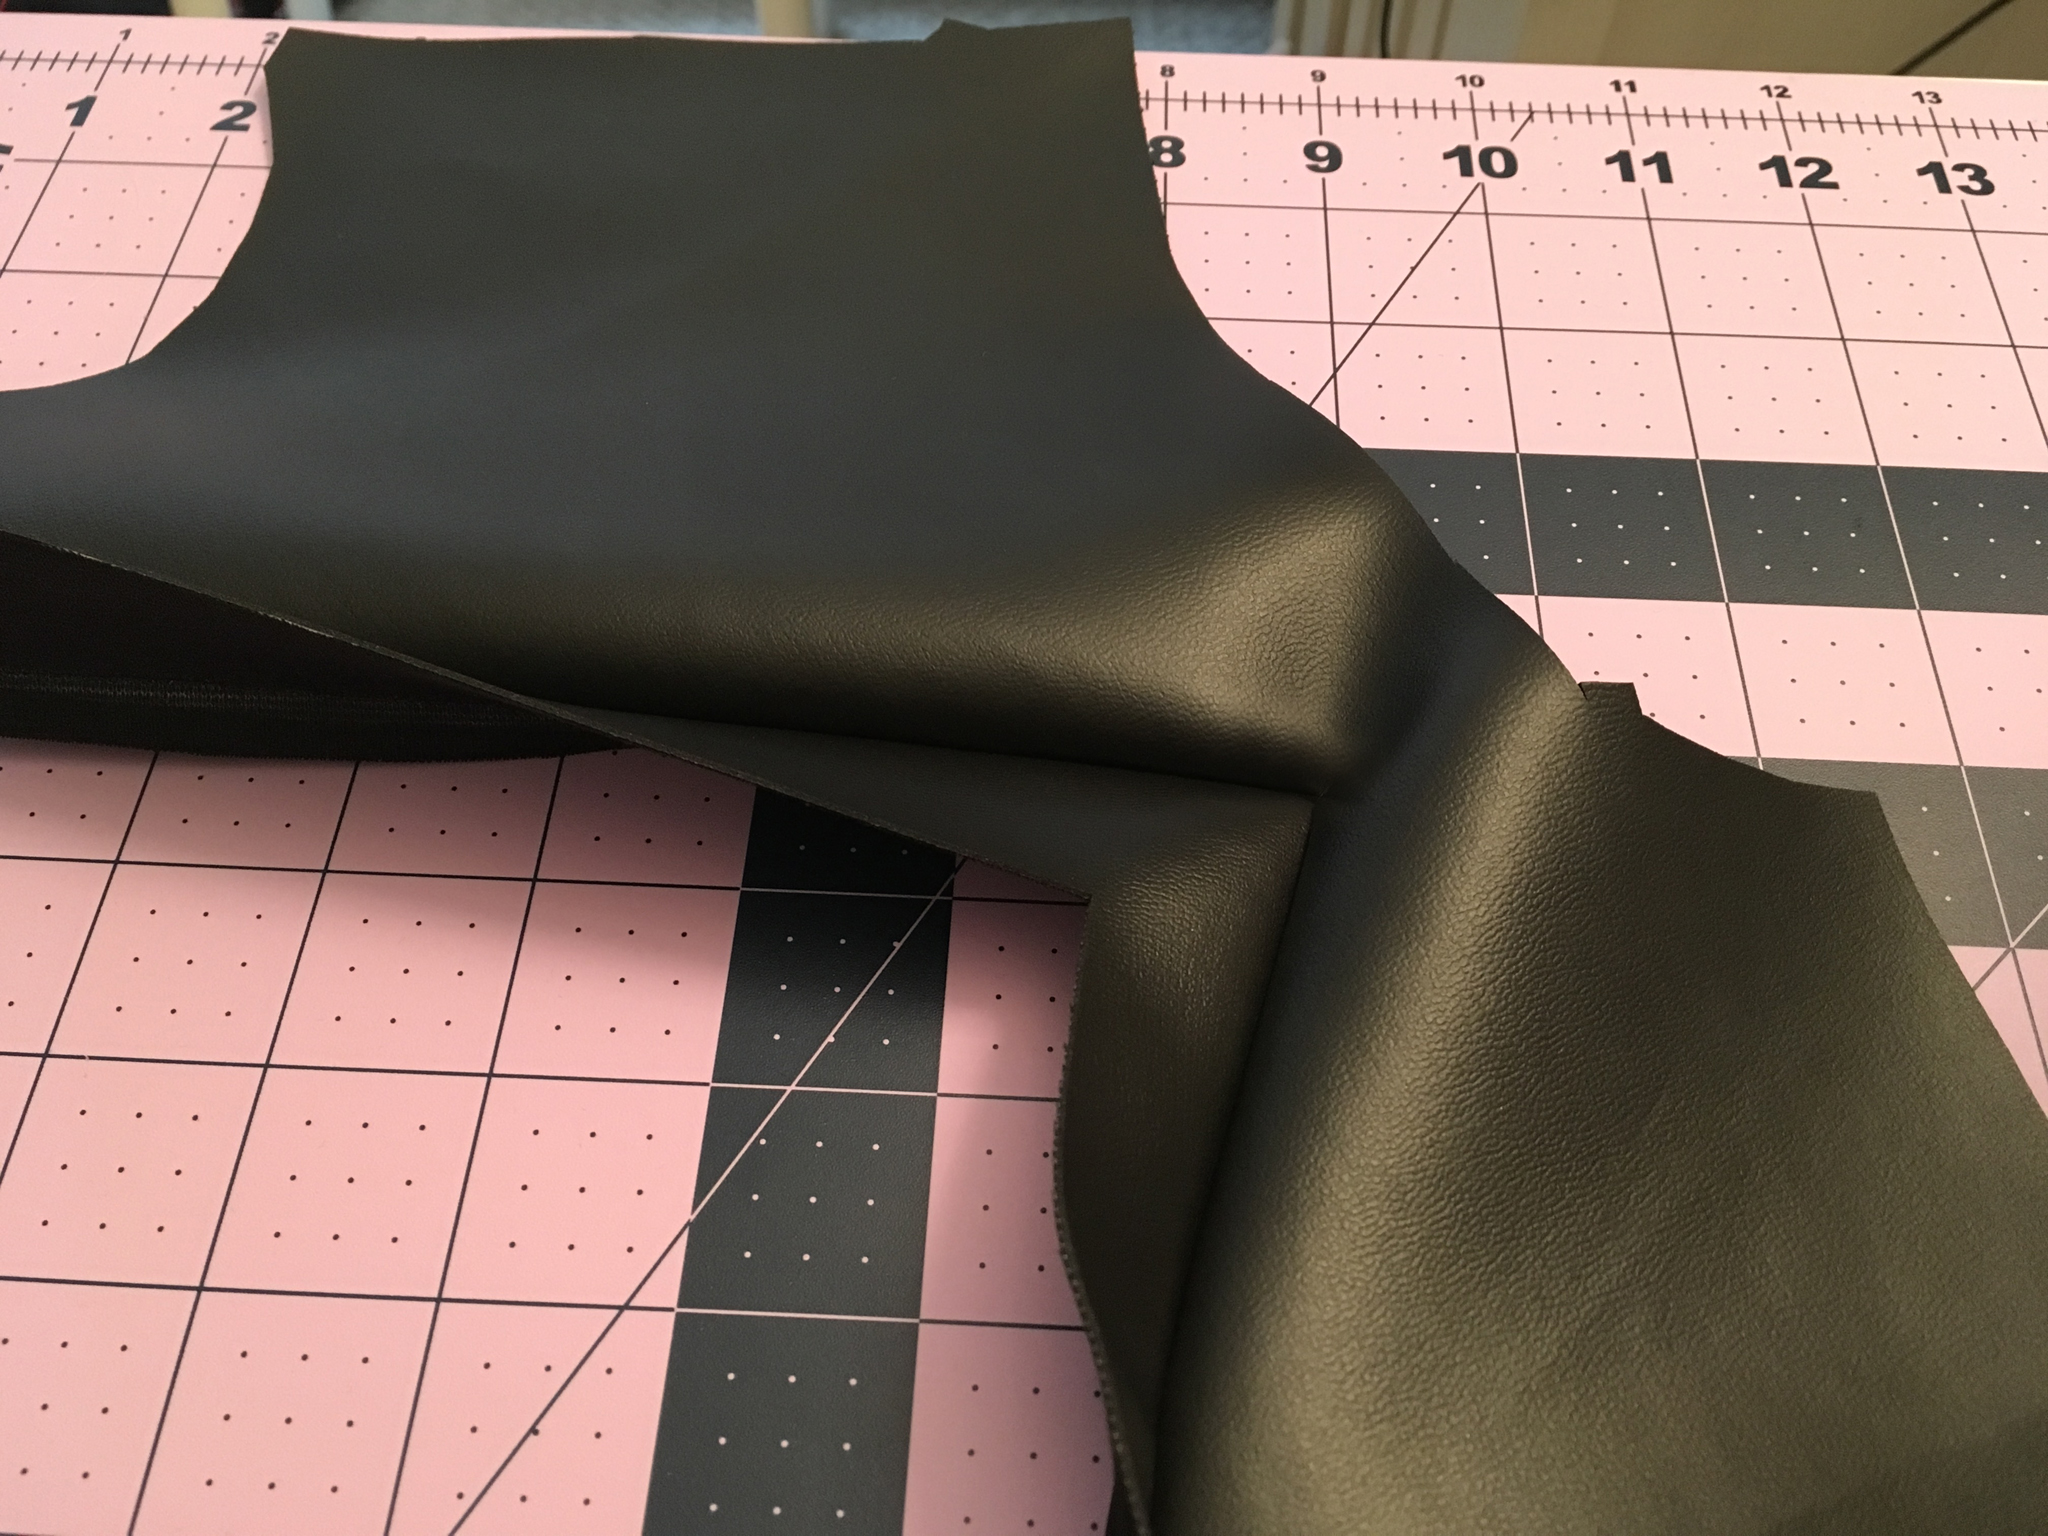
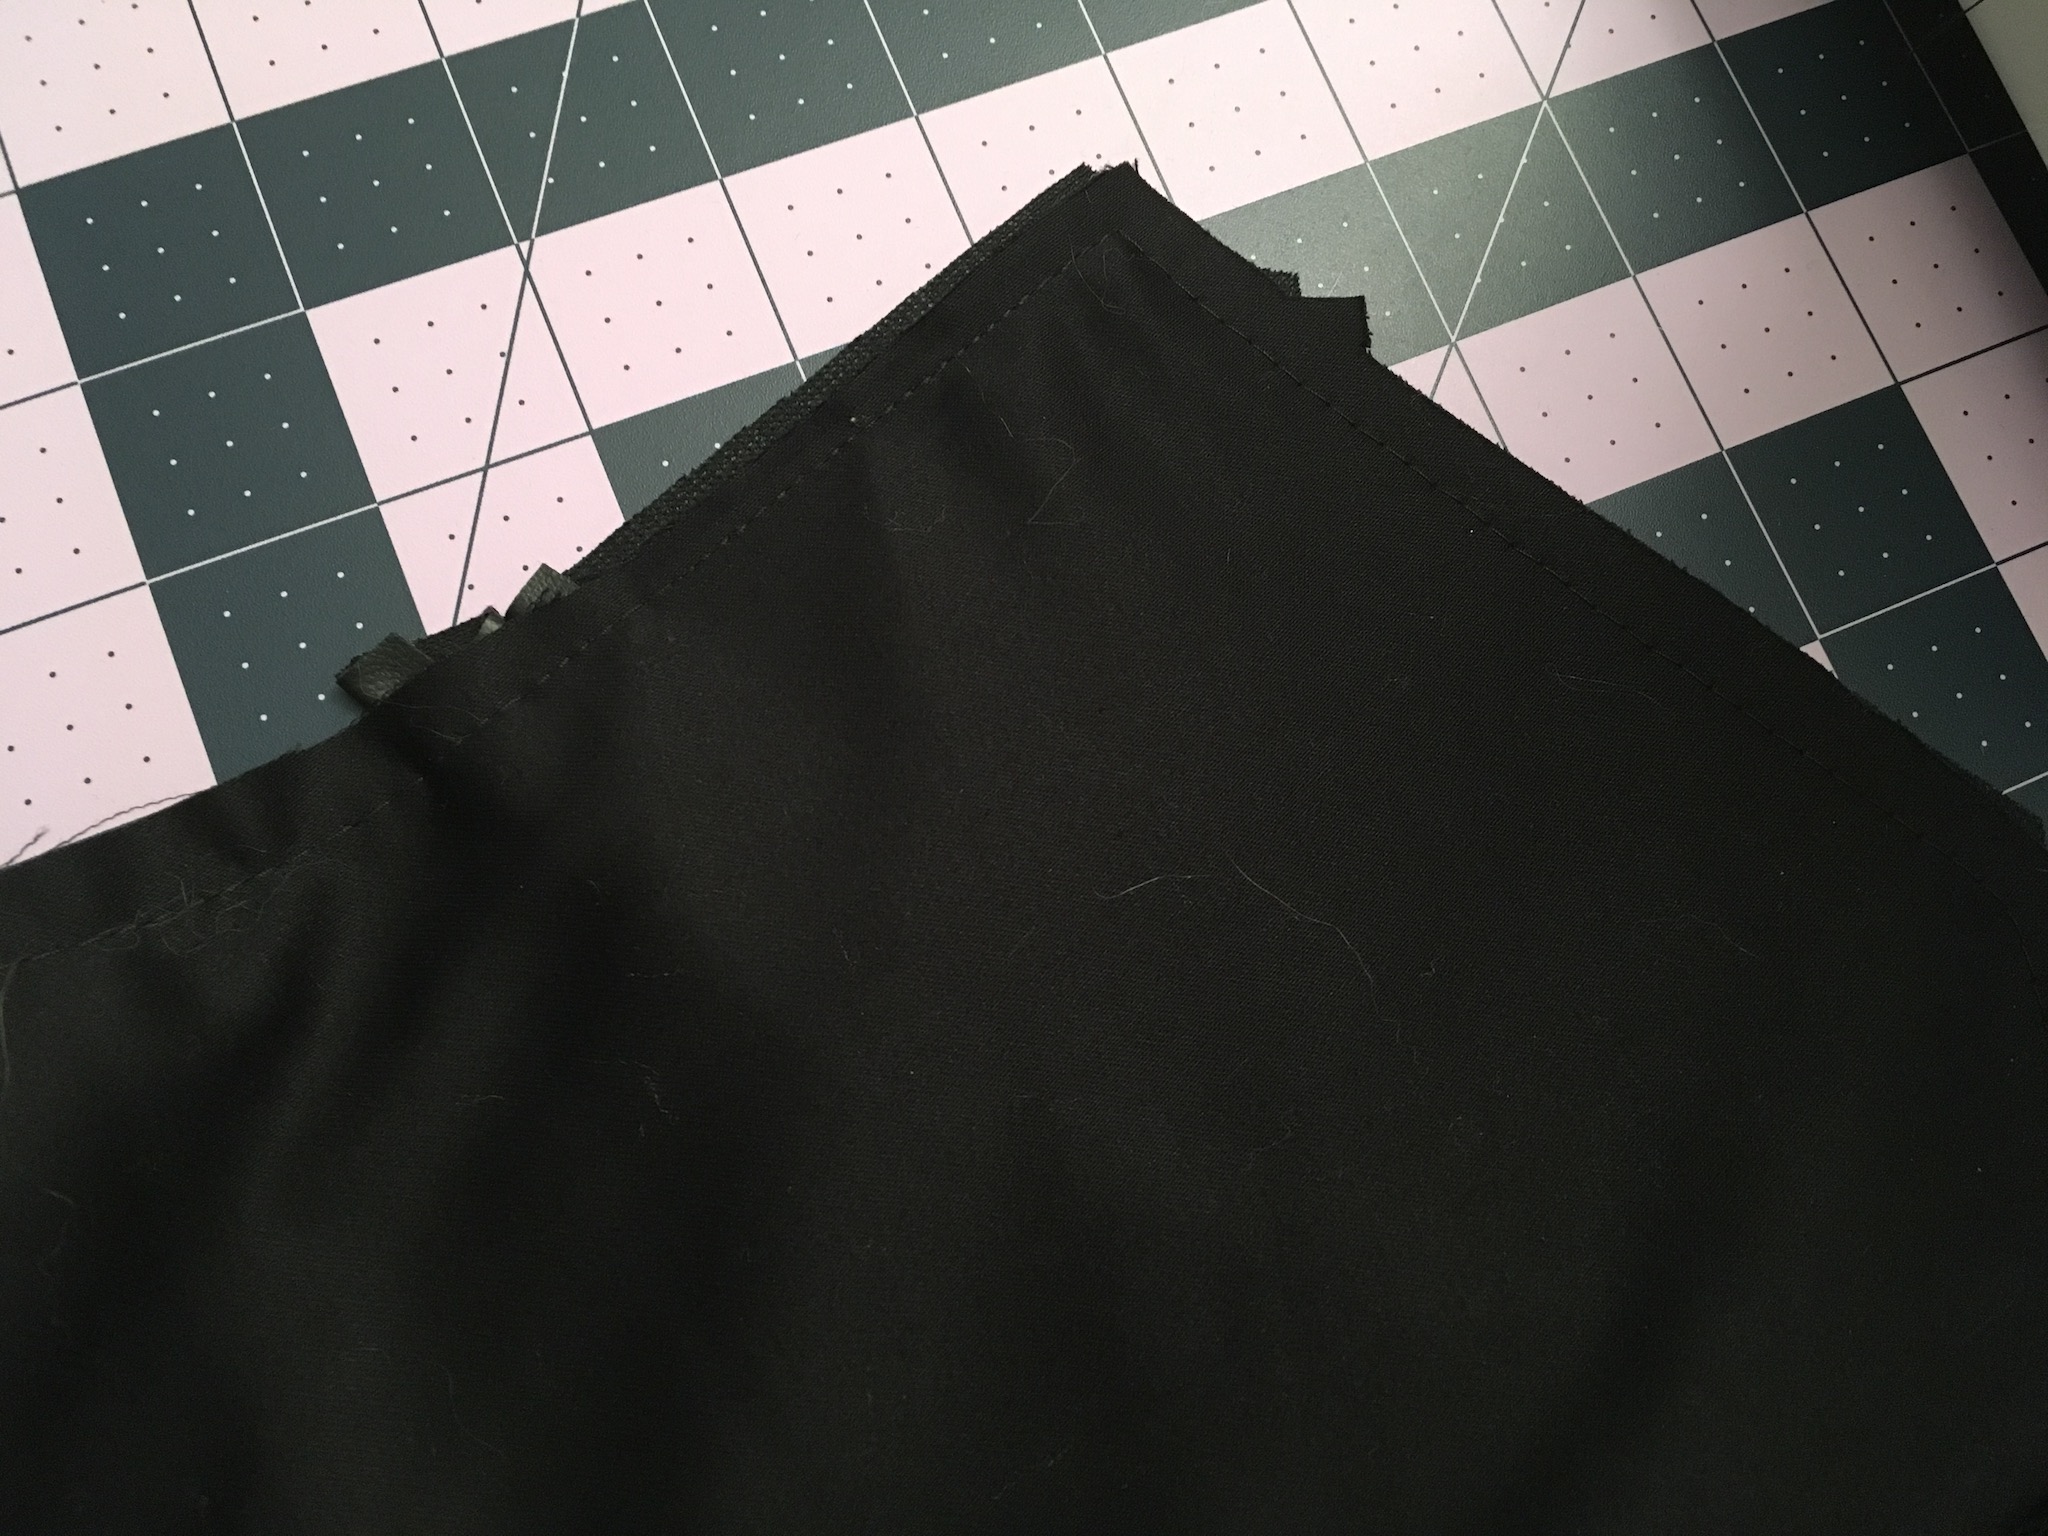
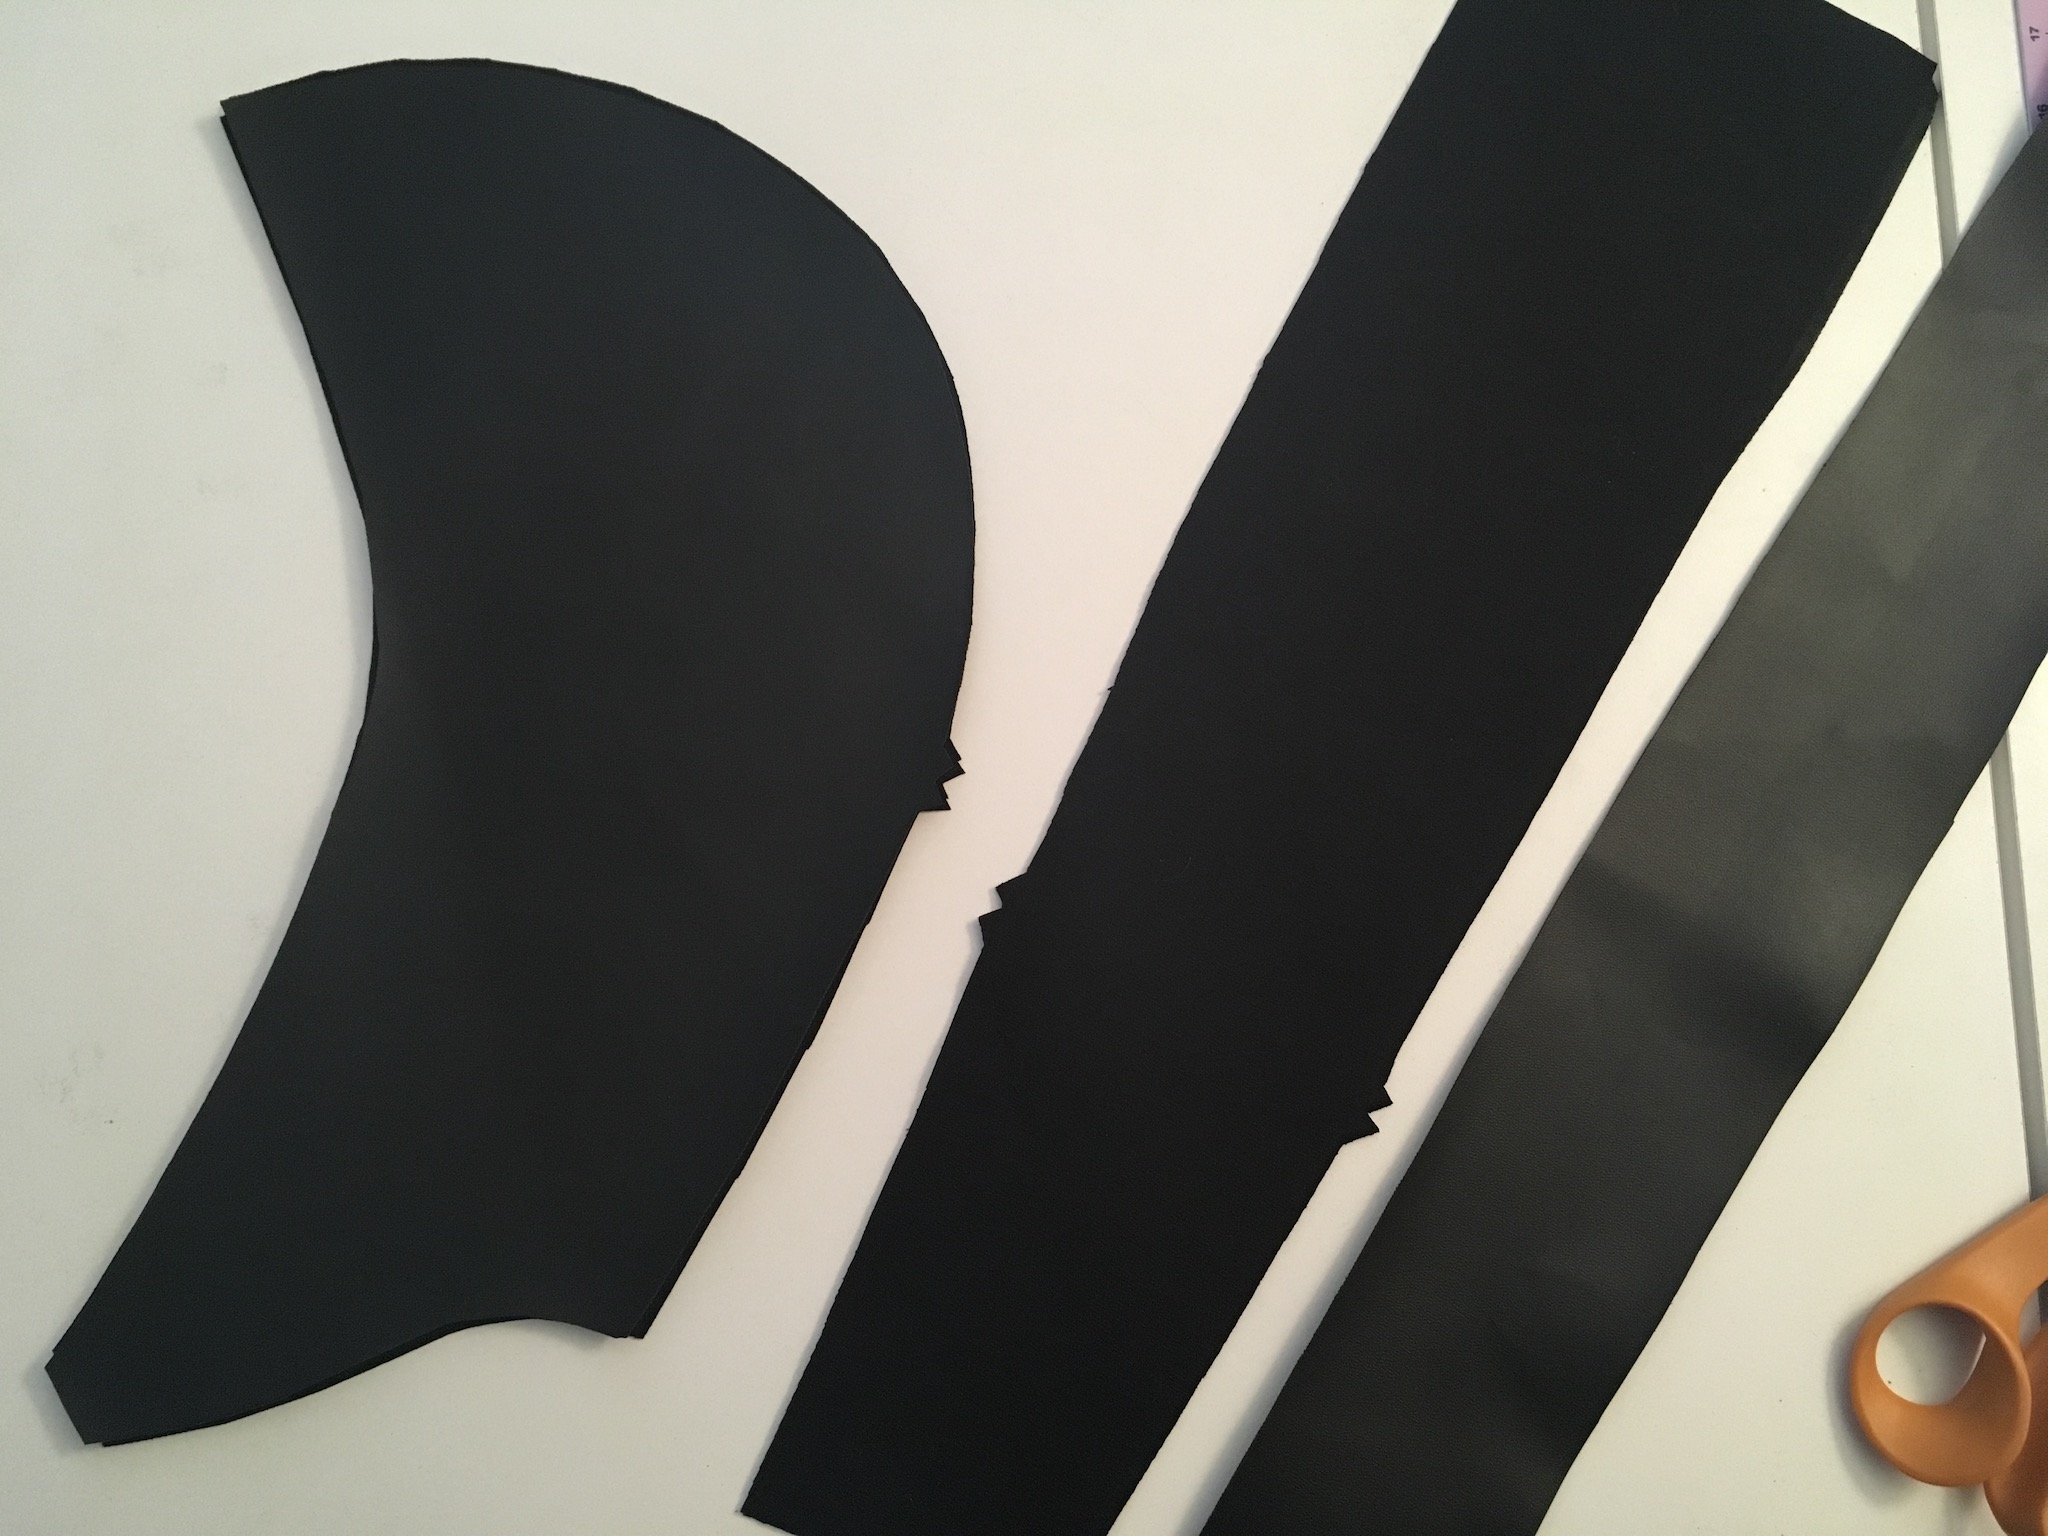
#1. Cut out pieces 1,2, 3, 4, 9, and 10 from your copy of Simplicity 8482. First, combine pieces 1 and 2, as well as 3 and 4, to remove the seams and create your front and back pieces. Next, combine pieces 9 and 10 by taping them together to remove the skirt side seams. You will pin the skirt section to the front and back pieces to remove the waist seams. An example of the full back piece is below (apologies for terrible lighting):
After cutting out your pieces (2 front, 2 back) from your mockup fabric, pin these pieces together to form the base of the jacket. Draw the double-seam lines onto the front pieces.
#2. Cut out your godet pattern piece. This is not included in the original Simplicity pattern, nor is it necessary to incorporate. However, I wanted to emulate the full swoosh effect that the Organization coats have in battle and cutscene animation, and godets provided the desired effect by adding volume to the “skirt” of the coat without resorting to gathering or a circle skirt-esque pattern.
(Source: Sonny92kh)
I don’t have a good photo of the godet piece, but hopefully this rough mock-up example helps! The godet is essentially a triangle with a curved hem that is inserted in the side seam. The “point” of the triangle hits at the natural waist and blends into the rest of the side seam. In this photo, the godet piece is represented by yellow fabric.
If you need help drafting a godet pattern, here’s an excellent video tutorial!
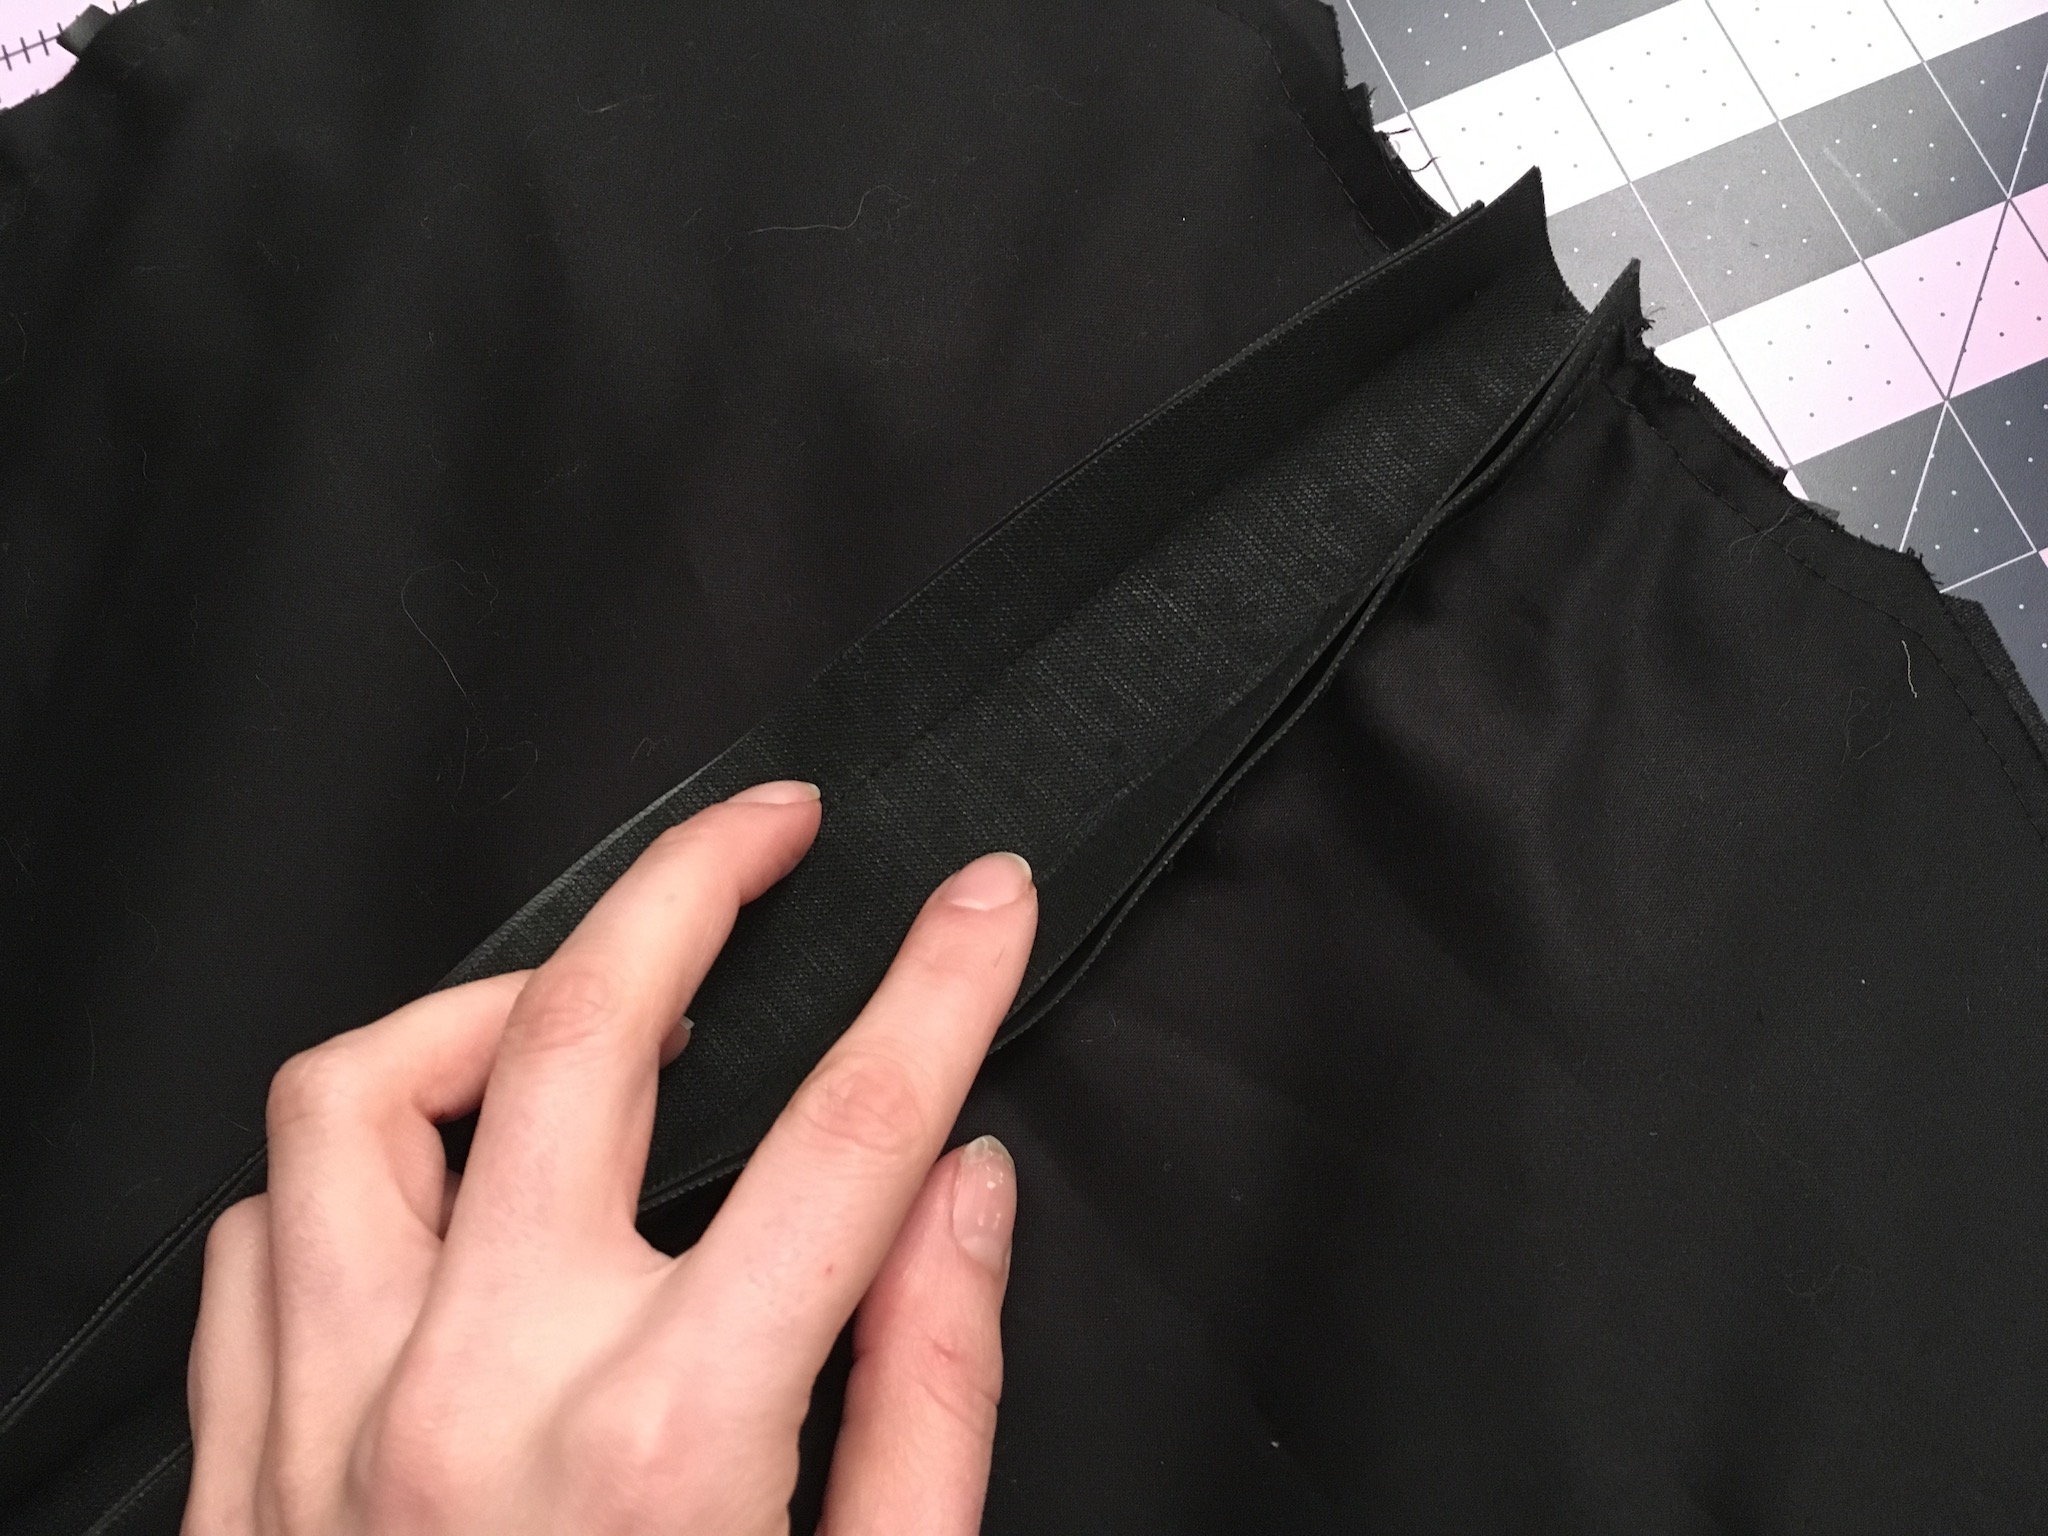
#3. Once you’ve finalized your pattern and sewn your mock-up, cut out your underlining and outer pieces. For the underlining piece, incorporate the spacial dimensions of the double-seams into one single piece to save yourself the trouble of sewing double-seams on the underlining.
#4. First, we’ll sew the front of the jacket. Begin by hemming the top edge of pockets. Attach the pocket to the upper front piece (line up the lower and side edges, then baste in place. Attach the lower front piece to the to the upper front piece at the bottom edge of the pocket.
Topstitch along the lower hem of the pocket.
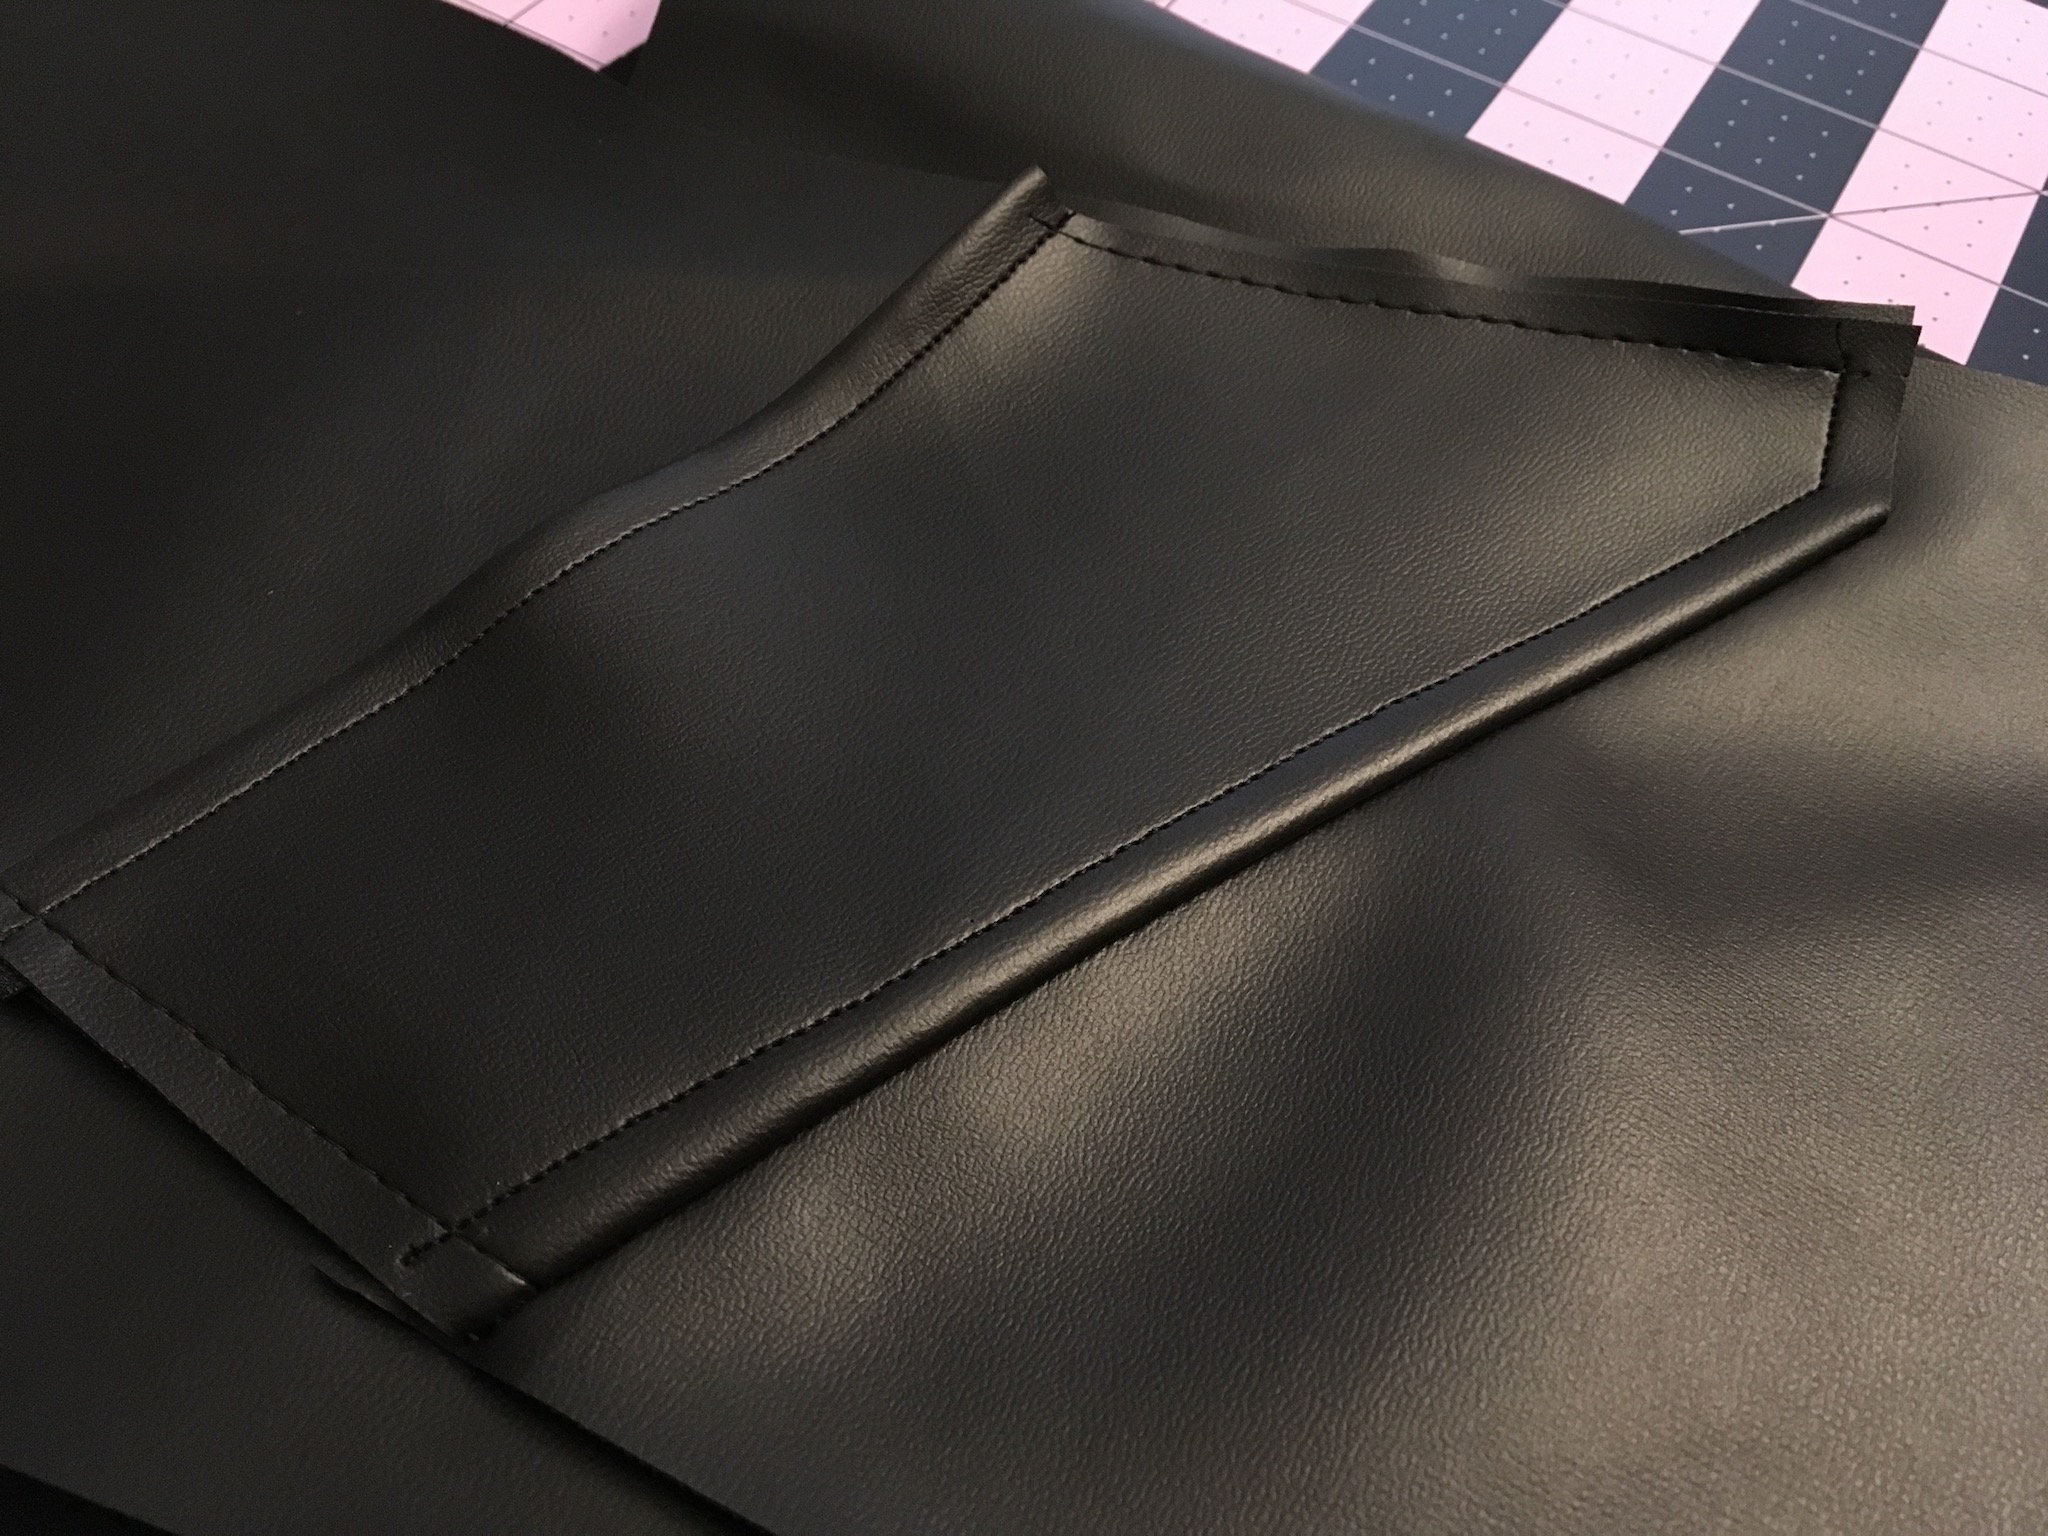
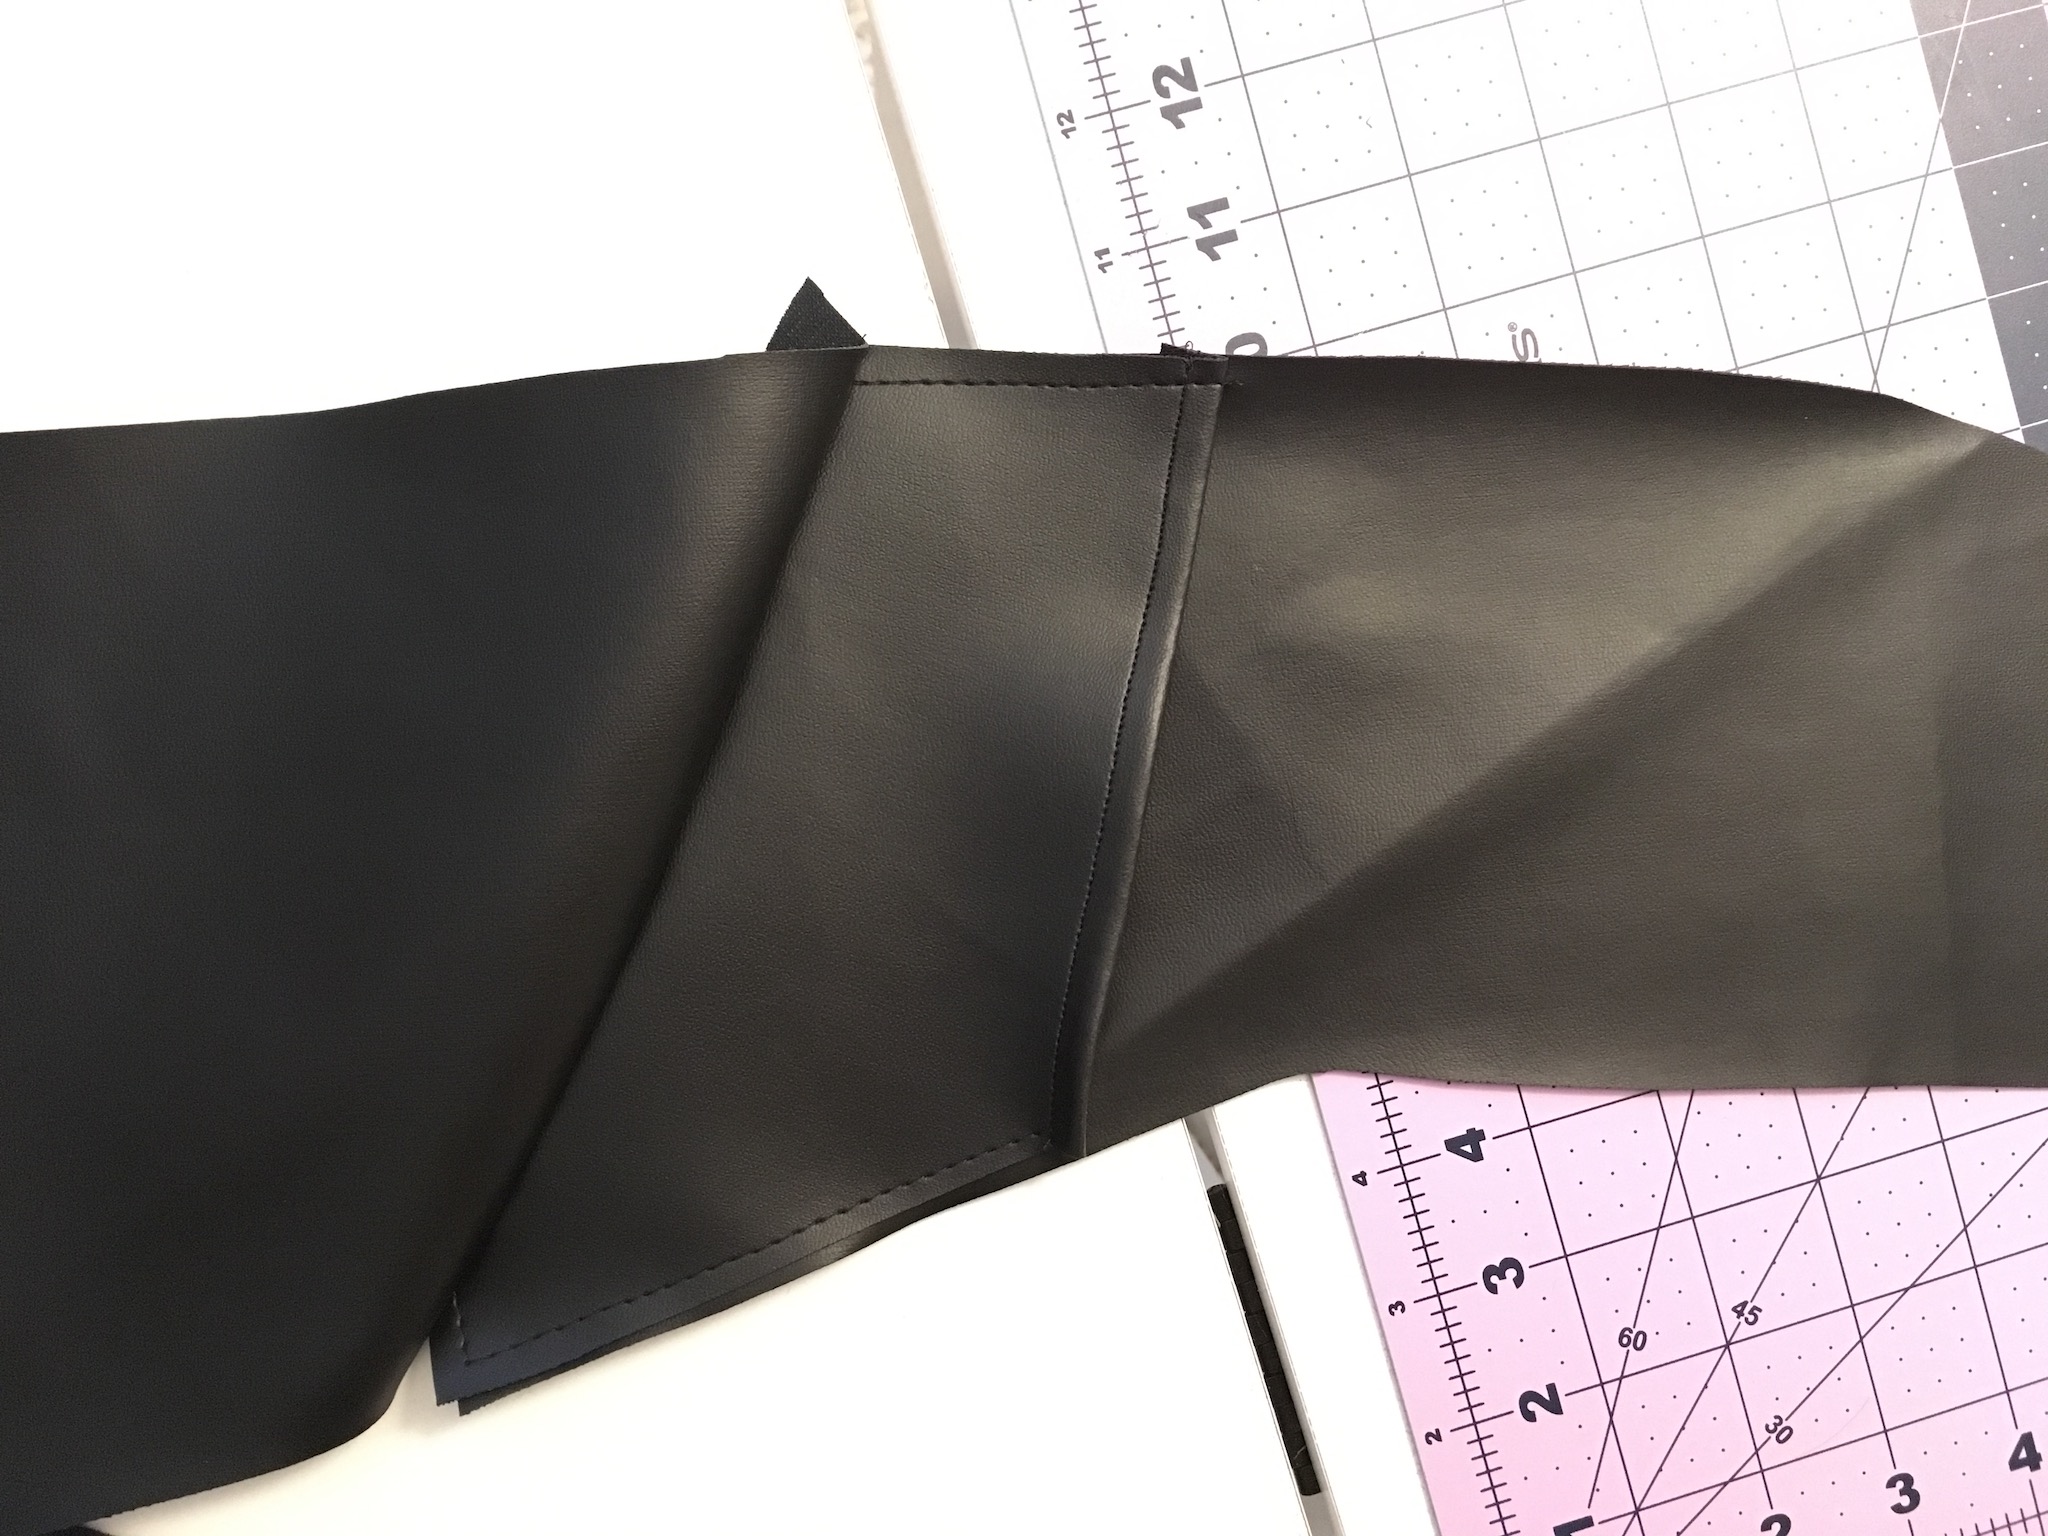
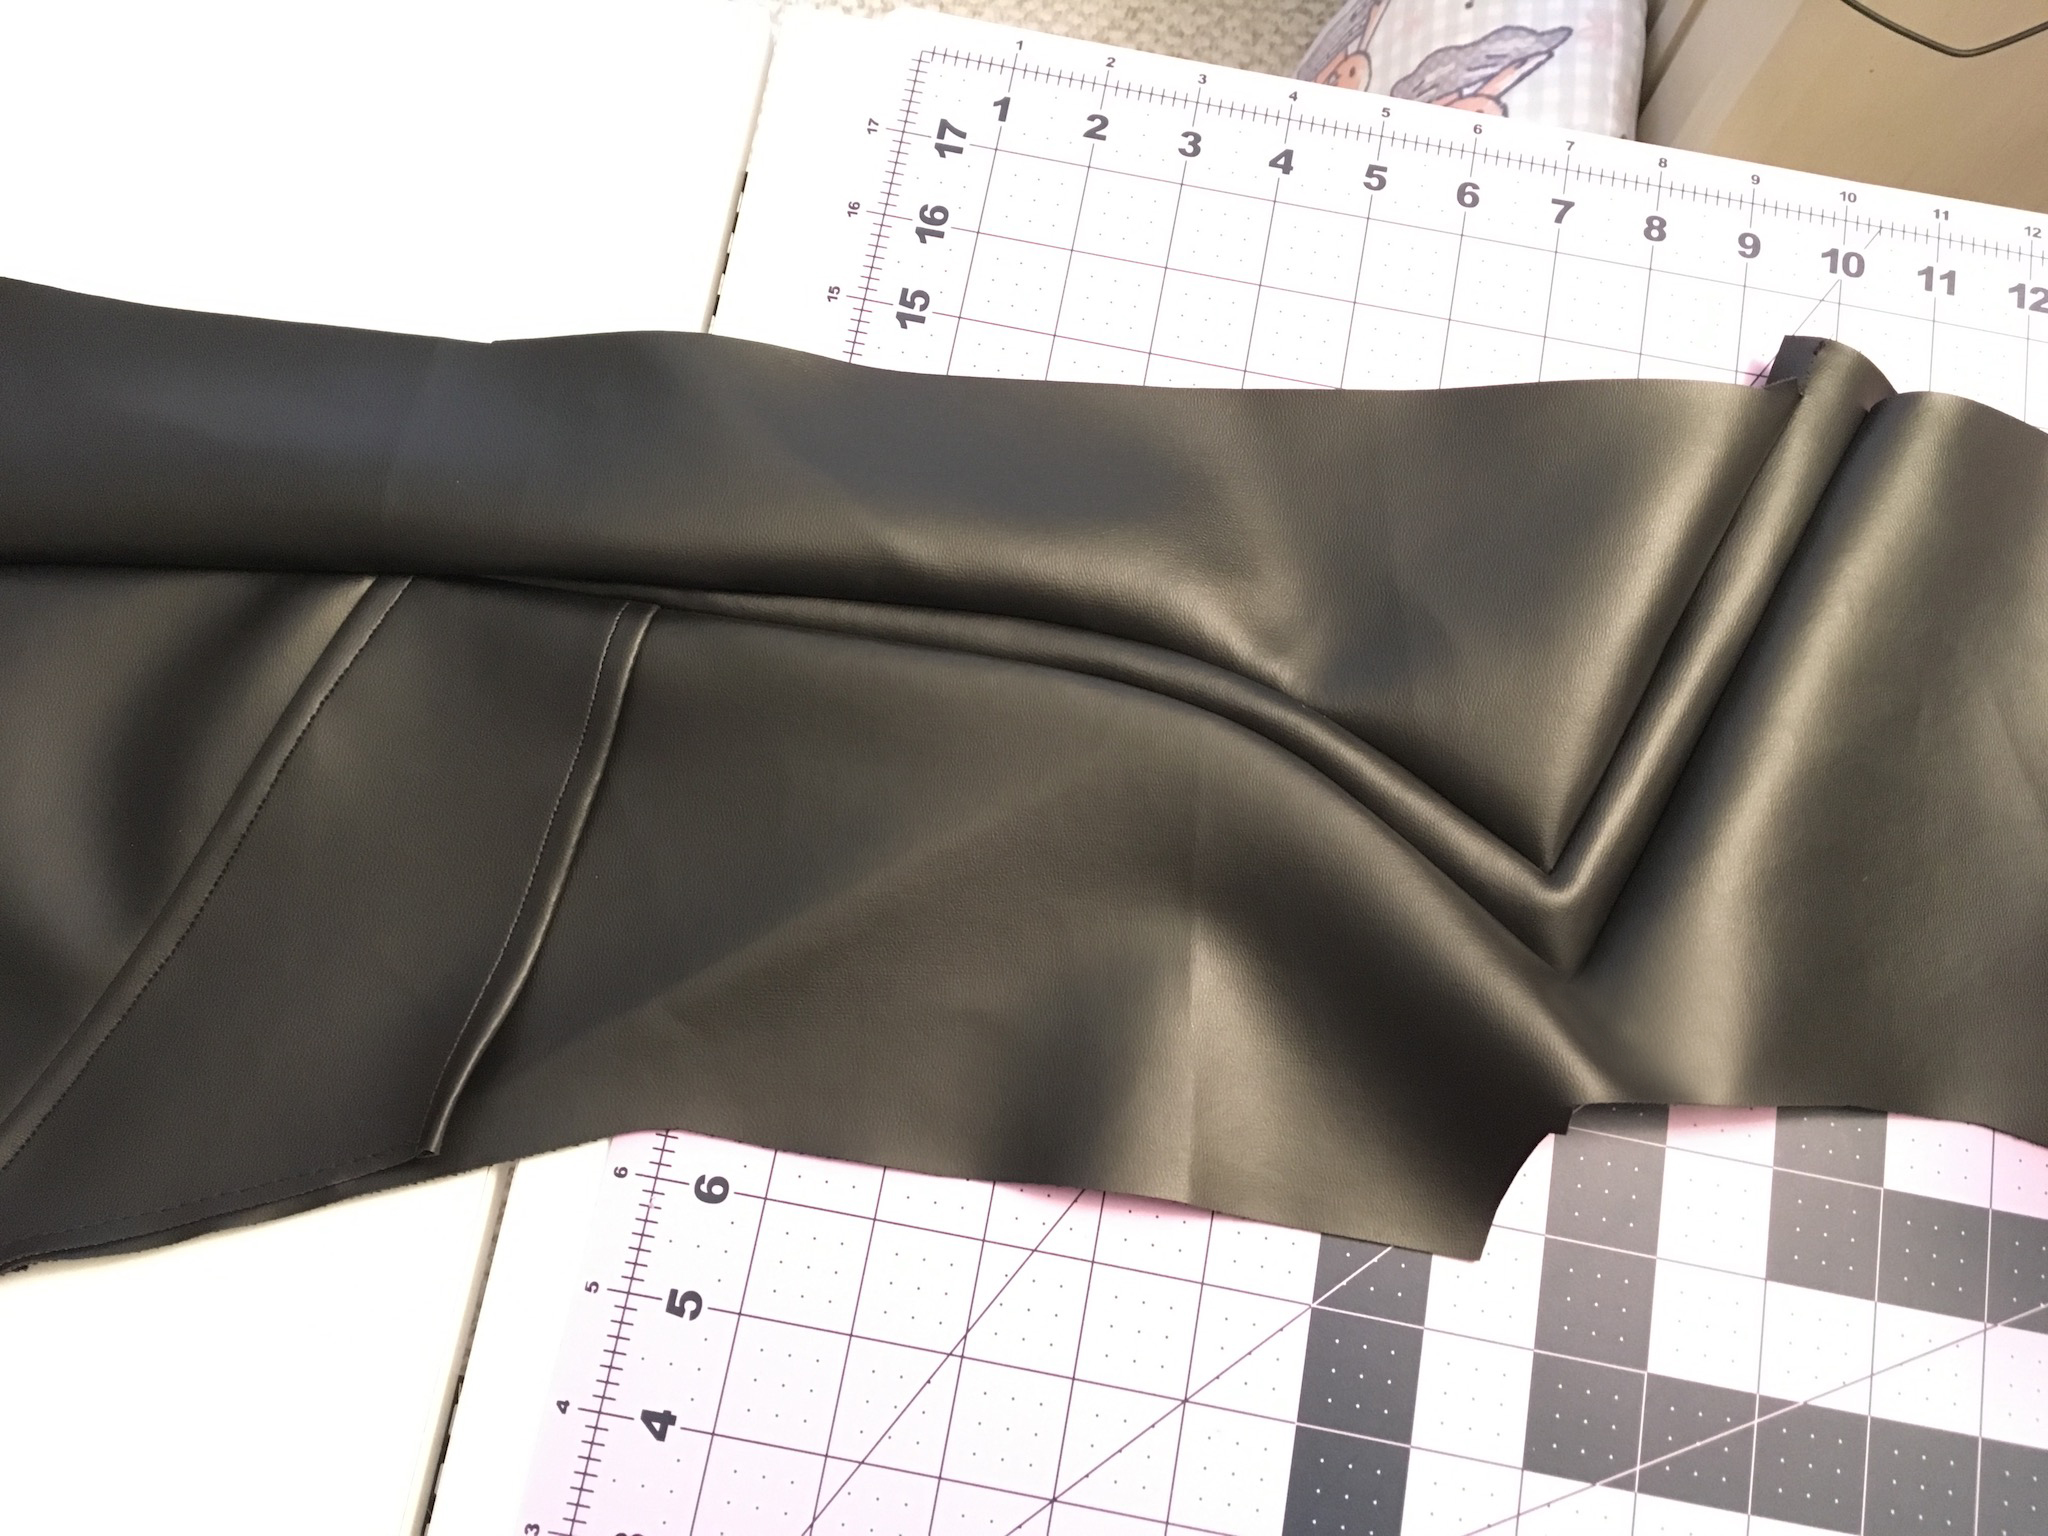
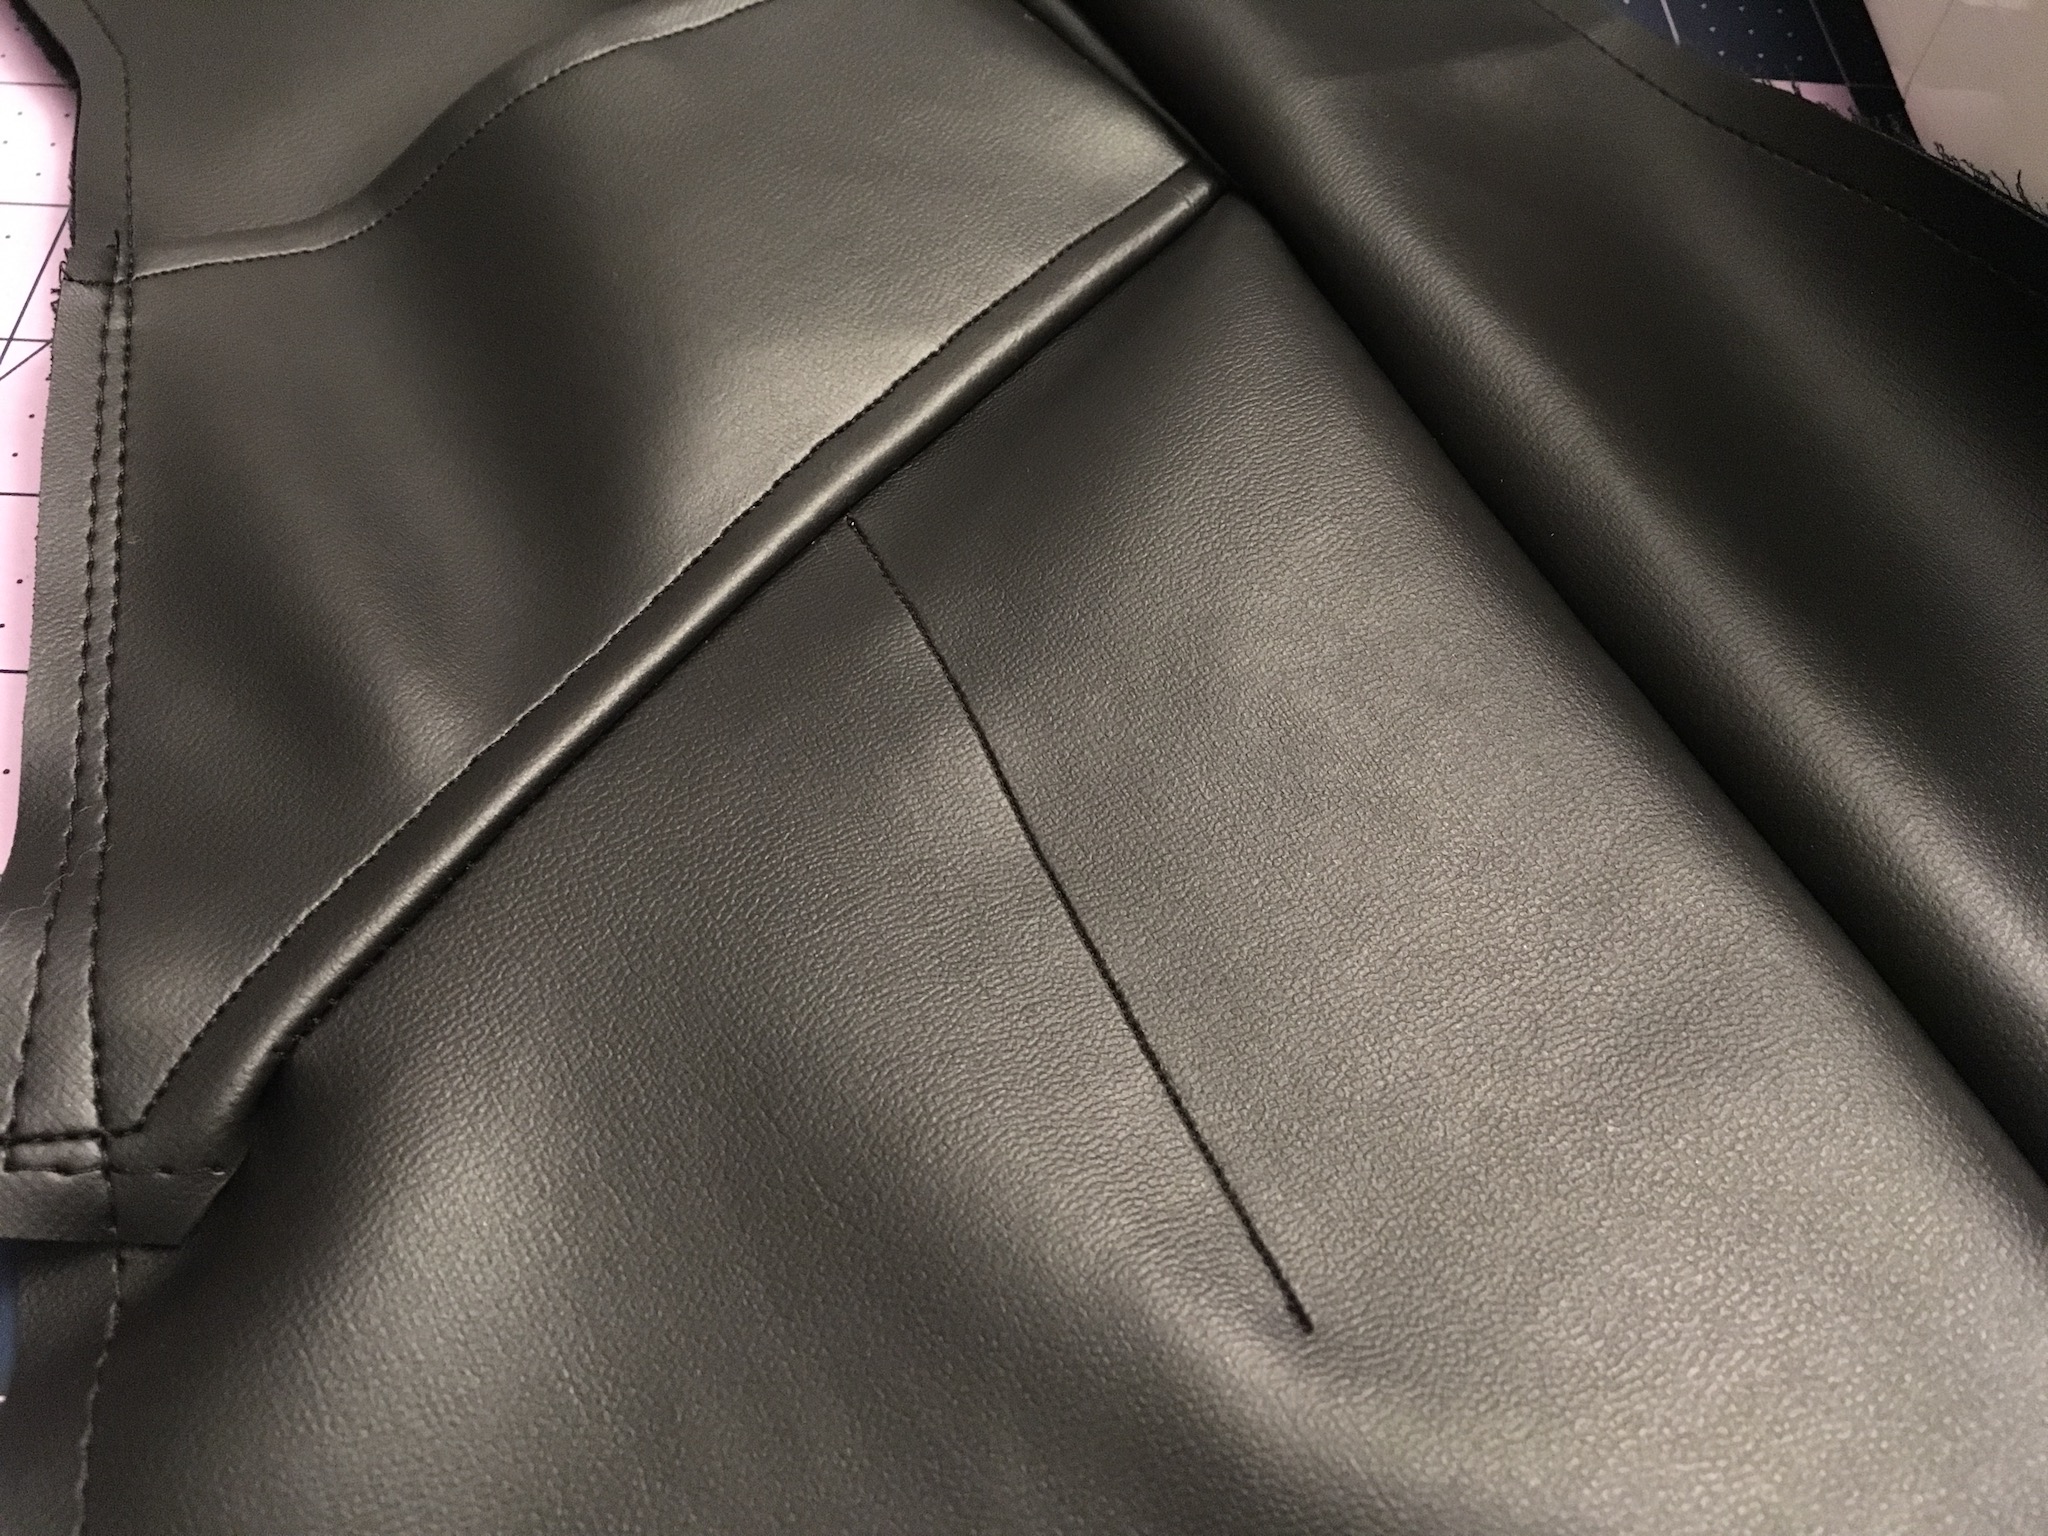
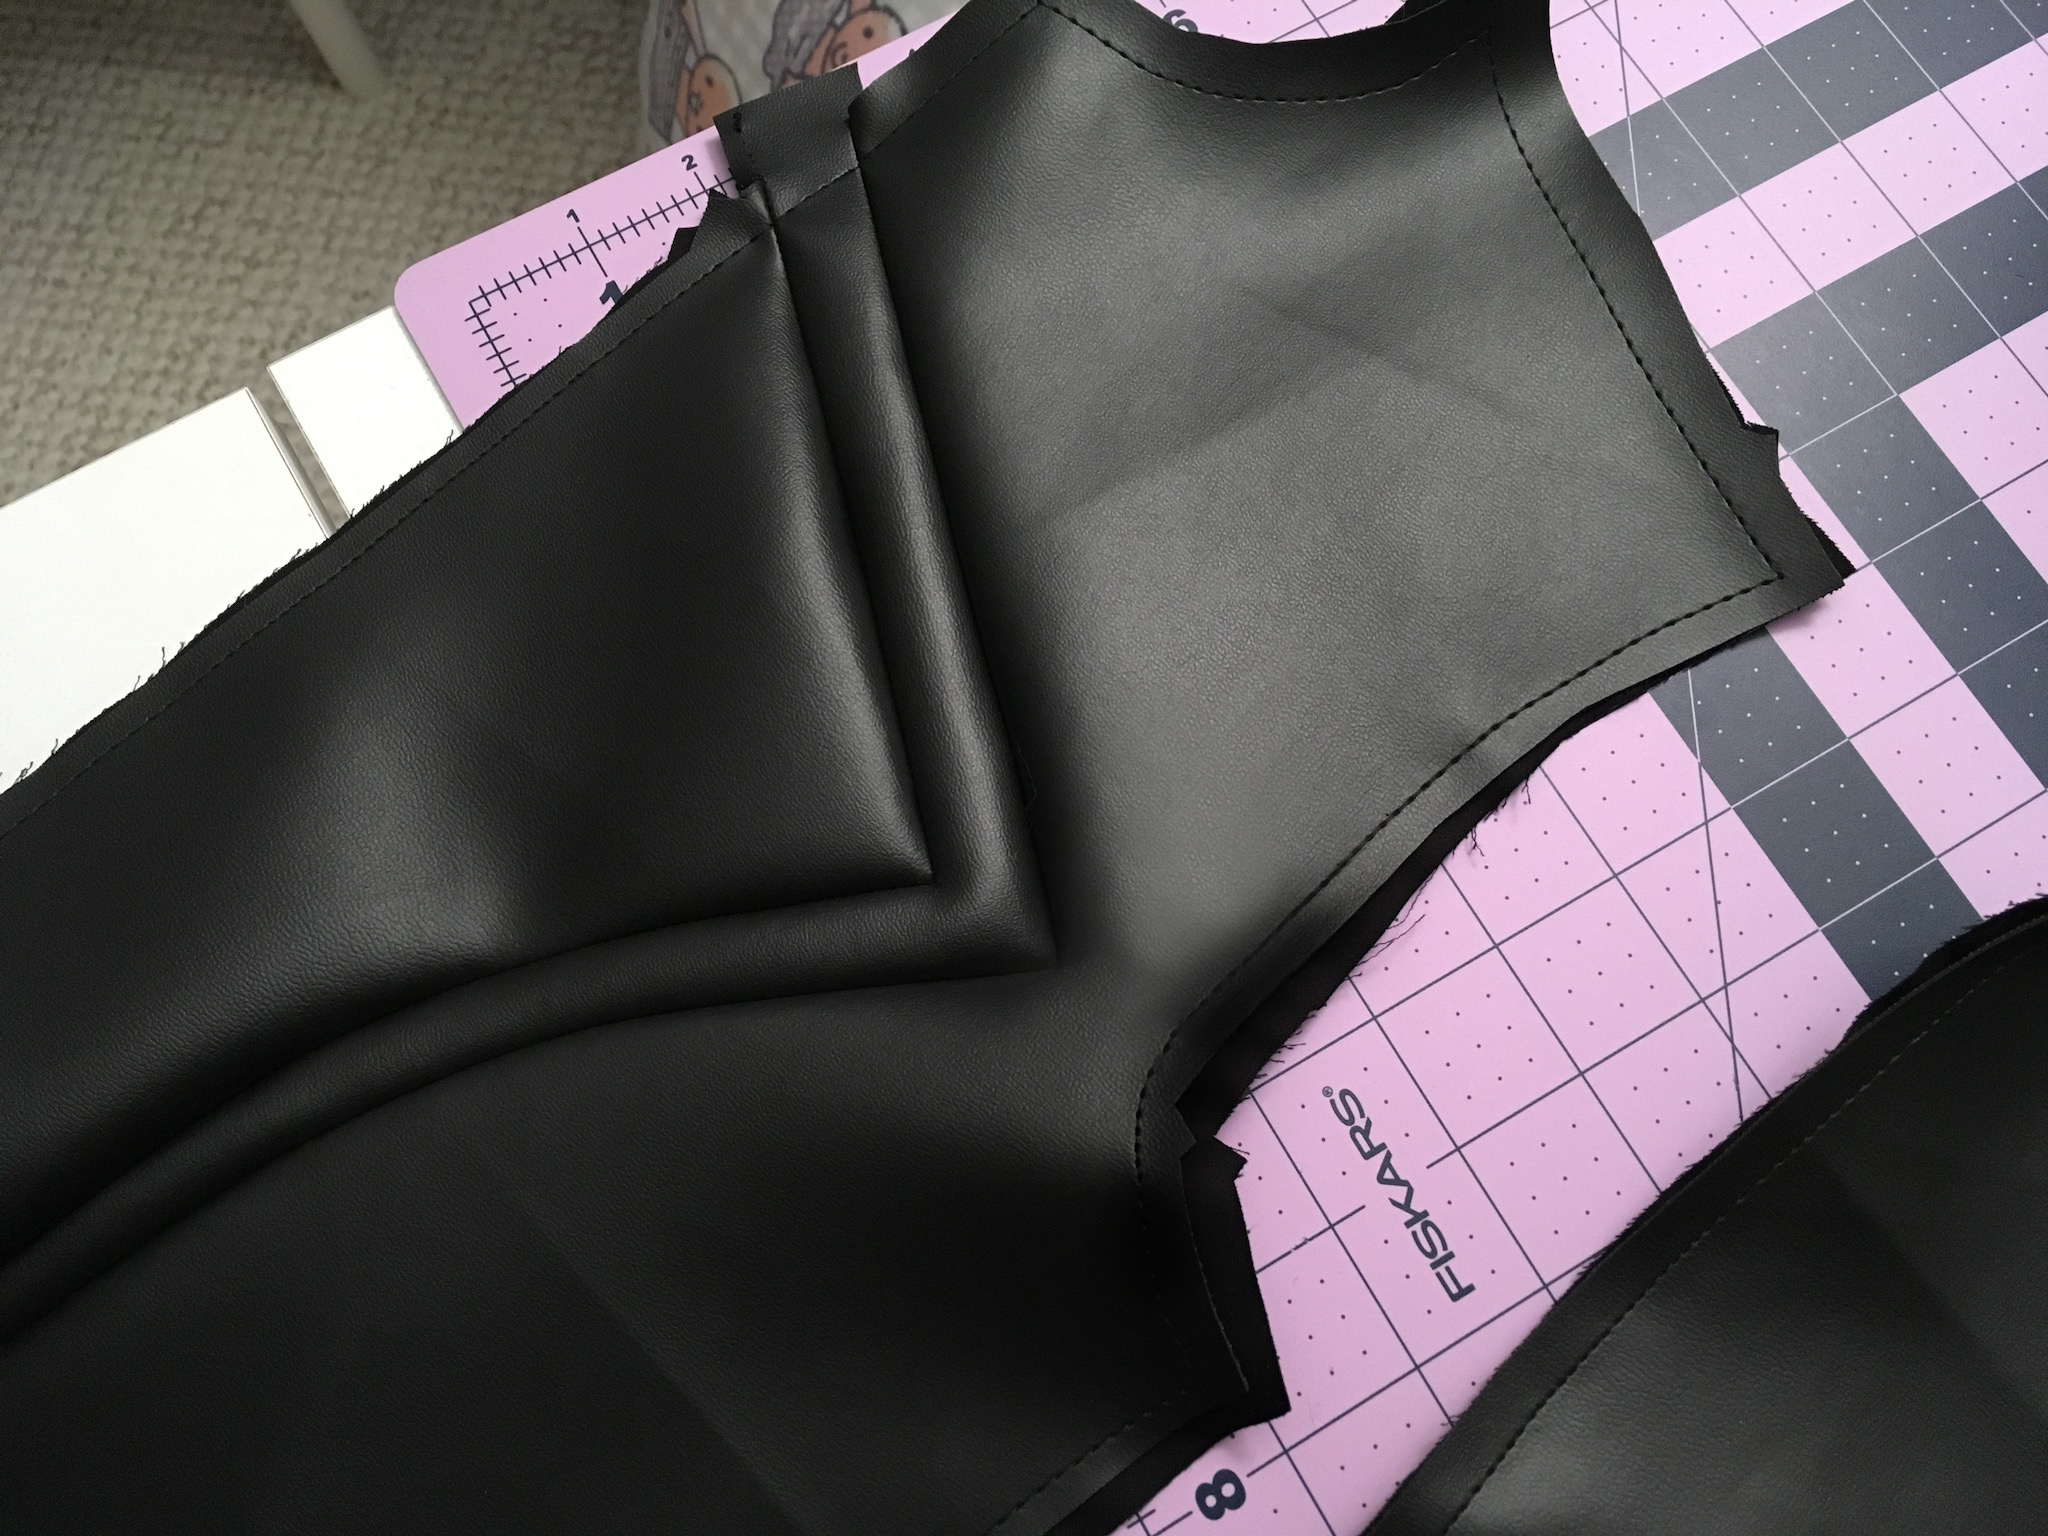
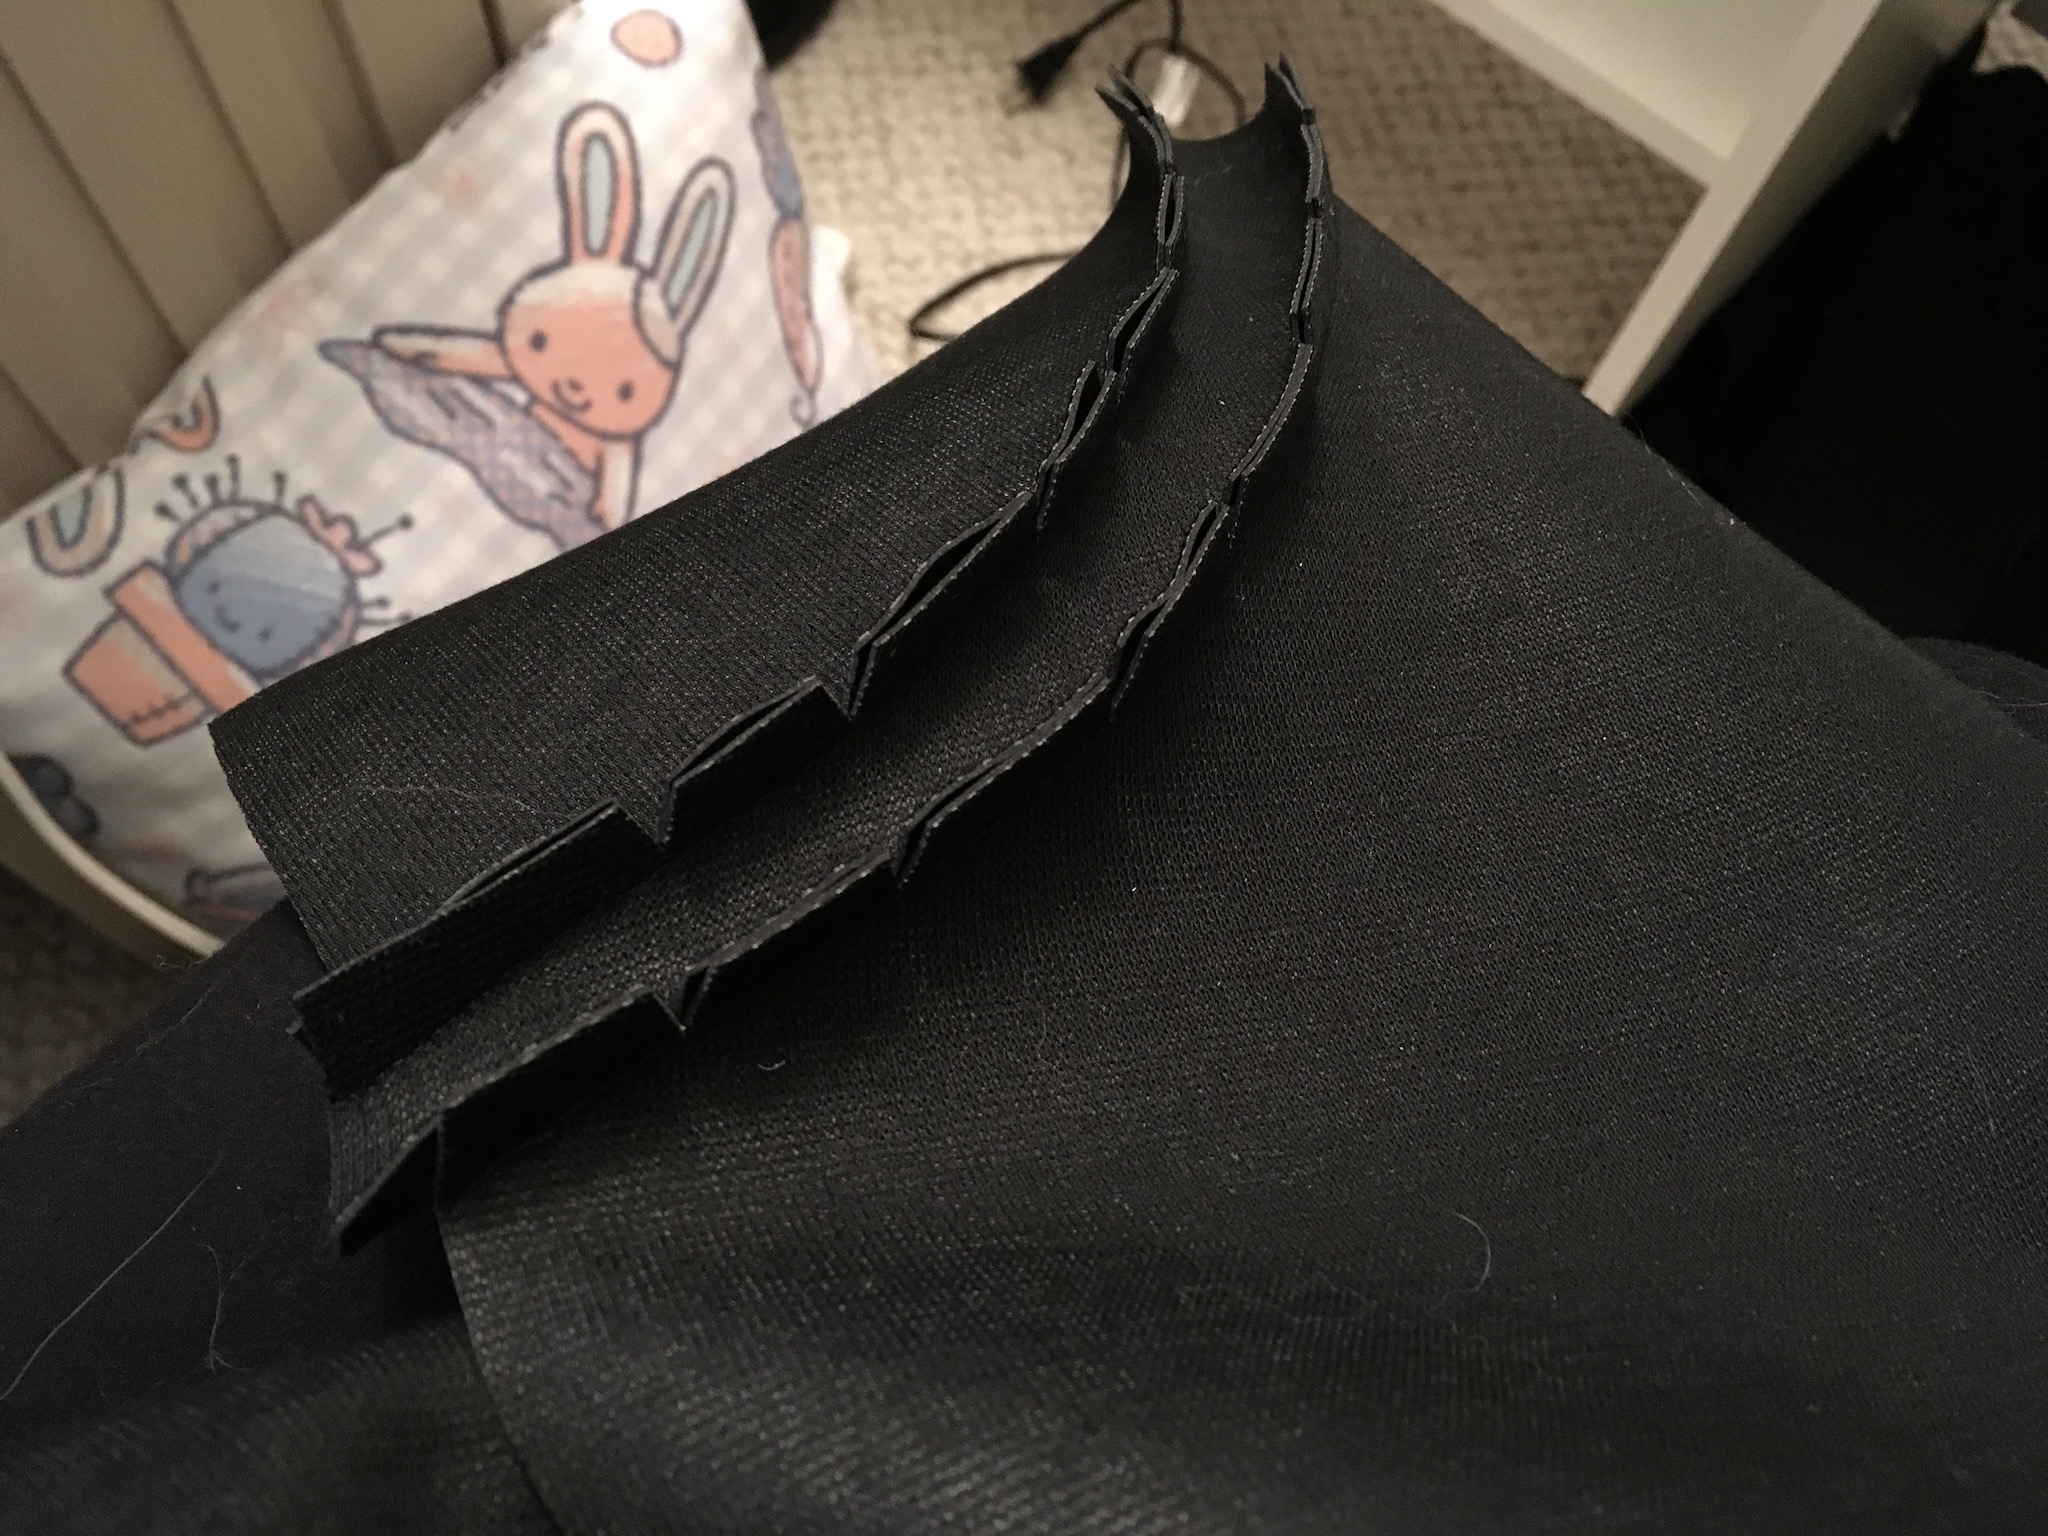
Next, we’re going to tackle the double seams. This involves sewing inset corners for the double seams.

After marking the seam allowance, align the edges of the top side of the double seam piece, right sides together.
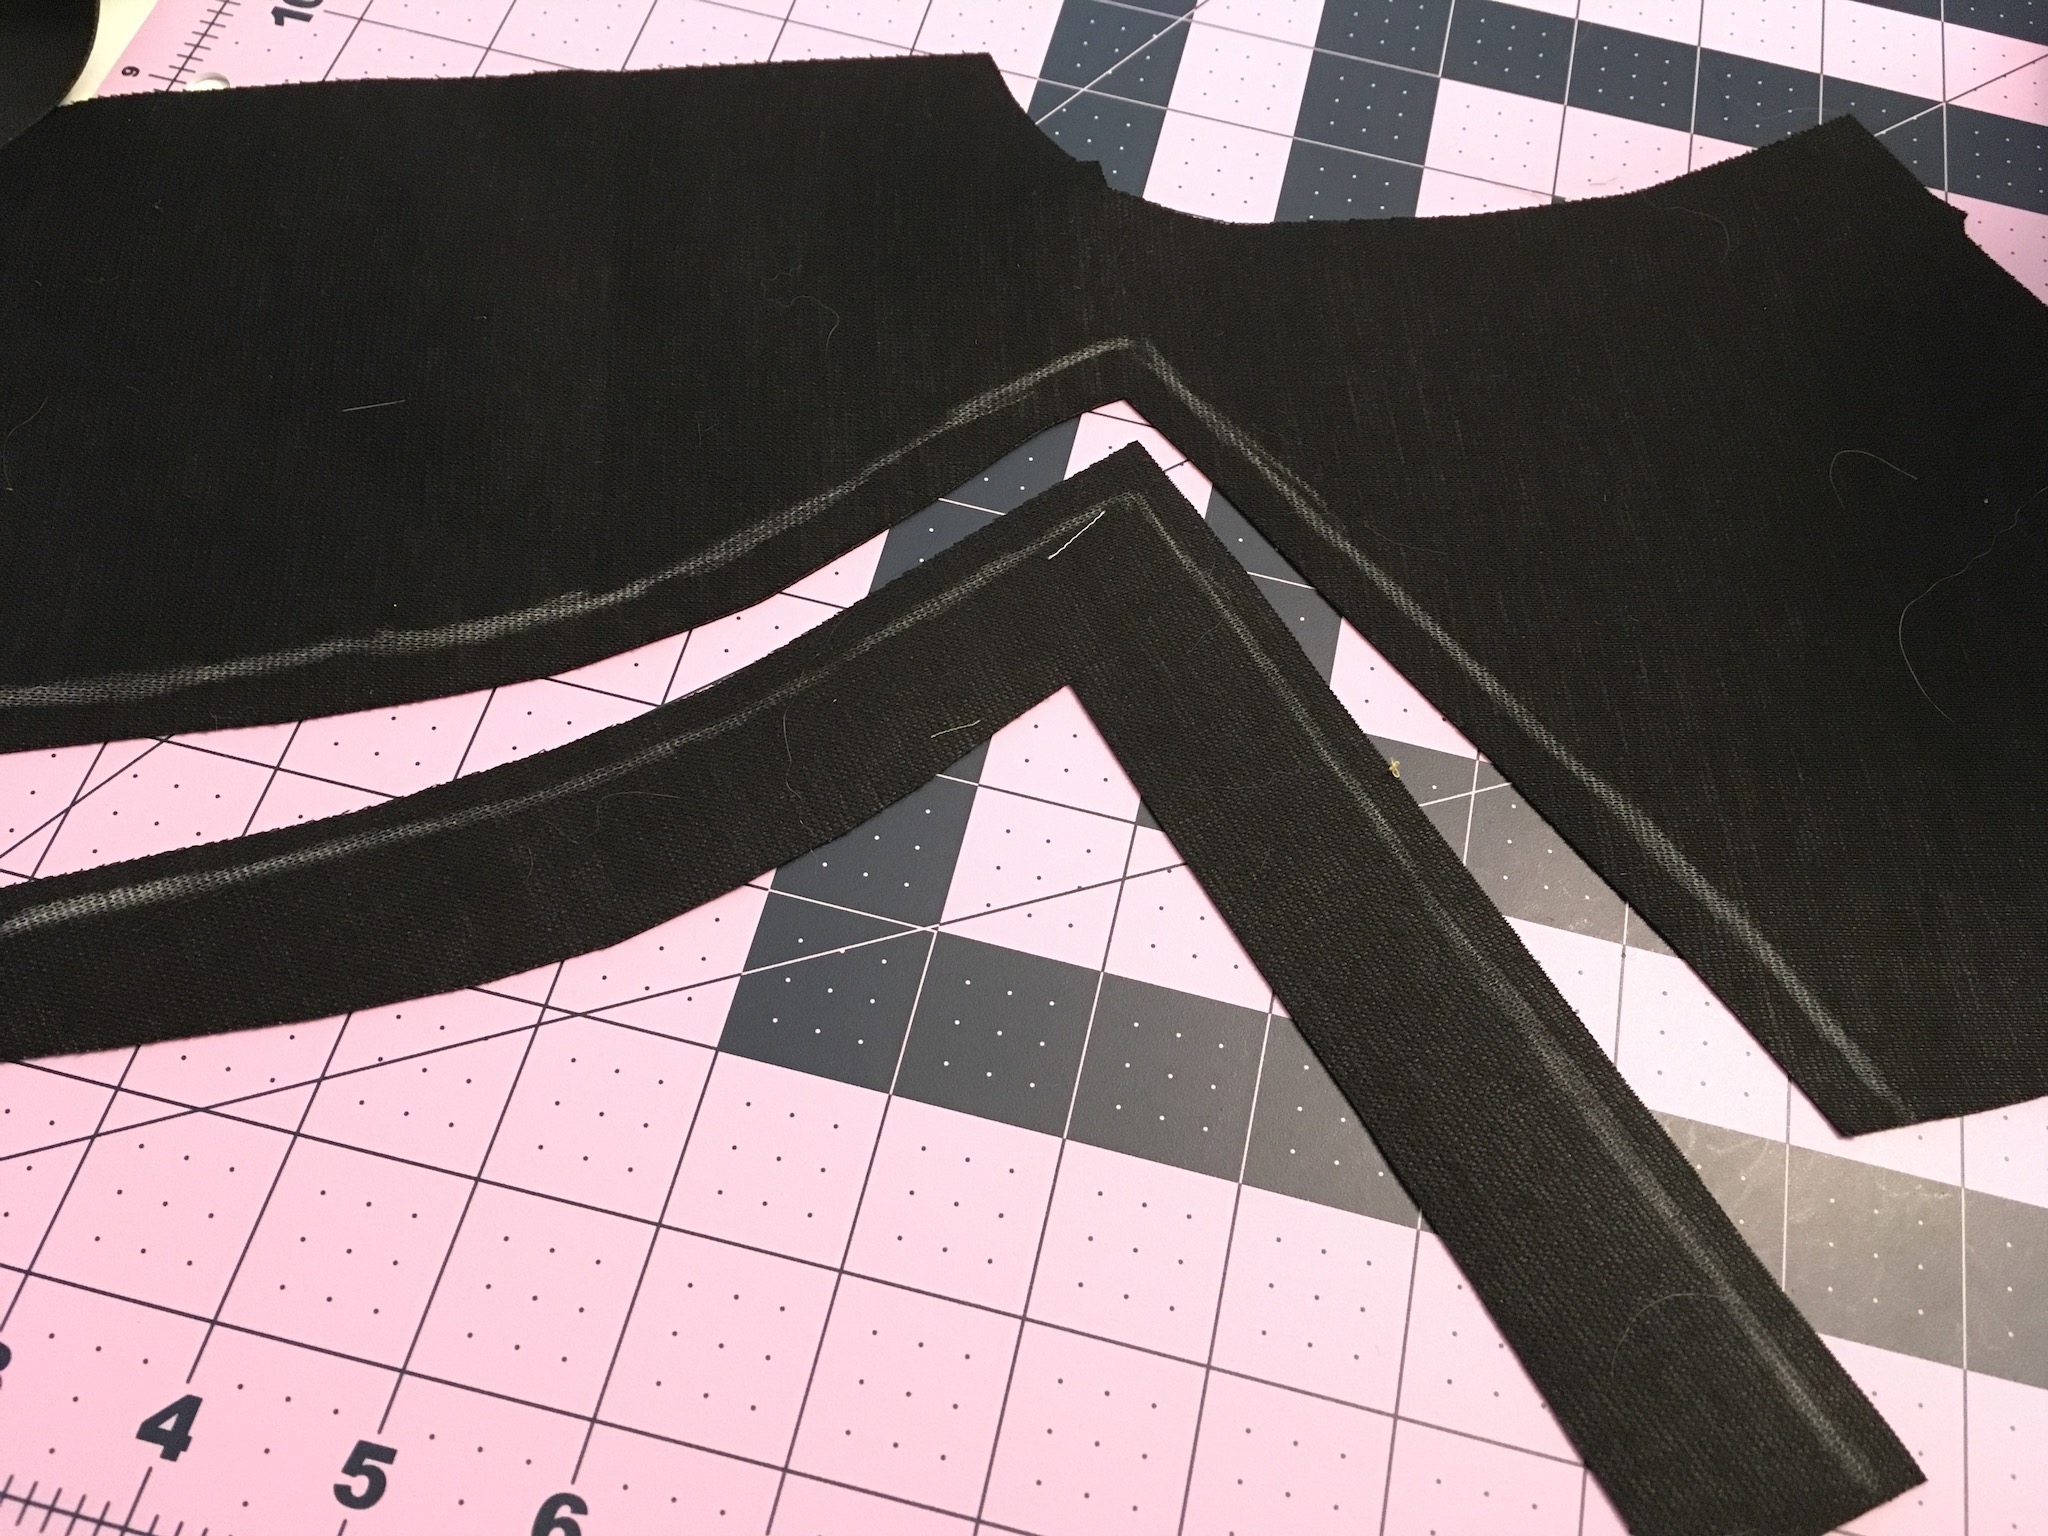
Stitch along this edge until you reach the corner.
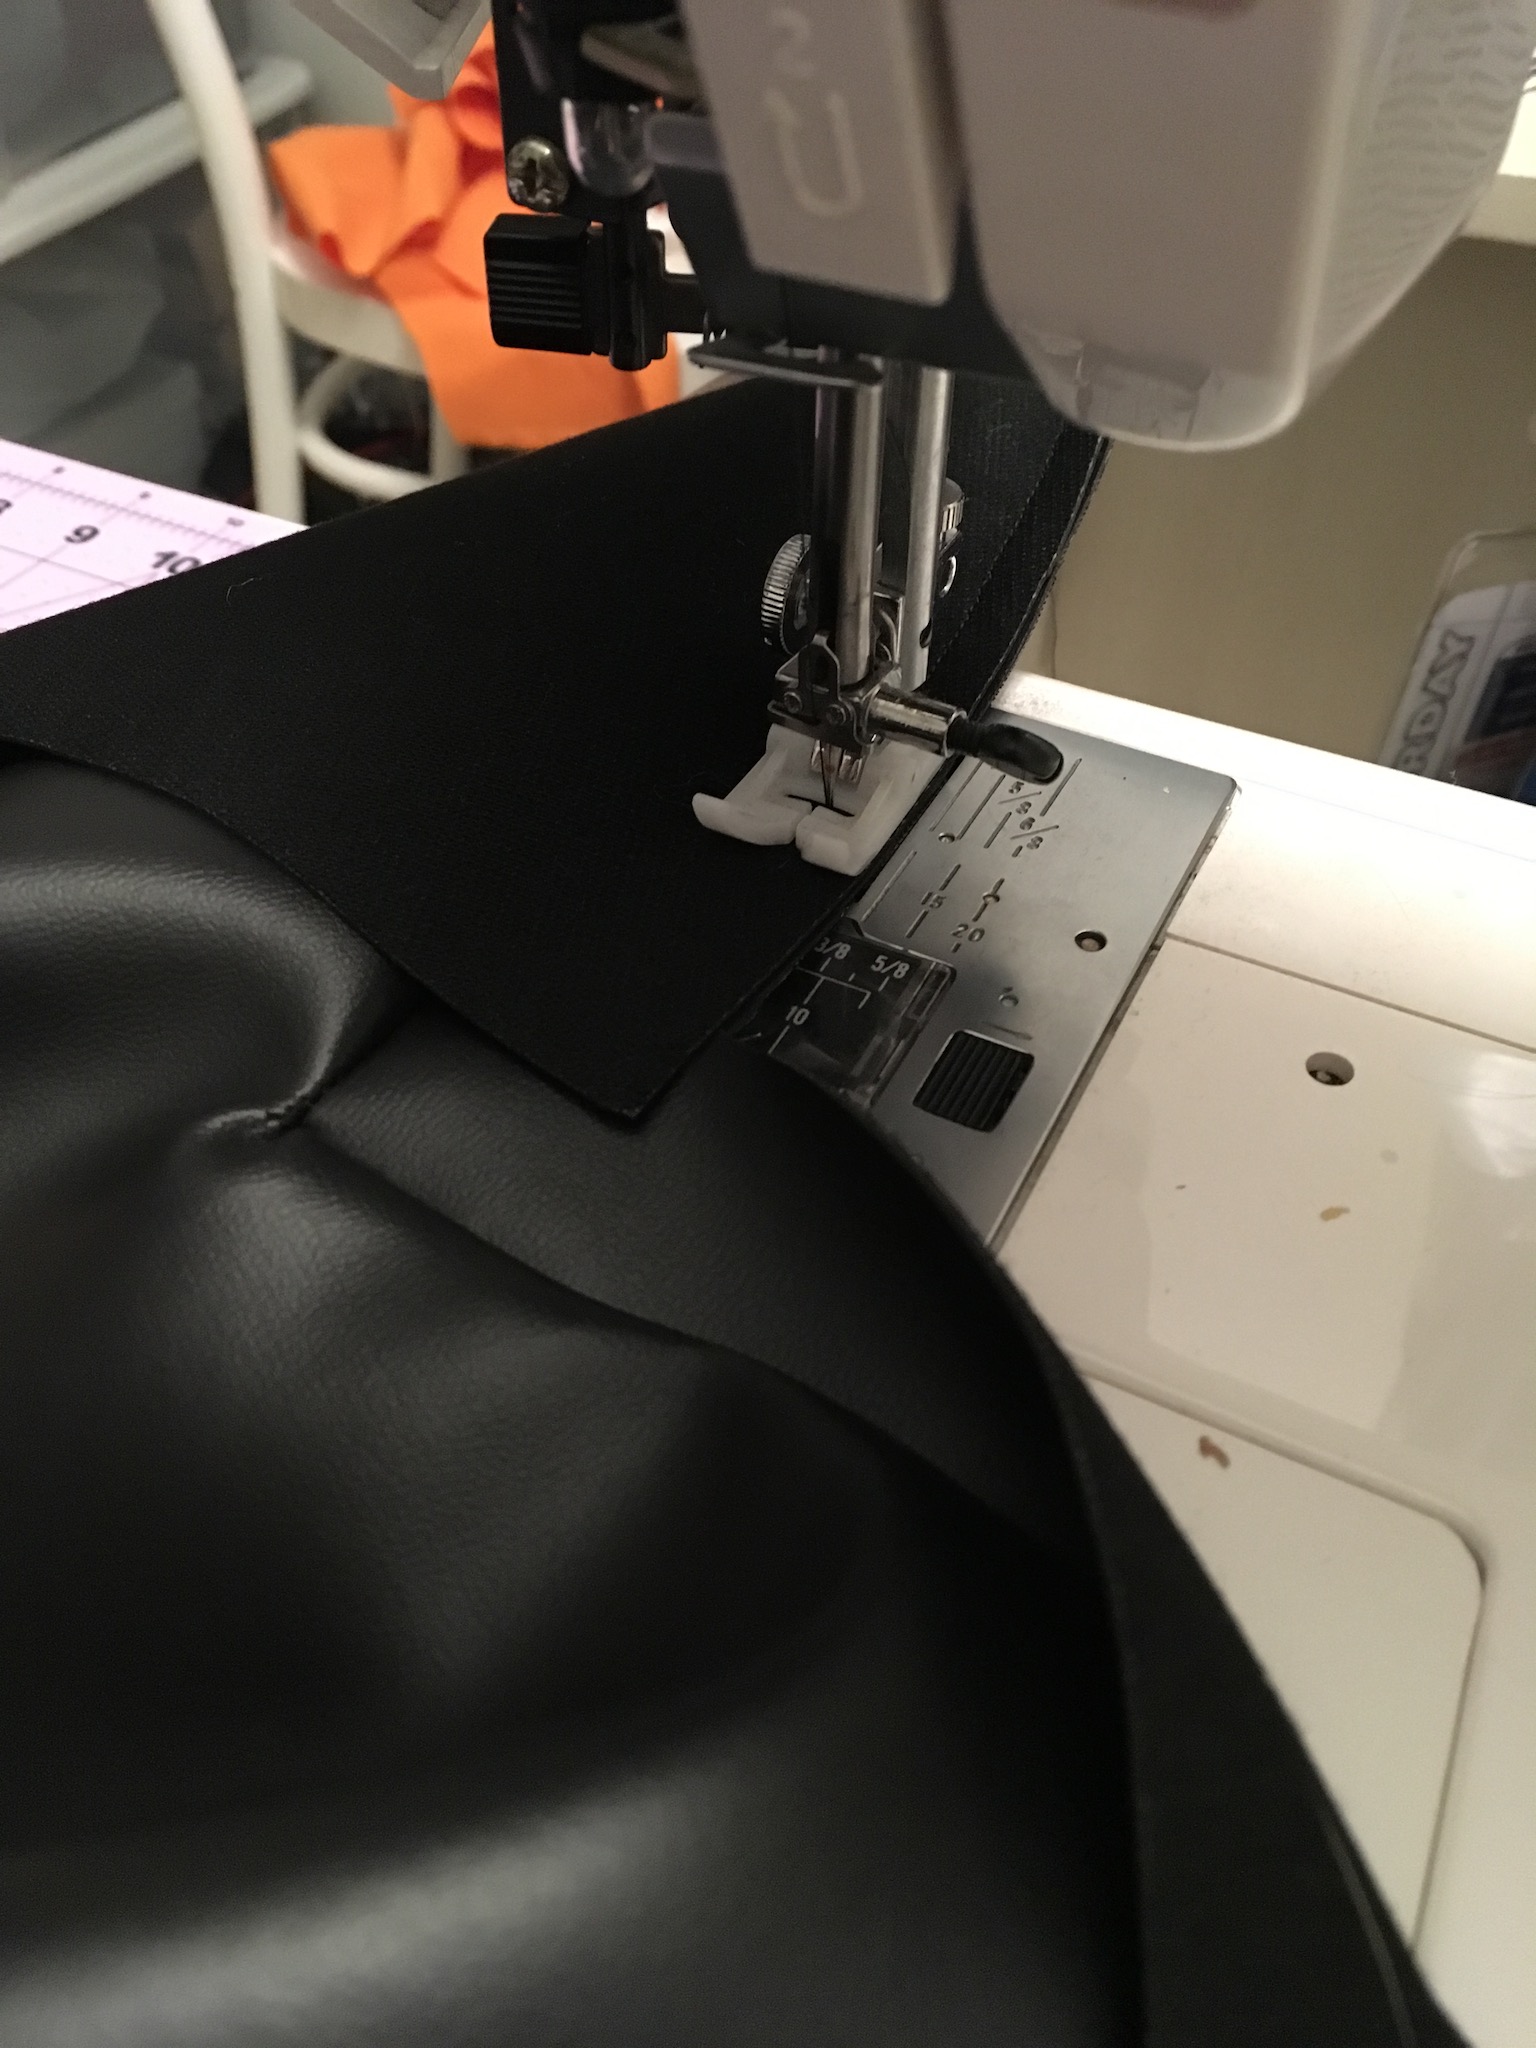
At this corner point, pivot, then clip the upper layer just to where the needle is in the fabric. Next, pivot the fabric again so that the lower edges line up, and continue stitching until you reach the end of the seam.
This is what it should look like from the outside when you’re finished:
Finish the double seam by attaching the lower half of the front jacket piece, then trim down the seam allowance.

Repeat the process for the other side of the jacket.
Sew the stitch line beneath the pockets.
#5. Baste the outer front jacket to the underlining (we’re flatlining the jacket pieces).
#6. Sew the back of the jacket. Again, you’ll be sewing double-seams for the shoulder blade area. Fortunately, these are much easier than the front double-seams! Just stitch up one curved side at a time, then clip the seam allowances.
Baste the outer back jacket to the underlining.
Sew the back double seam of the jacket.
#7. Next up: installing the godets! Baste the outer godets to the lining pieces. Sew the front and back jacket pieces to the godets, as well as attaching the front and backs at the side seam.
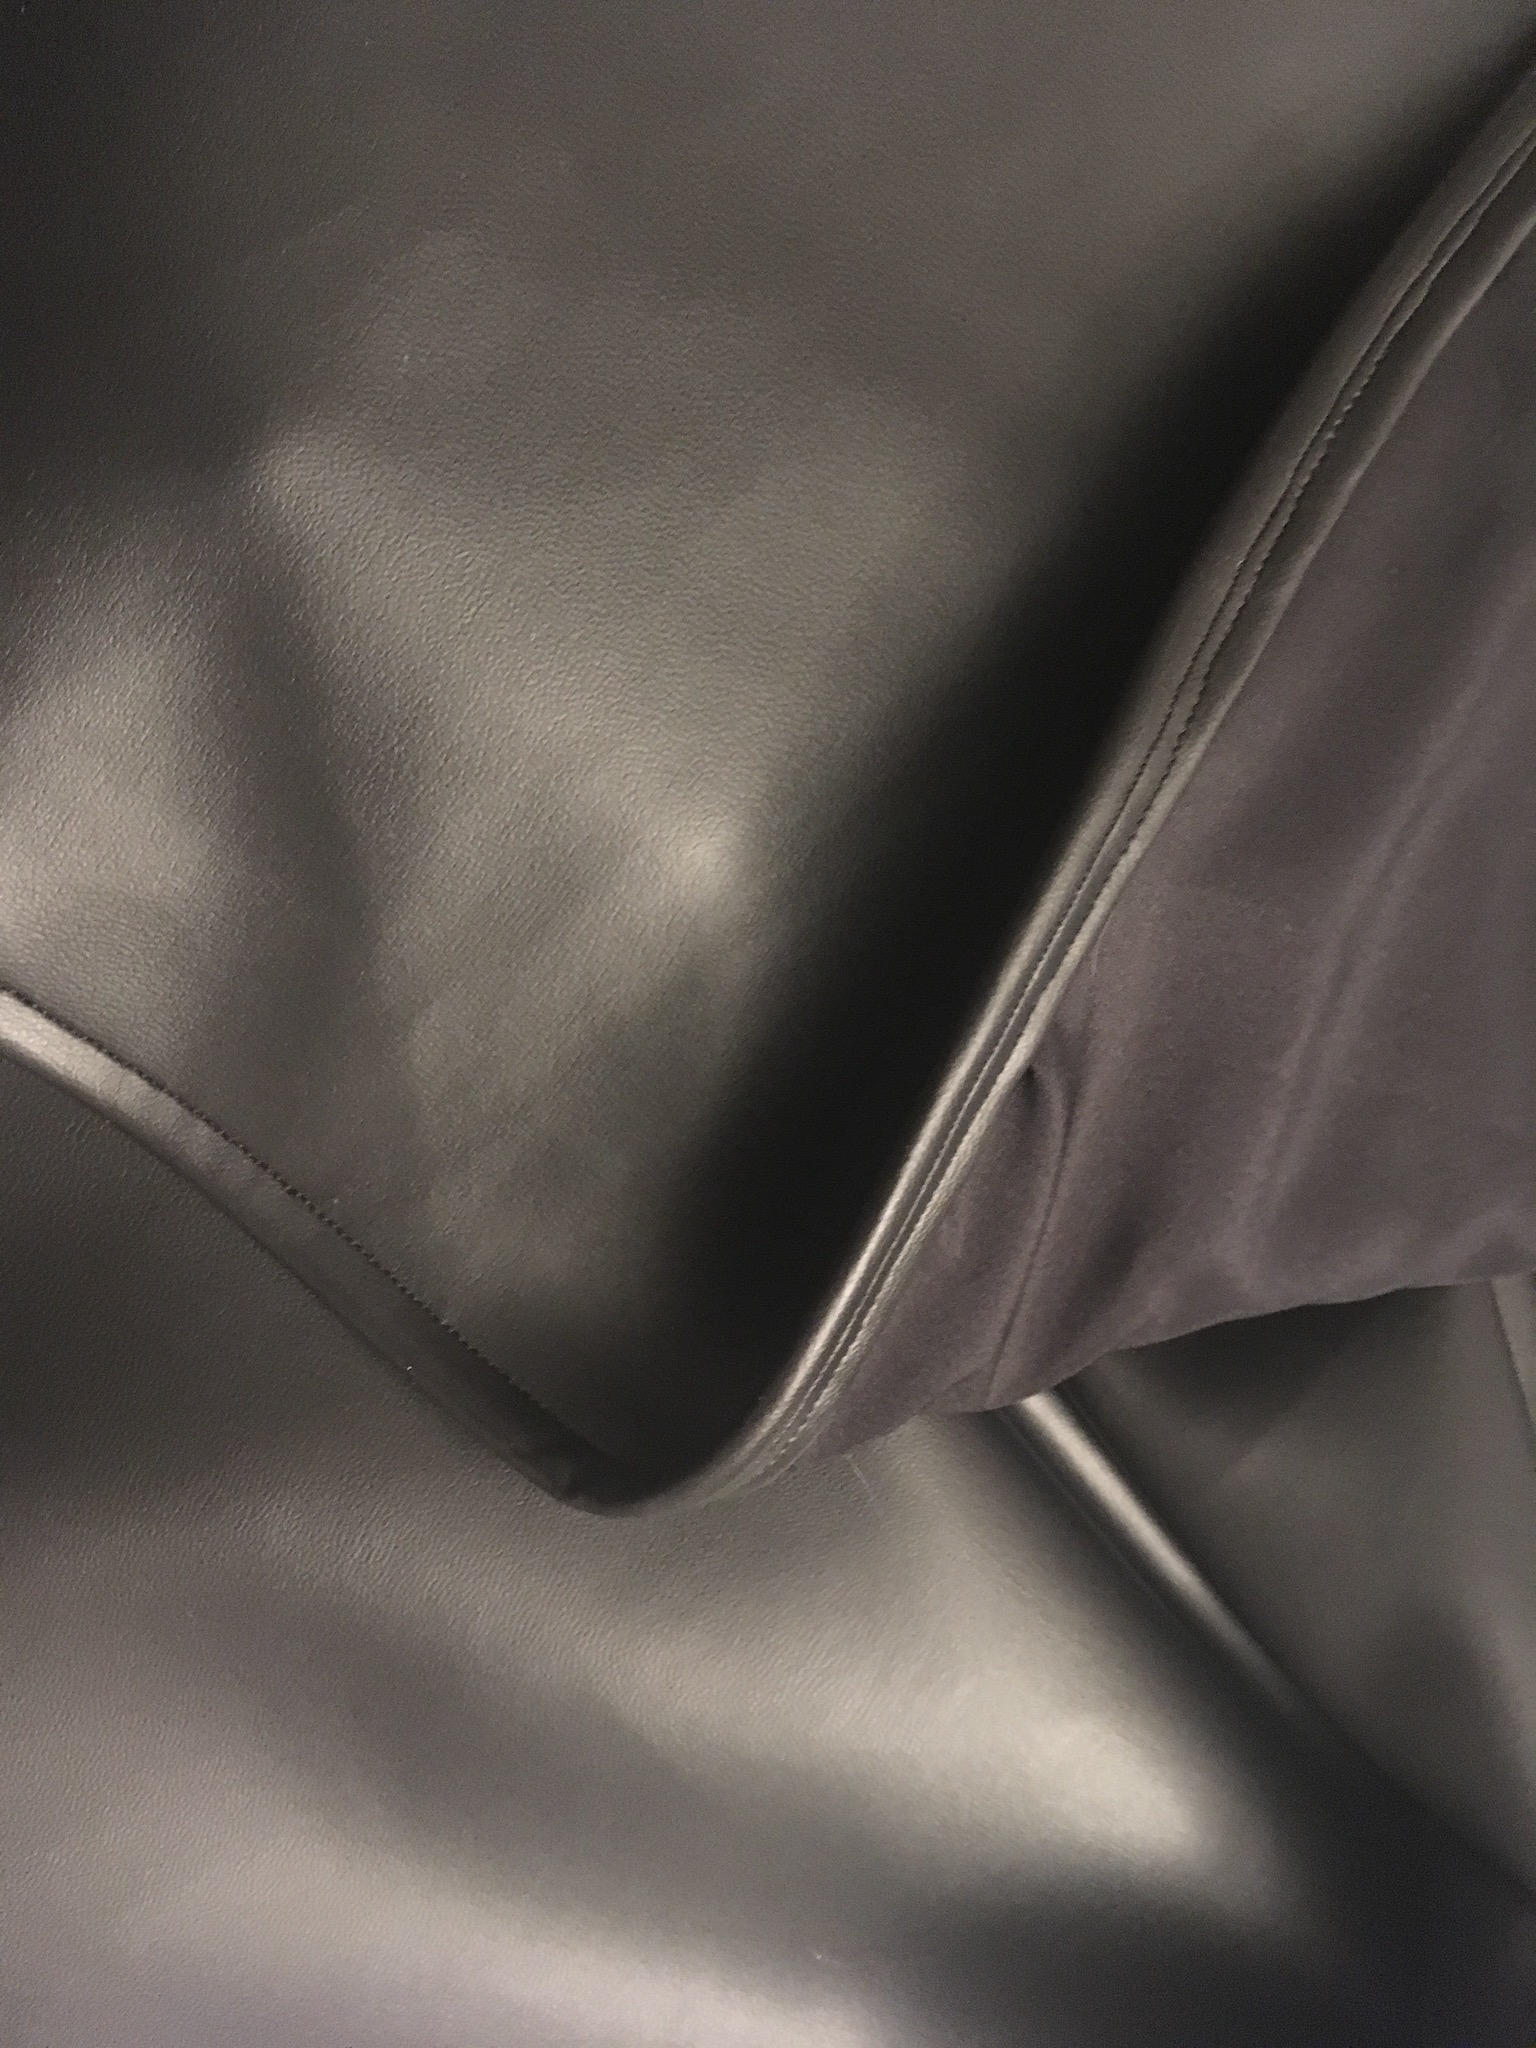
#8. Catch-stitch all of the seams by hand. This will be a very long and tedious process, but it will ensure that your synthetic seams are pressed open without the application of heat. (Make sure that you’re only catching the jacket lining, not the PVC layer.)
#9. Once you’ve finished with the seams, level the bottom hem of the coat. Hem this edge, only folding it up once.
#10. Sew each of the sleeve seams. Hem the sleeves — again, only fold the raw edge up once. After that, attach the sleeves to the coat.
#11. Cut out the liner pieces from polyester apparel lining fabric. Sew the coat liner. (These seams do not need to be complex; simple seams are fine.) Install the lining in the coat by basting the sleeve edges and the edges of the lower hem to the outer PVC layer.
#12. Finish the sleeve hems and coat hem by folding the PVC edge over the liner edge and top-stitching.
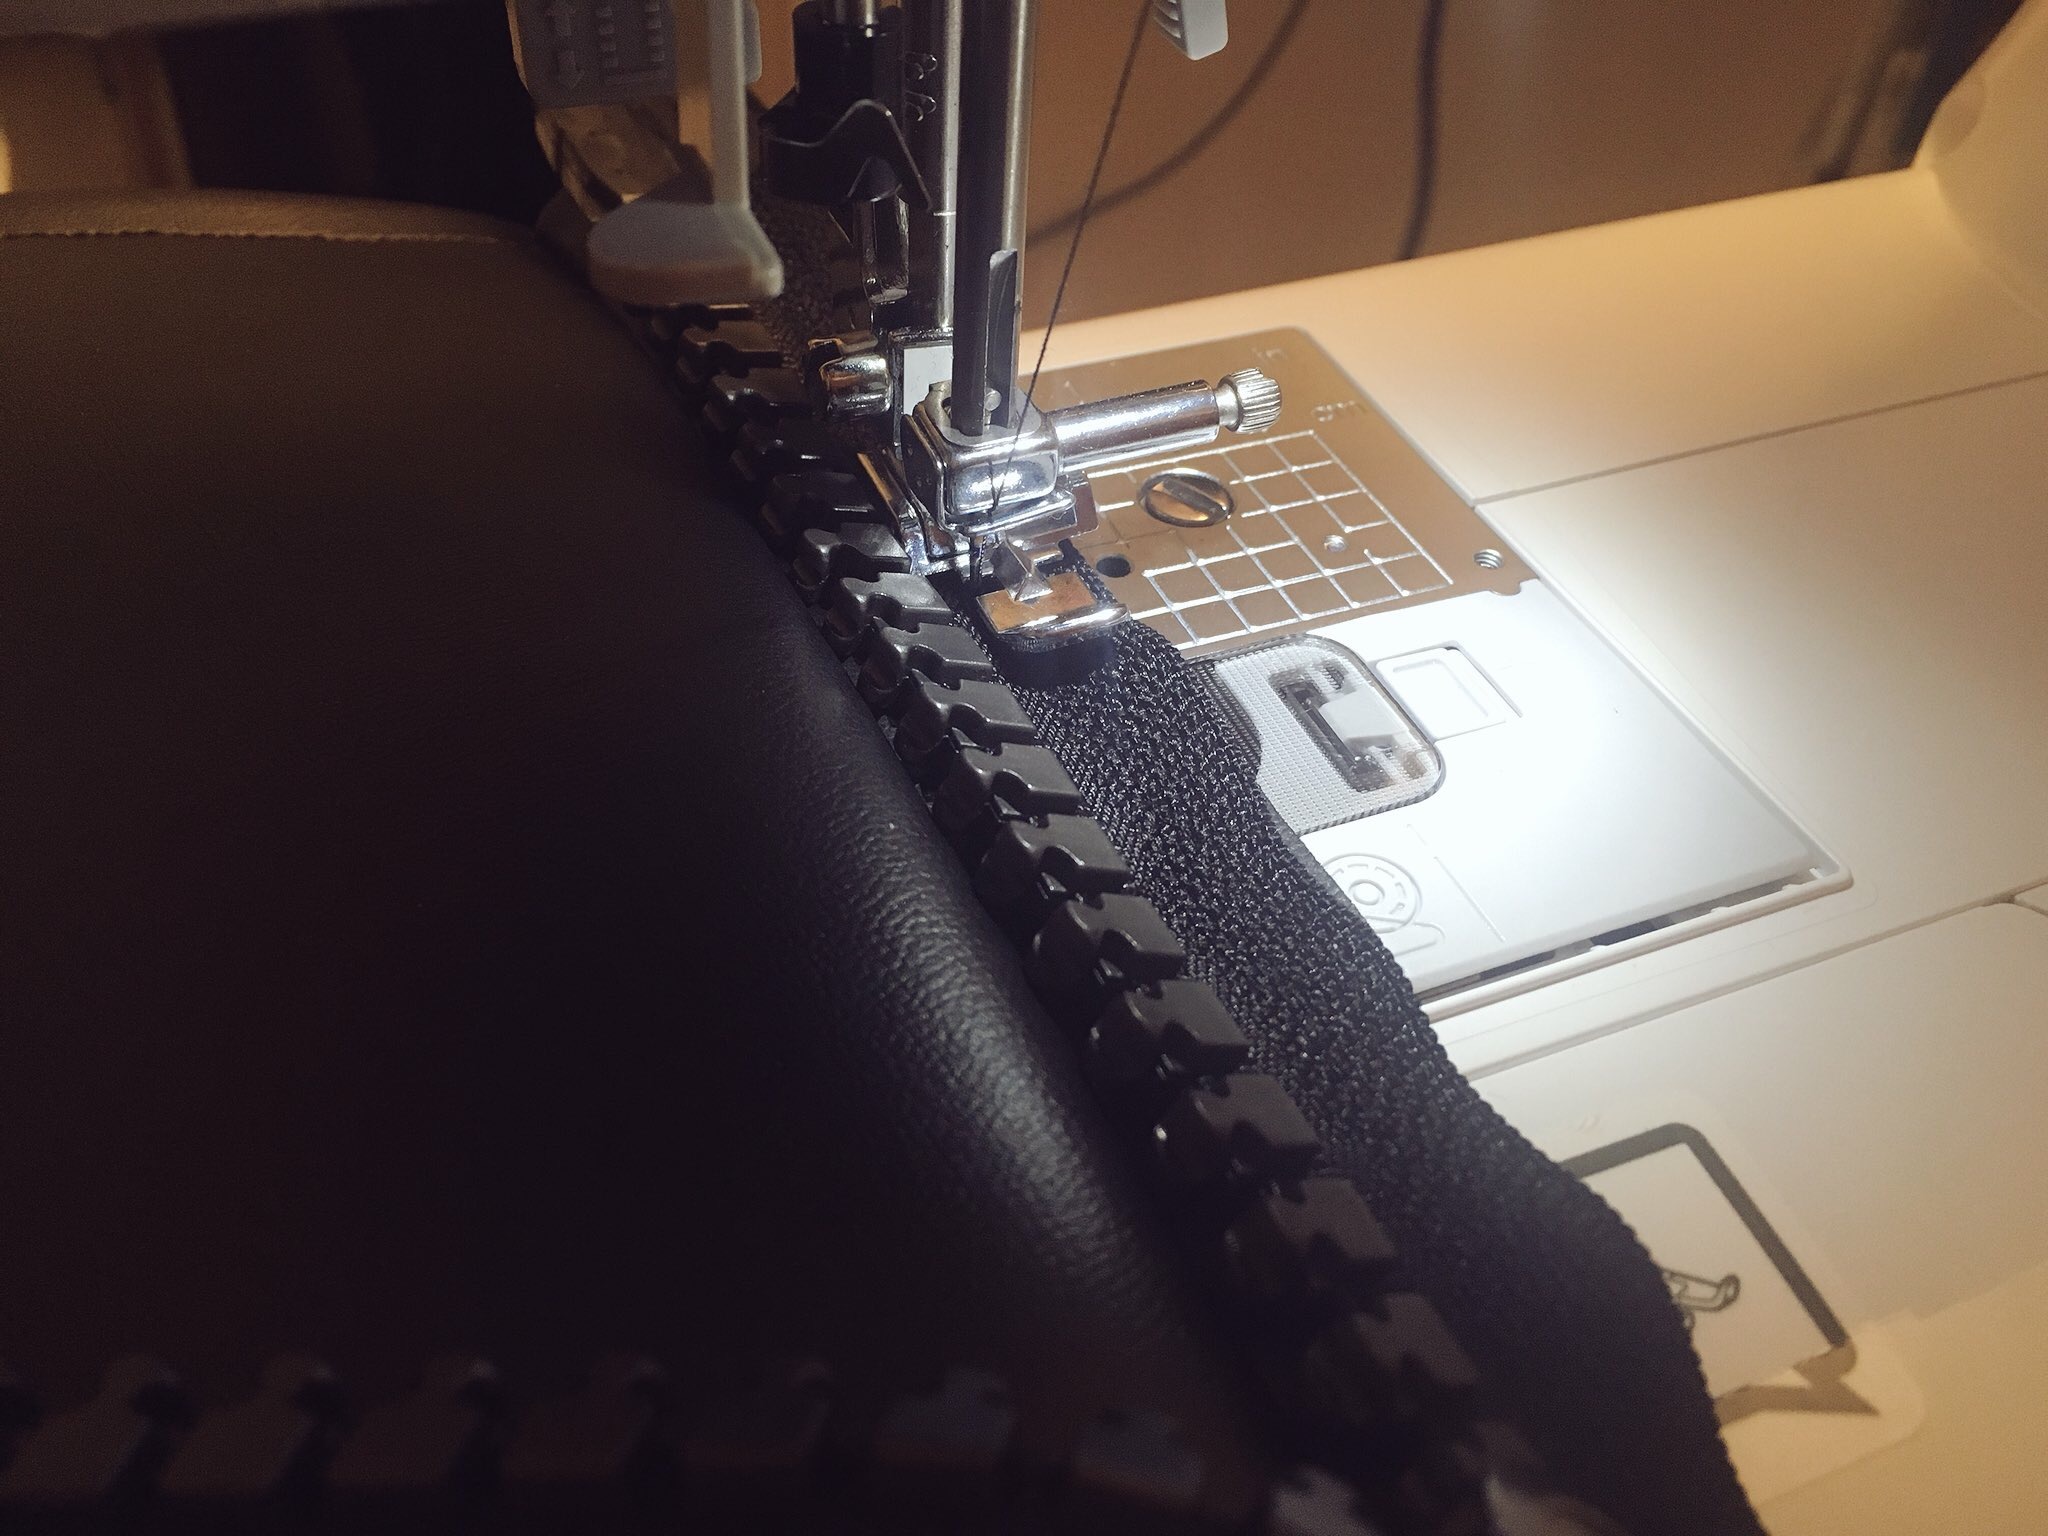
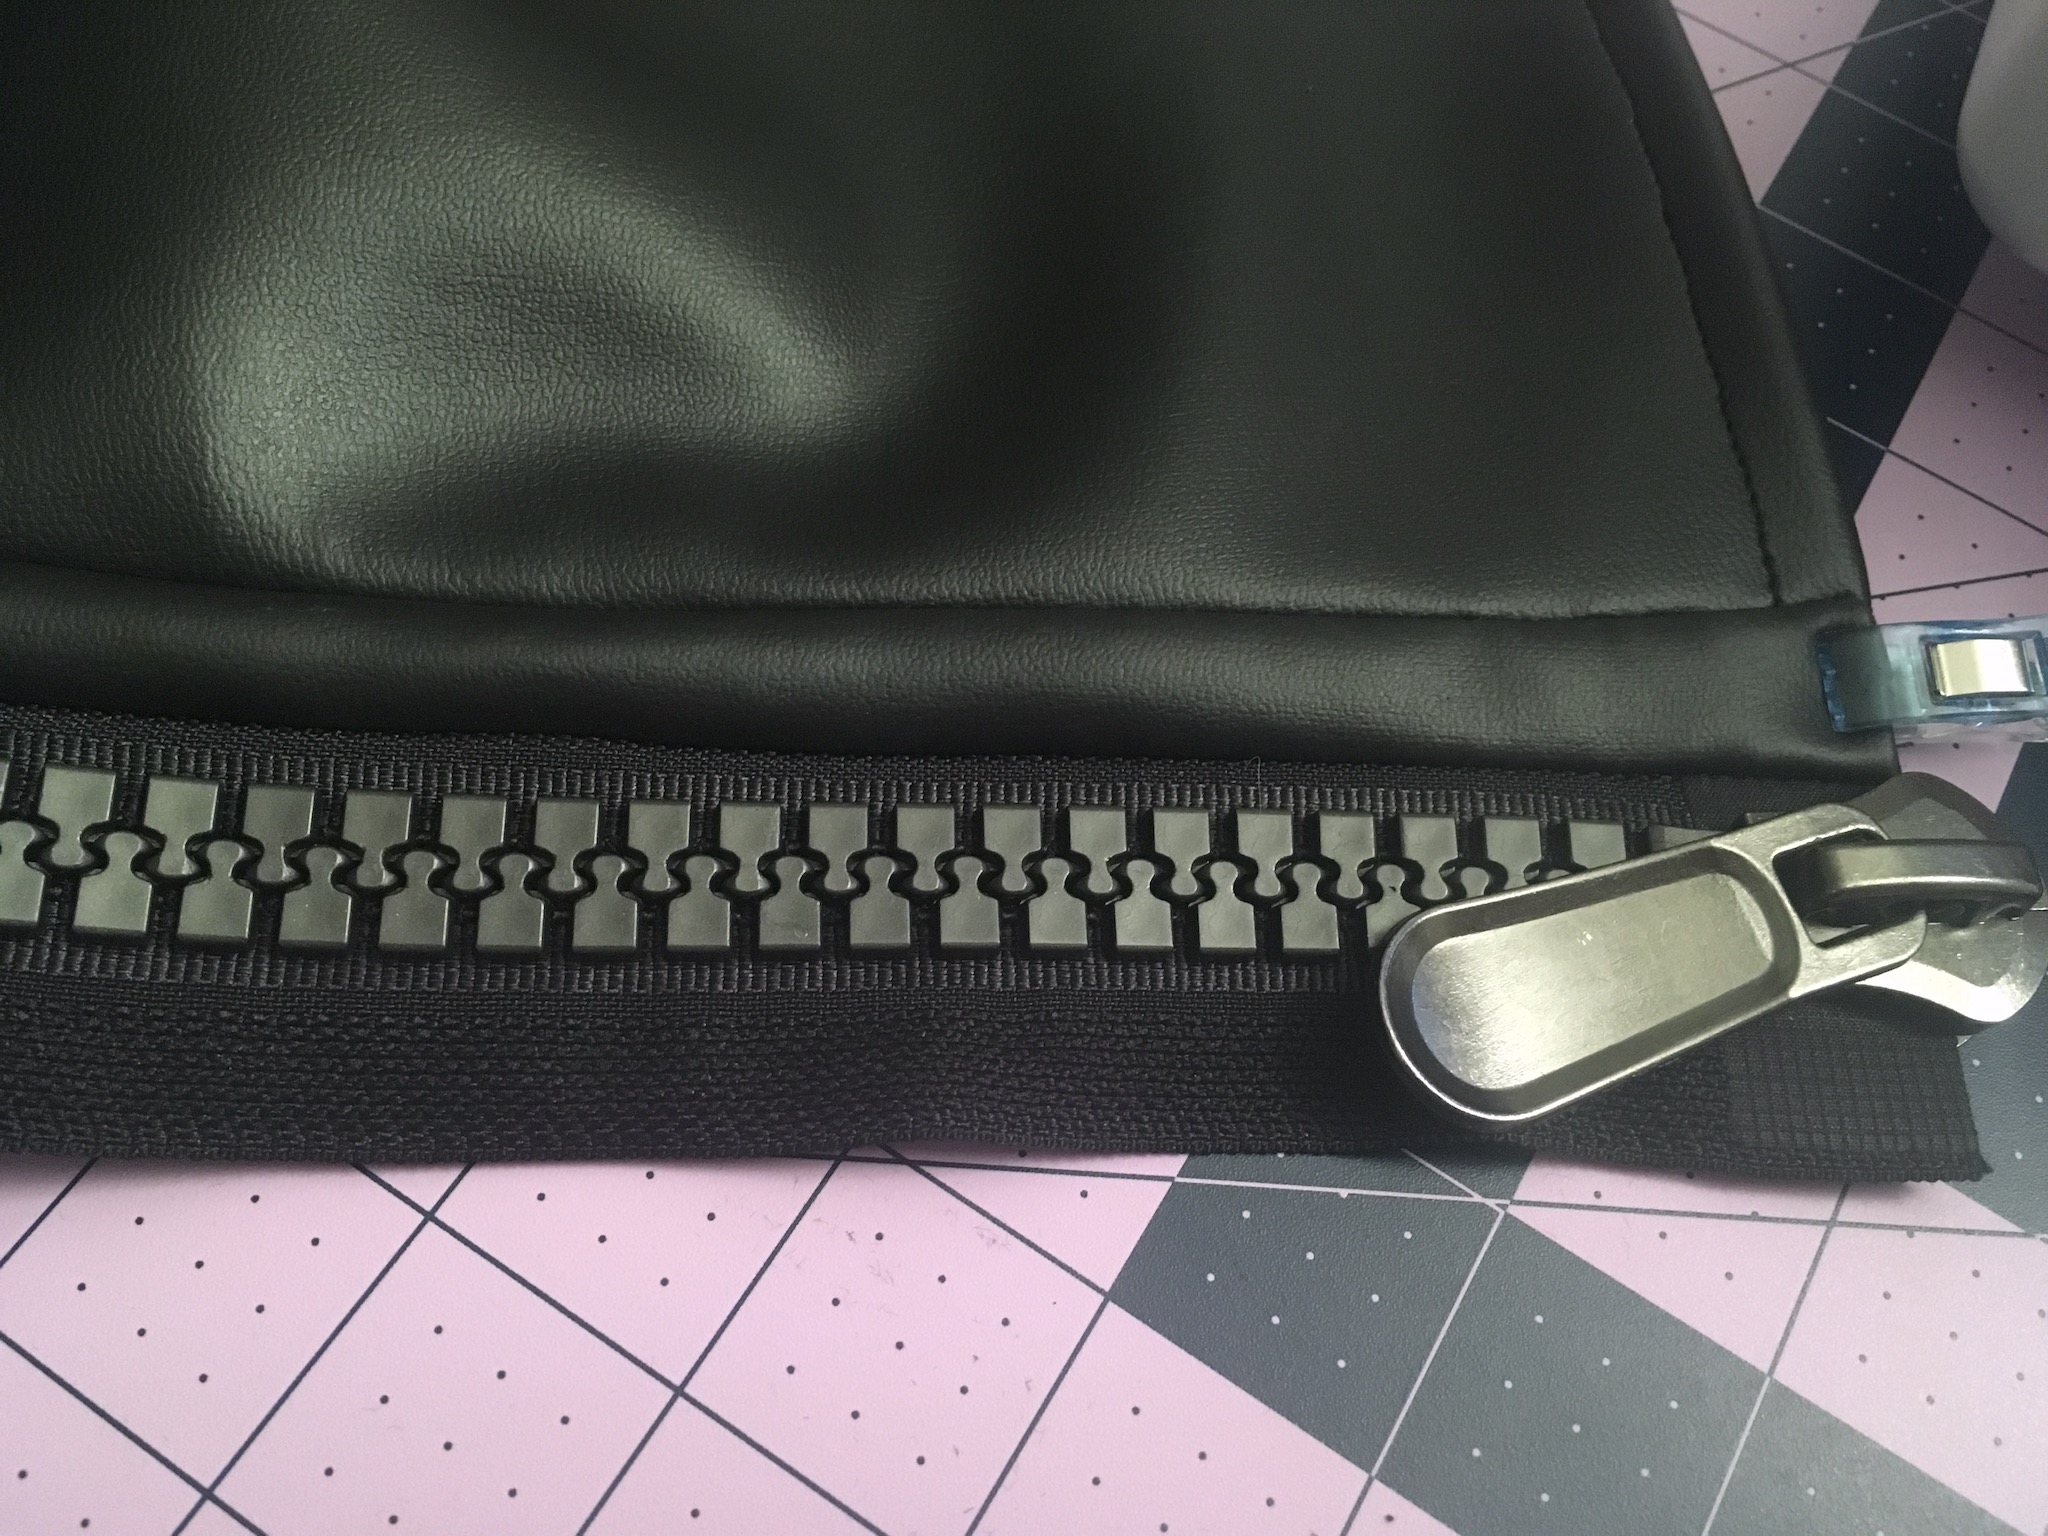
#13. Cut out two long strips of PVC fabric (roughly 2″ in width); attach these to the front center edges of the coat. Then, install your giant zipper, catch-stitching the zipper seam allowances by hand.
#14. We’re finally moving away from the coat body! Cut out the hood shell and liner. Sew the shell hood pieces together, then do the same with the liner.
Attach the hood shell to the liner using the same double-rolled hem to finish the outer edge.

Next, add a second line of topstitching for detail.
Attach the outer PVC layer of hood to the coat neckline. (Leave the hood liner alone for now; we’ll be attaching it by hand to hide the raw seam.)
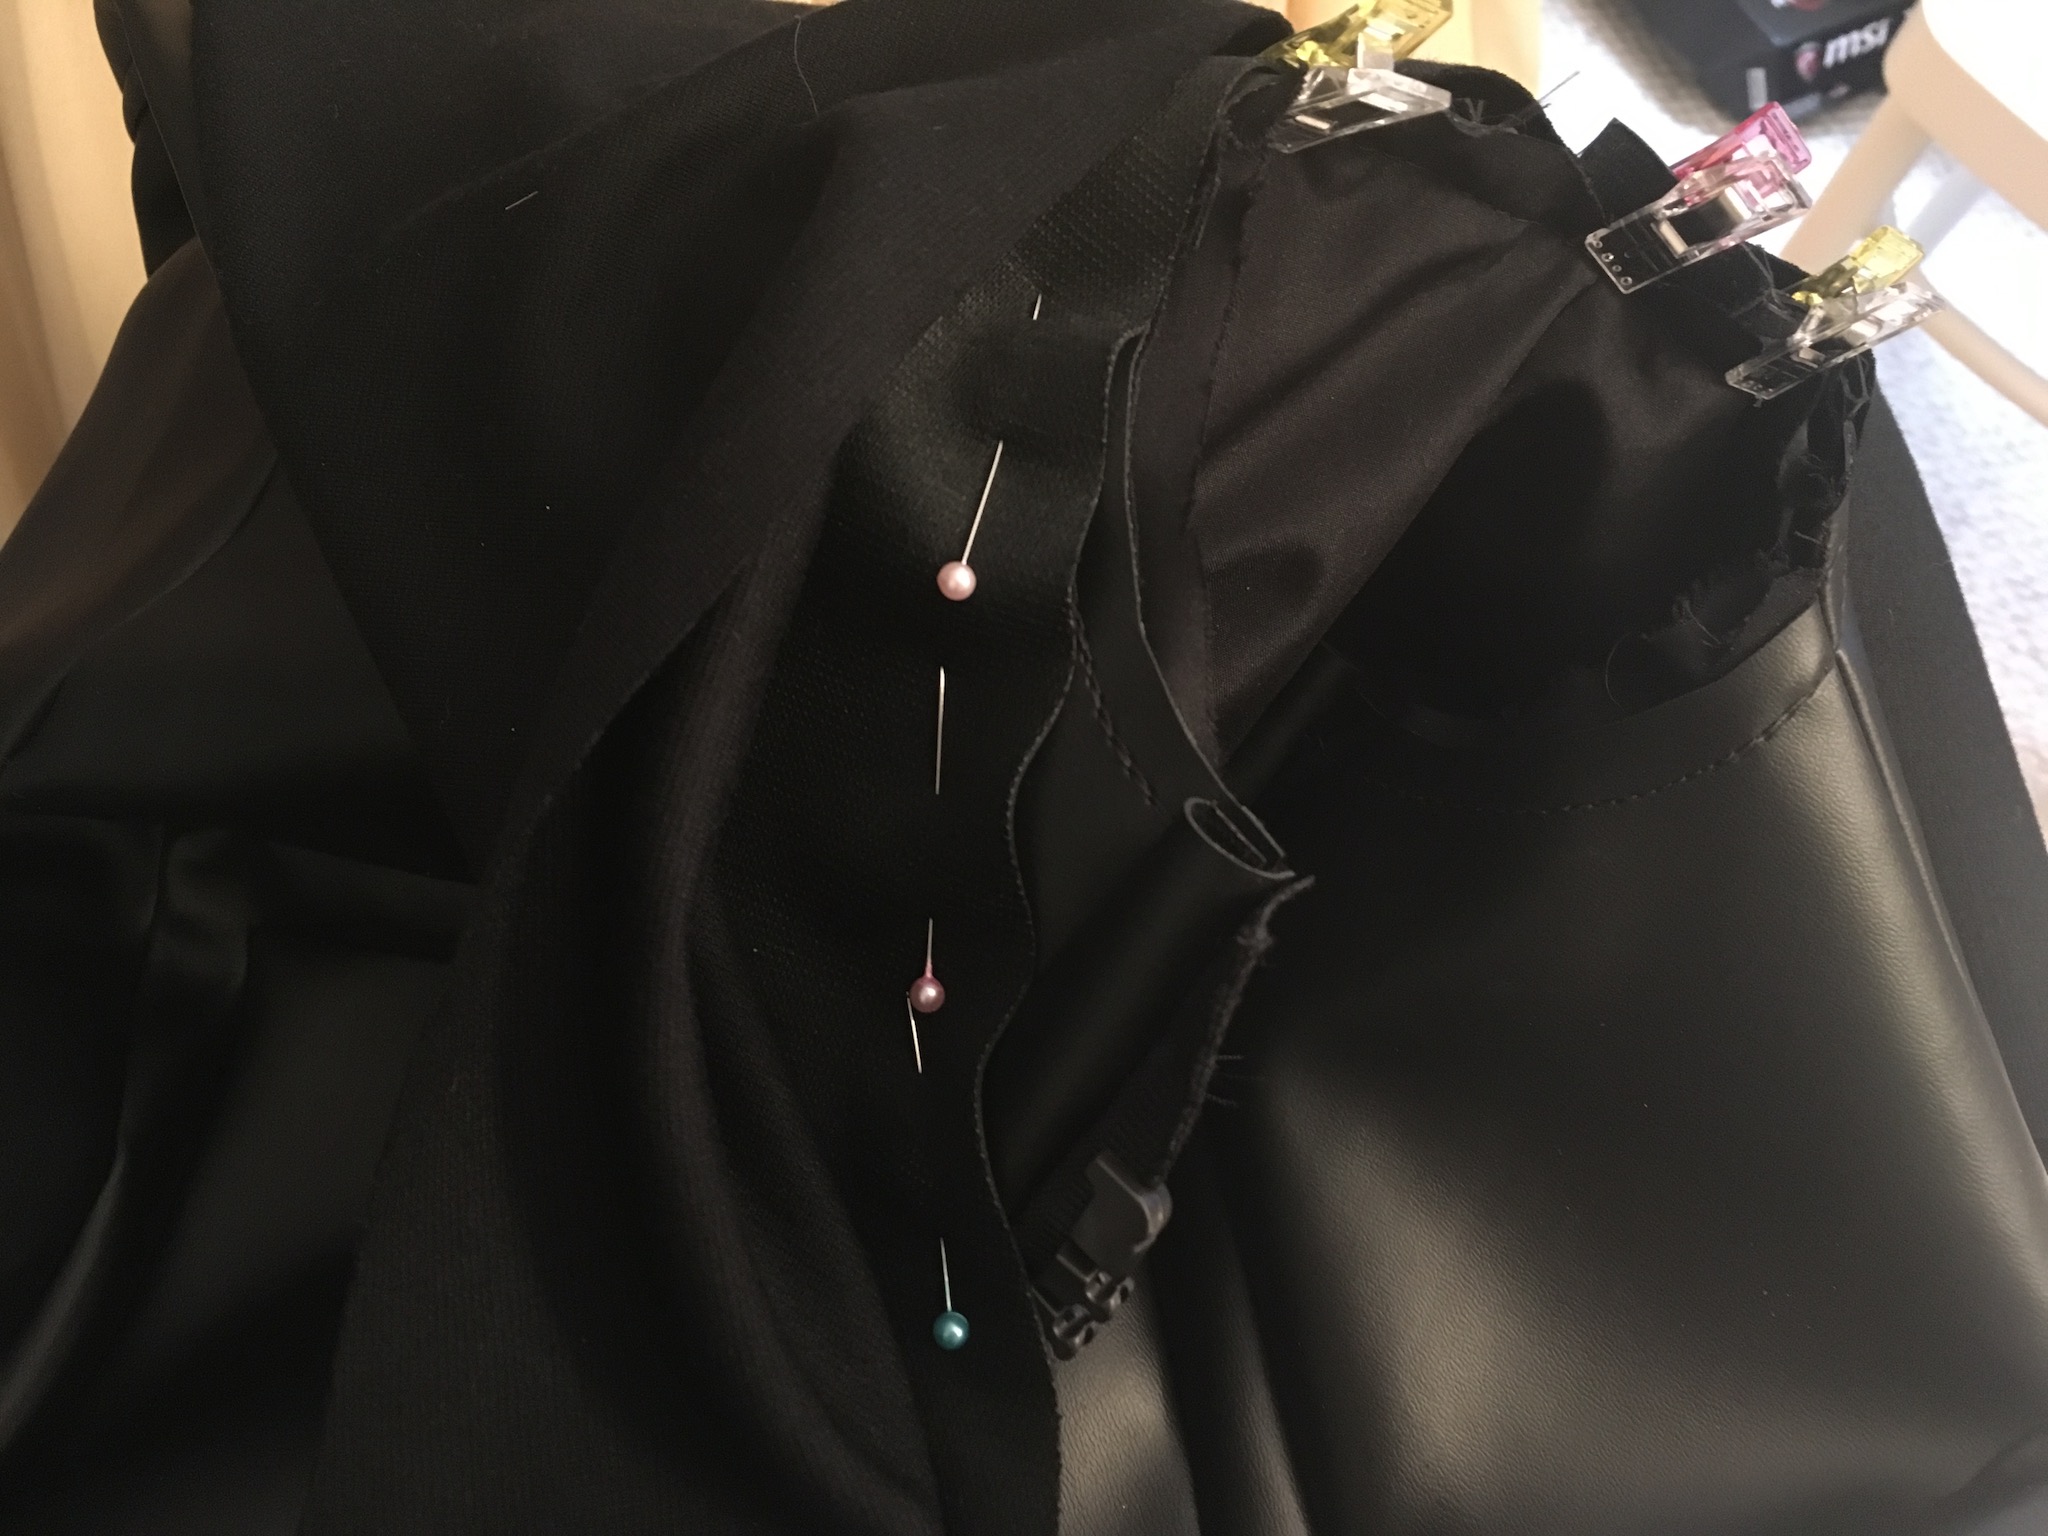
Hand-stitch the hood liner to the body of the coat and the top of the zipper.
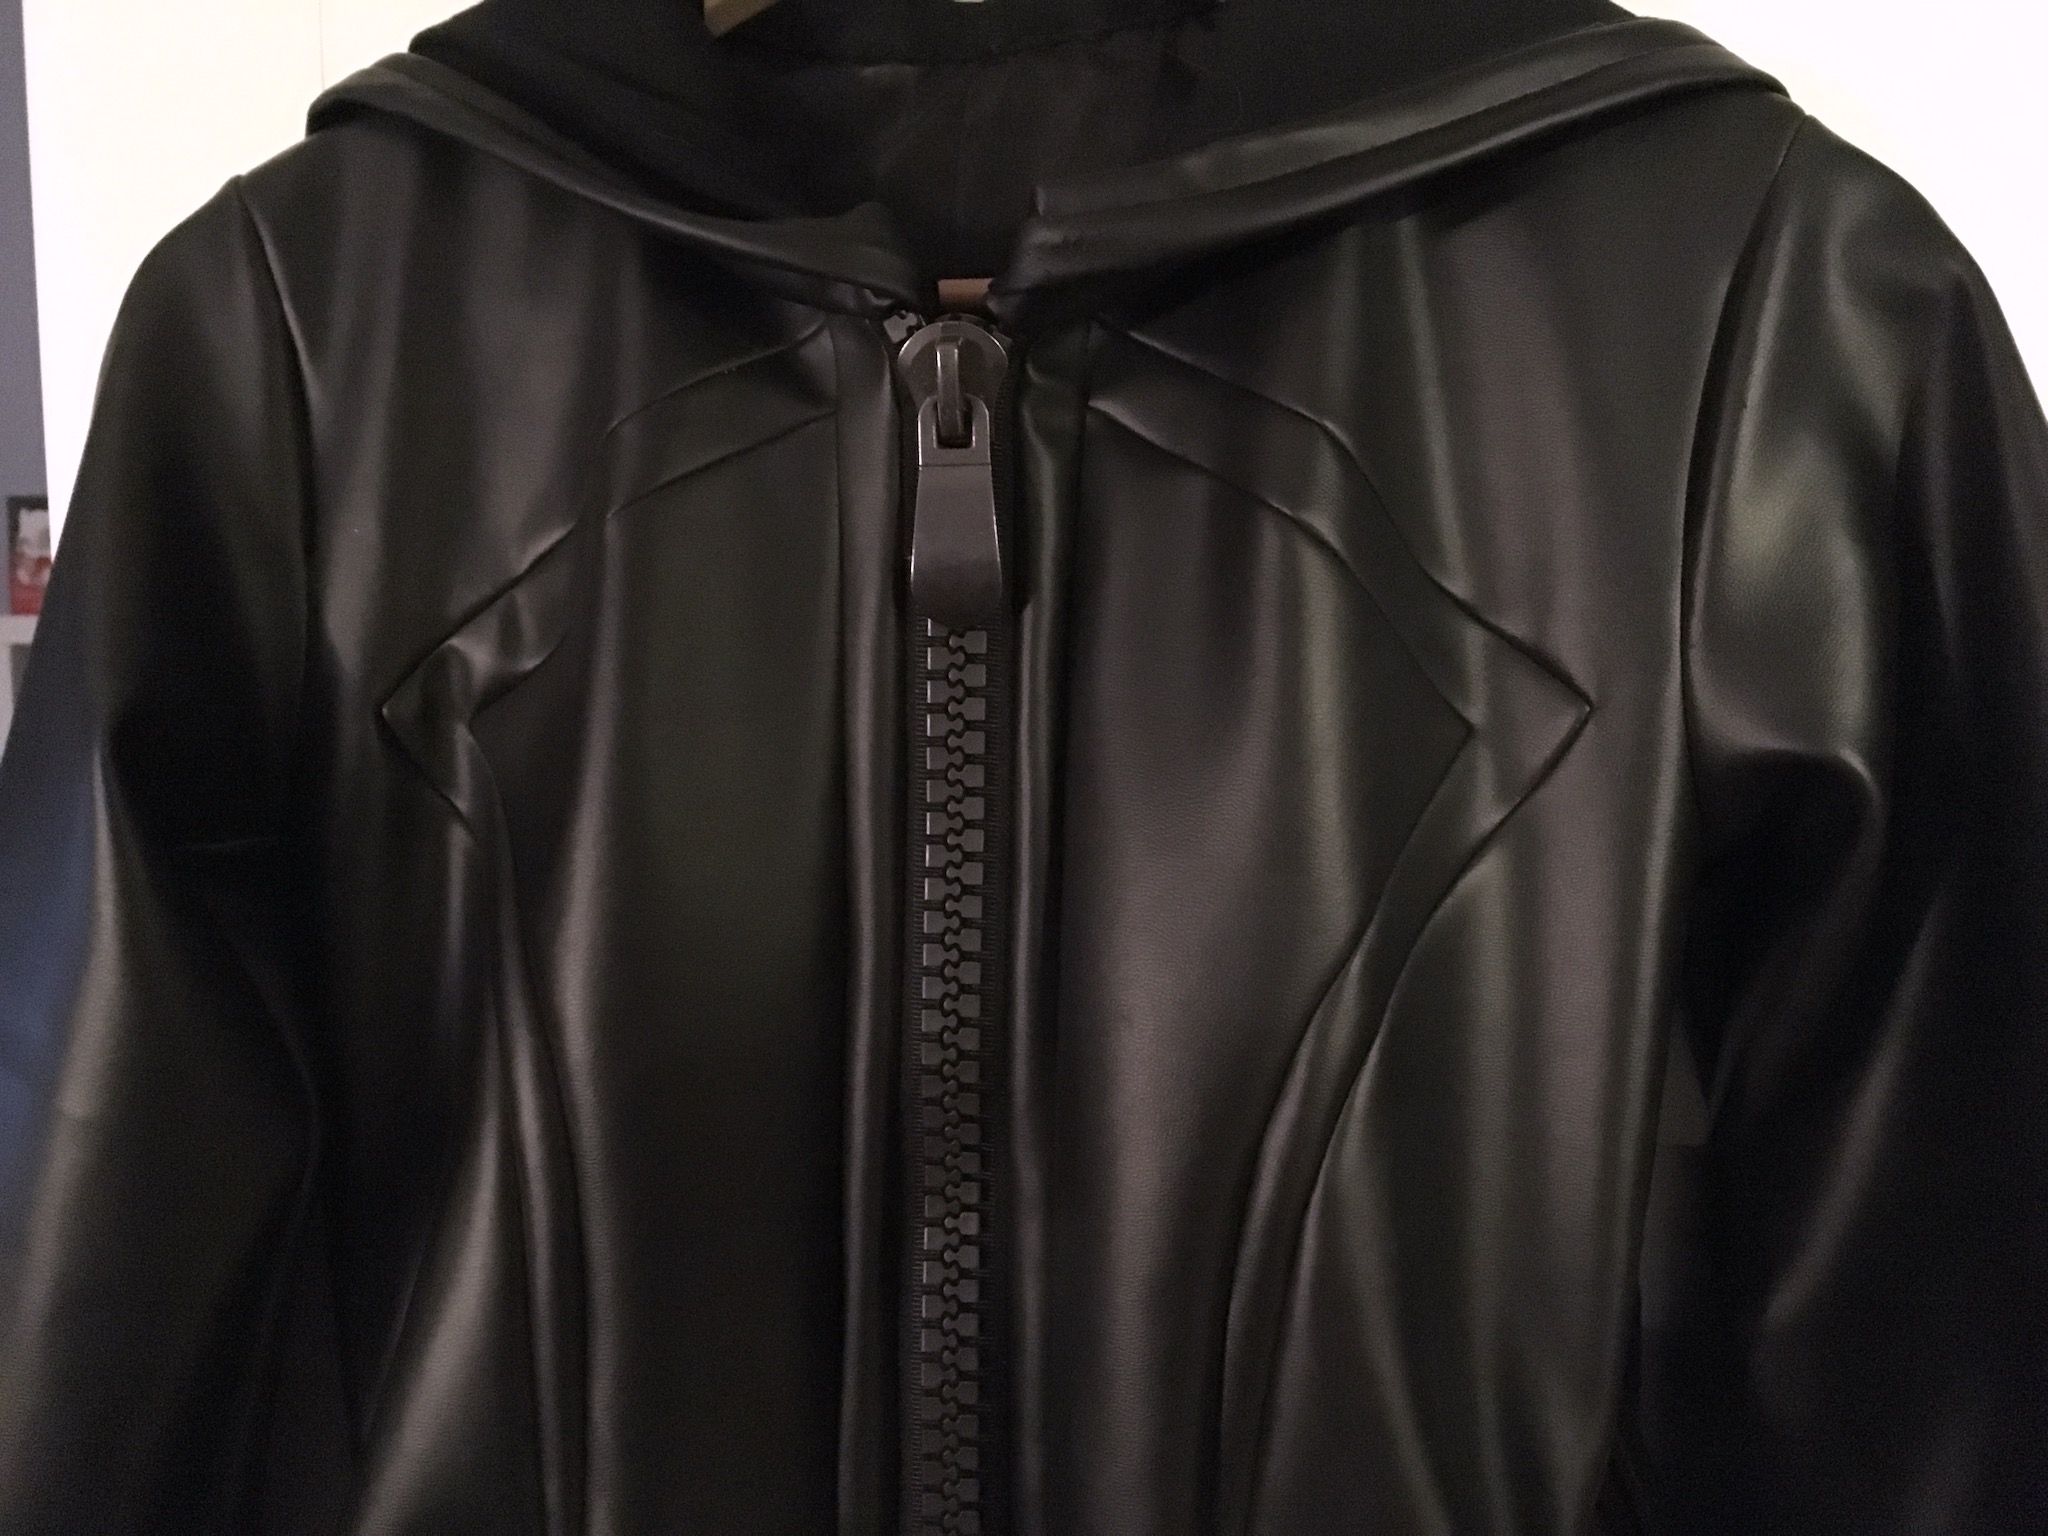
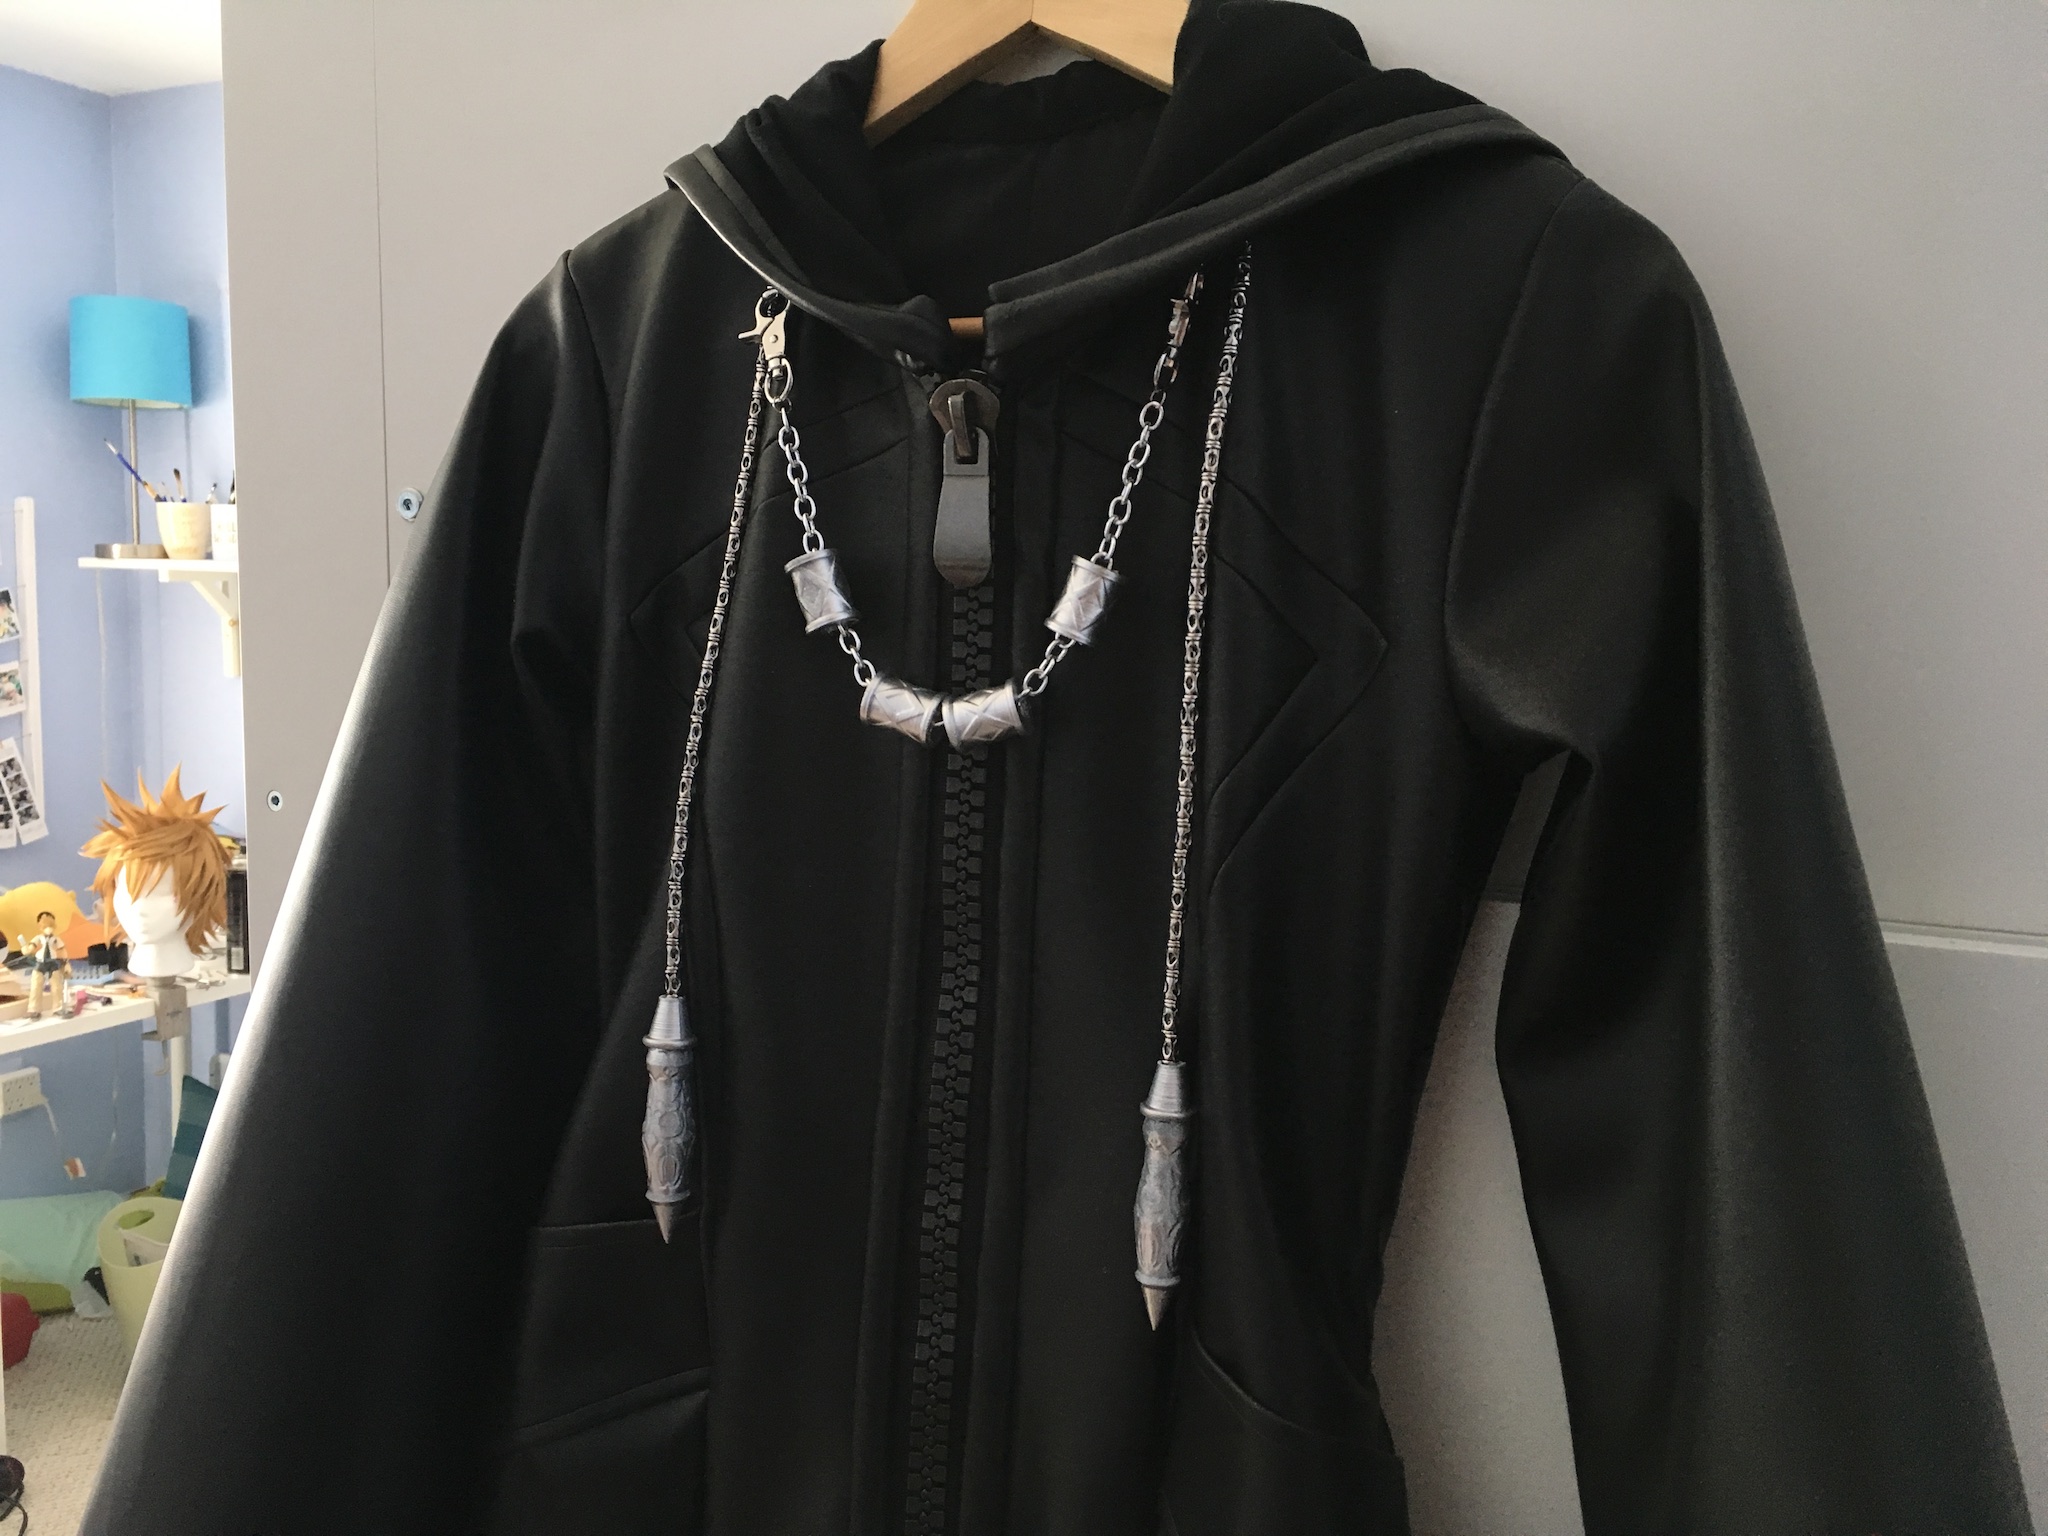
#15. Lastly, attach your front drawstring chains and hardware. I made it possible to “unhook” the front hardware for ease of getting into and out of the coat. The lobster clasps are fully functional! The other hardware pieces are attached via silver jump rings.
My coat hardware was modeled and printed by Full Health Cosplay. I primed the pieces with autofiller spray, then painted them with Montana Gold Spray Paint in Monochrome. If you don’t have access to 3D printing options, you can make your hardware with thermoplastic, modeling clay, found wooden objects, and more! Get creative with it. 😀
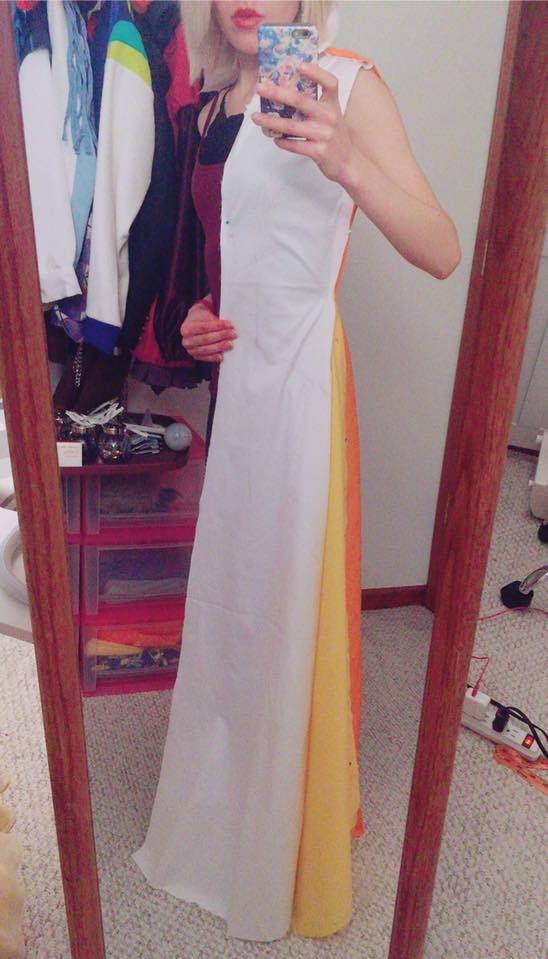
…And many hours and yards of PVC later, we have an Organization coat! It isn’t the most straight-forward or simple process, so as always, please don’t hesitate to ask if you have further questions.◝(●˙꒳˙●)◜
Photography by Miss Mallo (2018).
If you end up using this tutorial, feel free to share photos with me on social media by tagging me (@fawnina)! I’d love to see how your coat turns out!

 Sewing Anastasia’s Bodice, Sleeves, & Bows
 Anastasia’s Kokoshnik Tutorial
 Making the Skirts for Anastasia’s Ballgown
 Costuming Supply Masterlist