Photography by Sorairo Days.
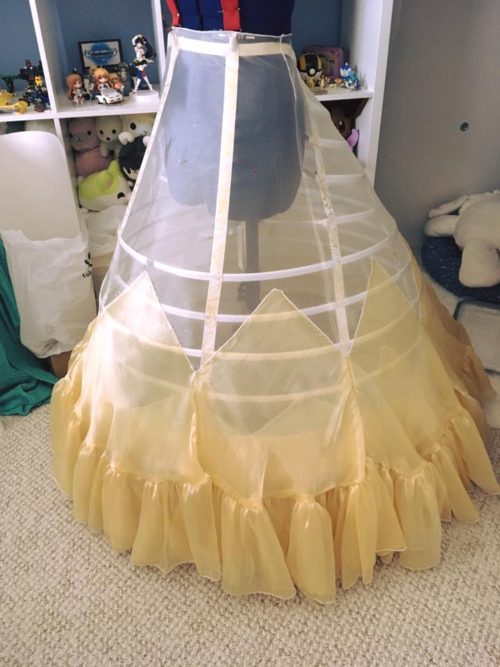
Having finished the elliptical cage, it was time to begin the construction of the many, many skirts, beginning with the petticoat! The foundation petticoat was comprised of several layers of frills and godets made from iridescent organza in various shades. A few layers of silk charmeuse, glitter organza, and silk chiffon were laid over it to tone down the luster, and the end result was a lovely shimmering effect that appeared with movement.
Petticoat Godets
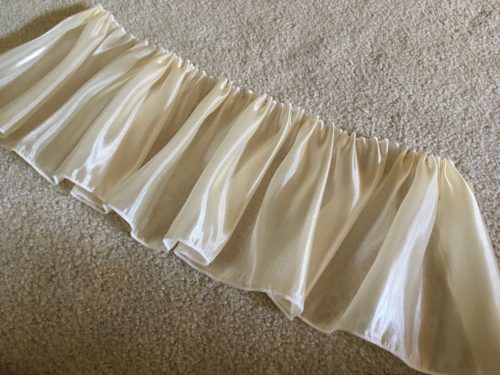
The first frill was 8” wide and comprised of all three colors of iridescent organza. The second frill was 9” wide and made from only the dark gold organza. I hemmed the top and bottom of each frill with a 1/16” three-thread rolled hem, then hand-gathered both frills. Frill #1 attached at 5”, and Frill #2 attached at 7”.
To minimize bulk around the waist, the petticoat uses 3 staggered tiers of godets with gathered ruffles. The measurements for the godet tiers were:
- Godet #1: 12” x 12”, qt. 12. Beige organza. Frills were 40” x 9”, qt. 12. Attached to each other @ 6” from the top point. Attached to petticoat between Hoops 7 & 8.
- Godet #2: 18” x 18”, qt. 10. Light gold organza. Frills were 40” x 8.5”, qt. 10. Attached to each other @ 6” from the top point. Attached to petticoat at Hoop 5.
- Godet #3: 27” x 27”, qt. 10. Beige organza. Frills were 40” x 8.5”, qt. 15. Attached to each other @ 4” from the top point. Attached to petticoat at Hoop 3.
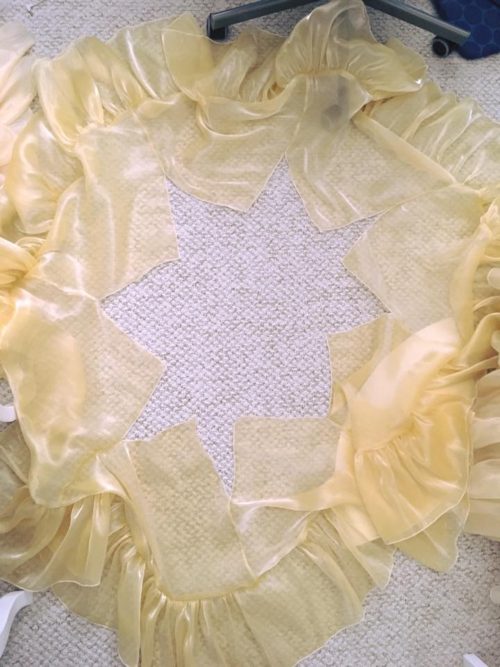
I hand-stitched all of the godets to the foundation petticoat, as they were a little too cumbersome to machine-stitch. I had to be very careful not to stretch the godets when attaching them so as to not affect the drape. In the next photo, the 3rd godet was haphazardly pinned. You can see the effect of over-stretching in the front (which was corrected before it was permanently attached), but it demonstrates how the godet layers must be angled lower in the back to account for the cage shape.

According to my worklog, this brought me up to 84.7 hours of work. The end was still far from sight!
Silk Chiffon Petticoat Skirt
Next, I made the silk chiffon skirt for the final layer of Anastasia’s petticoat. It was a full circle skirt comprised of two half circles and two 1/4-circle godets. The godets are sewn into the half-circle sides using French seams.
After assembling the chiffon portion of the skirt, it was attached to the base organza layer of the petticoat at the waist. The back gap of the petticoat closes with eyelet tape. I then made a waistband using the double-faced silk satin I would be using for the bodice; it was interfaced with fusible weft. After attaching the waistband, I installed hook & eye closures in the back, as well as hanger ribbons for storage care.
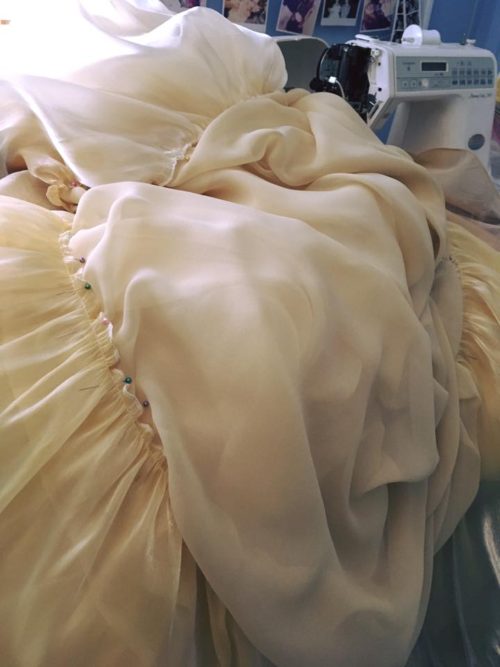
I leveled the chiffon, then made the final frill layer. This layer incorporated twelve frills, four of each color of iridescent organza. These were ironed, hemmed, gathered, then sewn together at the sides. For this following photo, they were simply pinned in place.
This brought me up to 95.8 hours of work.
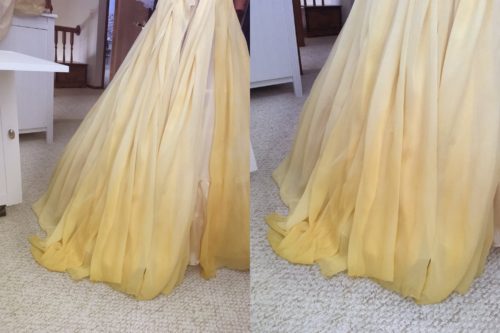
I curled 60-lb. fishing line and installed it in the bottom hem of the final frill layer of the petticoat. This gave the ruffle more stability and movement under the remaining six skirt layers.
Curling the fishing line was easy! I boiled a pot of water, wrapped the fishing line around a 1″-diameter dowel rod (cut down to about 6″ in length), then submerged the wrapped dowel rod in the boiling water for approximately 30 seconds. I then removed it from the pot, rinsed it under cold tap water, and… that’s it! Once it had set overnight, I unwrapped the fishing line from the dowel rod and installed it in the bottom of the frill using a minute rolled hem.
You can see the difference it makes in the photo below.

The curling process only took about 30 minutes (wrapping the line around the rod was super tedious), but installing it in the whole length of the frill took two hours. And then, of course, I attached this final frill to the chiffon layer of Anastasia’s petticoat, which took quite a bit of time, too!
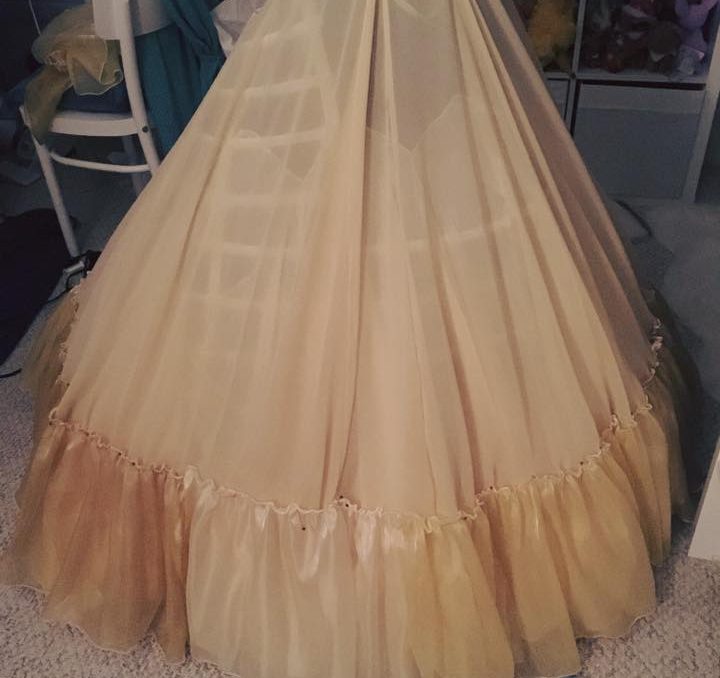
Outer Chiffon Ballgown Skirts
At long last, it was time to begin working on the outer skirts. This portion of the gown consisted of two layers of silk chiffon. What you see here is the lower layer: an ivory silk chiffon that I gradient dyed using “Honey Mustard” acid dye from Dharma Trading Company. Their gold silk chiffon comprised the upper layer.
In this photo, everything was simply pinned to the dress form. I leveled the layers after completing the yokes and waistband.
To begin constructing the waistband, I gathered the first chiffon skirt layer and attached it to its yoke. This was 360″ (roughly 11 yards) of chiffon gathered into just a 31″ lower hem of the yoke. I repeated this process for the second layer, then sandwiched both yokes into a waistband that sat higher up to reduce bulk.
The final layer of gold silk chiffon consisted of another 360″ of chiffon, gathered into the 27″ space of the lower hem on its own separate yoke.

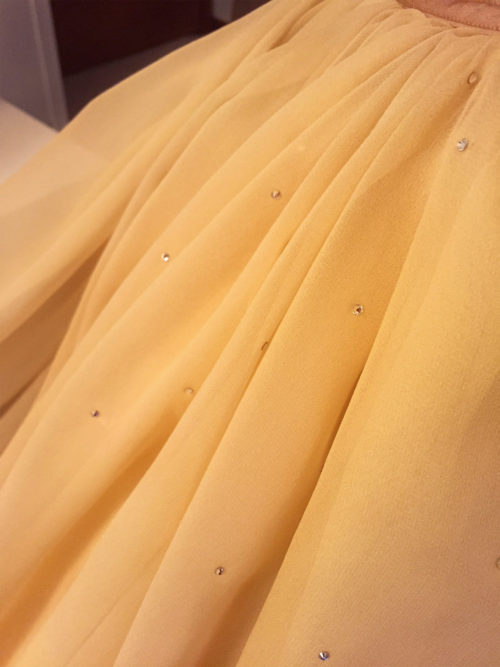
Rhinestone Application
After leveling and double roll-hemming the skirts (which took an egregious number of hours), the finishing touch for the skirt was the addition of 10,000 Swarovski clear crystals, varying between sizes SS08 and SS10. I used hotfix crystals and adhered them using the Swarovski Elements Hotfix Tool.
In total, the petticoat and skirts took 102.24 hours to construct. The rhinestone application process took 33.75 hours.
Thank you for reading! I hope this information is helpful. In the next post, we’ll tackle the bodice, sleeves, and bows!

PS. I adapted this godet method from Tracy Fletcher’s design for her Cinderella ballgown! I adjusted the sizes of the godets and some of the placement, but I can’t take credit for this genius idea. That’s all Tracy! ![]()
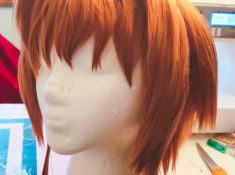 Sakura Wig Tutorial
 Costuming Supply Masterlist
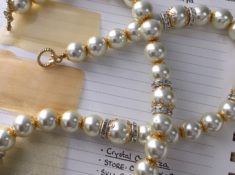 Making Anastasia’s Necklace
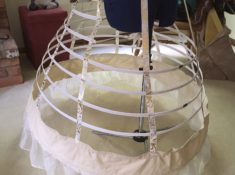 Elliptical Cage Crinoline Tutorial