Almost a year later, I’m finally finding time to do some write-ups of my Anastasia construction process. A lot of this information was already shared on my various social media pages, but hopefully having everything compiled in one place is a bit more convenient for anyone who is curious about the work that went into this dress!
Before we get started, I want to give a huge shoutout to J.Hart Design and Tracy Fletcher (tracyscostumingworld.weebl
Project Inspiration
One of my goals last year was to reconnect with my creative self. To do so, I tackled a dream costuming project: Anastasia’s “Once Upon a December” gown. I allowed myself to take quite a bit of artistic liberty with it so I could explore new techniques and construction methods that go beyond the simple gown shown in the animation. (Don’t get me wrong, it’s a beautiful dress! But there isn’t much structure to it, and I wanted the opportunity to challenge my design and garment construction skills.)
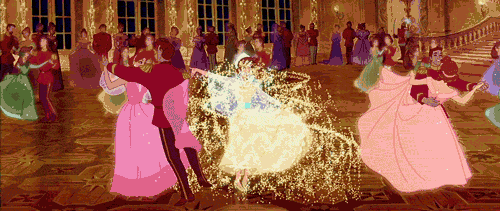
On the flip side… a dress that’s captivated me for the last few years has been Cinderella’s ball gown from the 2015 live-action film.
I’ve never felt the urge to dress up as Cinderella, nor have I ever wanted to adorn a dress with butterflies. But the movement in that skirt! It’s always been a project I wanted to tackle in some capacity, if only to have the excuse to work with tons and tons of organza. And then, it clicked… Why not make a “realistic” interpretation of Anastasia’s December gown with a skirt inspired by Cinderella’s?
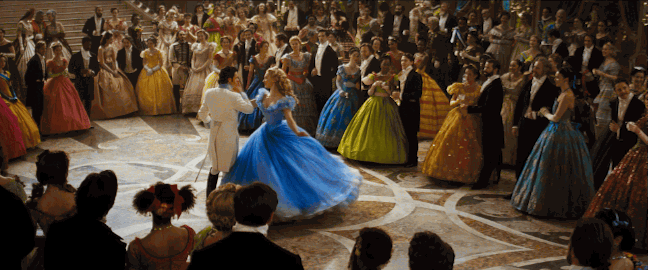
So I set out to do just that! As mentioned, I’ll be sharing the full construction process of my Anastasia costume that took place between July 2017 until February of this year, but for now, here’s a look at how I made the elliptical cage crinoline. This cage acted as the base for the petticoat and the many, many skirts. Taking note from this construction photo of Cinderella’s ball gown, I chose the elliptical shape rather than a symmetrical round hoop skirt. The elliptical cage was worn in the mid-1860’s as the fashion industry transitioned from round hoops to bustles. It helped to create the grand silhouette I was aiming for, as well as assisted in creating the illusion of an itsy-bitsy cartoon-like waist.
Elliptical Cage Materials
- Truly Victorian TV103
- Cotton Broadcloth, 45″/60″: 1.75 yds
- Bone Casing, 3/4″ wide: 14.25 yds
- Hoop Wire, 1/4-1/2″ wide: 28.5 yds
- U-tips to cover ends of hoop wire (match width of wire): 8 ct.
- Grosgrain Ribbon, 7/8″: 7.75 yds
- Webbed Belting, 3/4″: 1.5 yds
- Parachute Buckle, 3/4″ wide
- Narrow Ribbon or Lacing: 4 yds
- Shimmer Organza: 1 yd
- Metal Snaps: 16 ct.
I sourced almost all of my materials right from Truly Victorian’s site. I found a white parachute buckle here. (The webbing was also from that seller.) My cotton broadcloth for the bag was actually a sparkling gold quilter’s cotton that I found at JoAnns; it looks like muslin from a distance, but there were flecks of gold on it that give it a tiny bit of magic! I also found the grosgrain ribbon and narrow ribbon for the hoop ties at JoAnns, along with the crystal shimmer organza. (I sourced the organza for the skirts from another site, just because JoAnns has a limited color selection and their organza is seriously over-priced.) Finally, I found gold snaps here!
Sewing an Elliptical Cage Crinoline
Disclaimer: I used Truly Victorian’s TV103 pattern and many of these instructions/explanations follow the directions that come with the pattern. However, there are a few things I did differently to modify the cage for this particular project. I won’t be going into detail about the basic construction of the cage since those instructions are included when you purchase the TV103 pattern; instead, I’ll be sharing the details of what I altered for my own project.
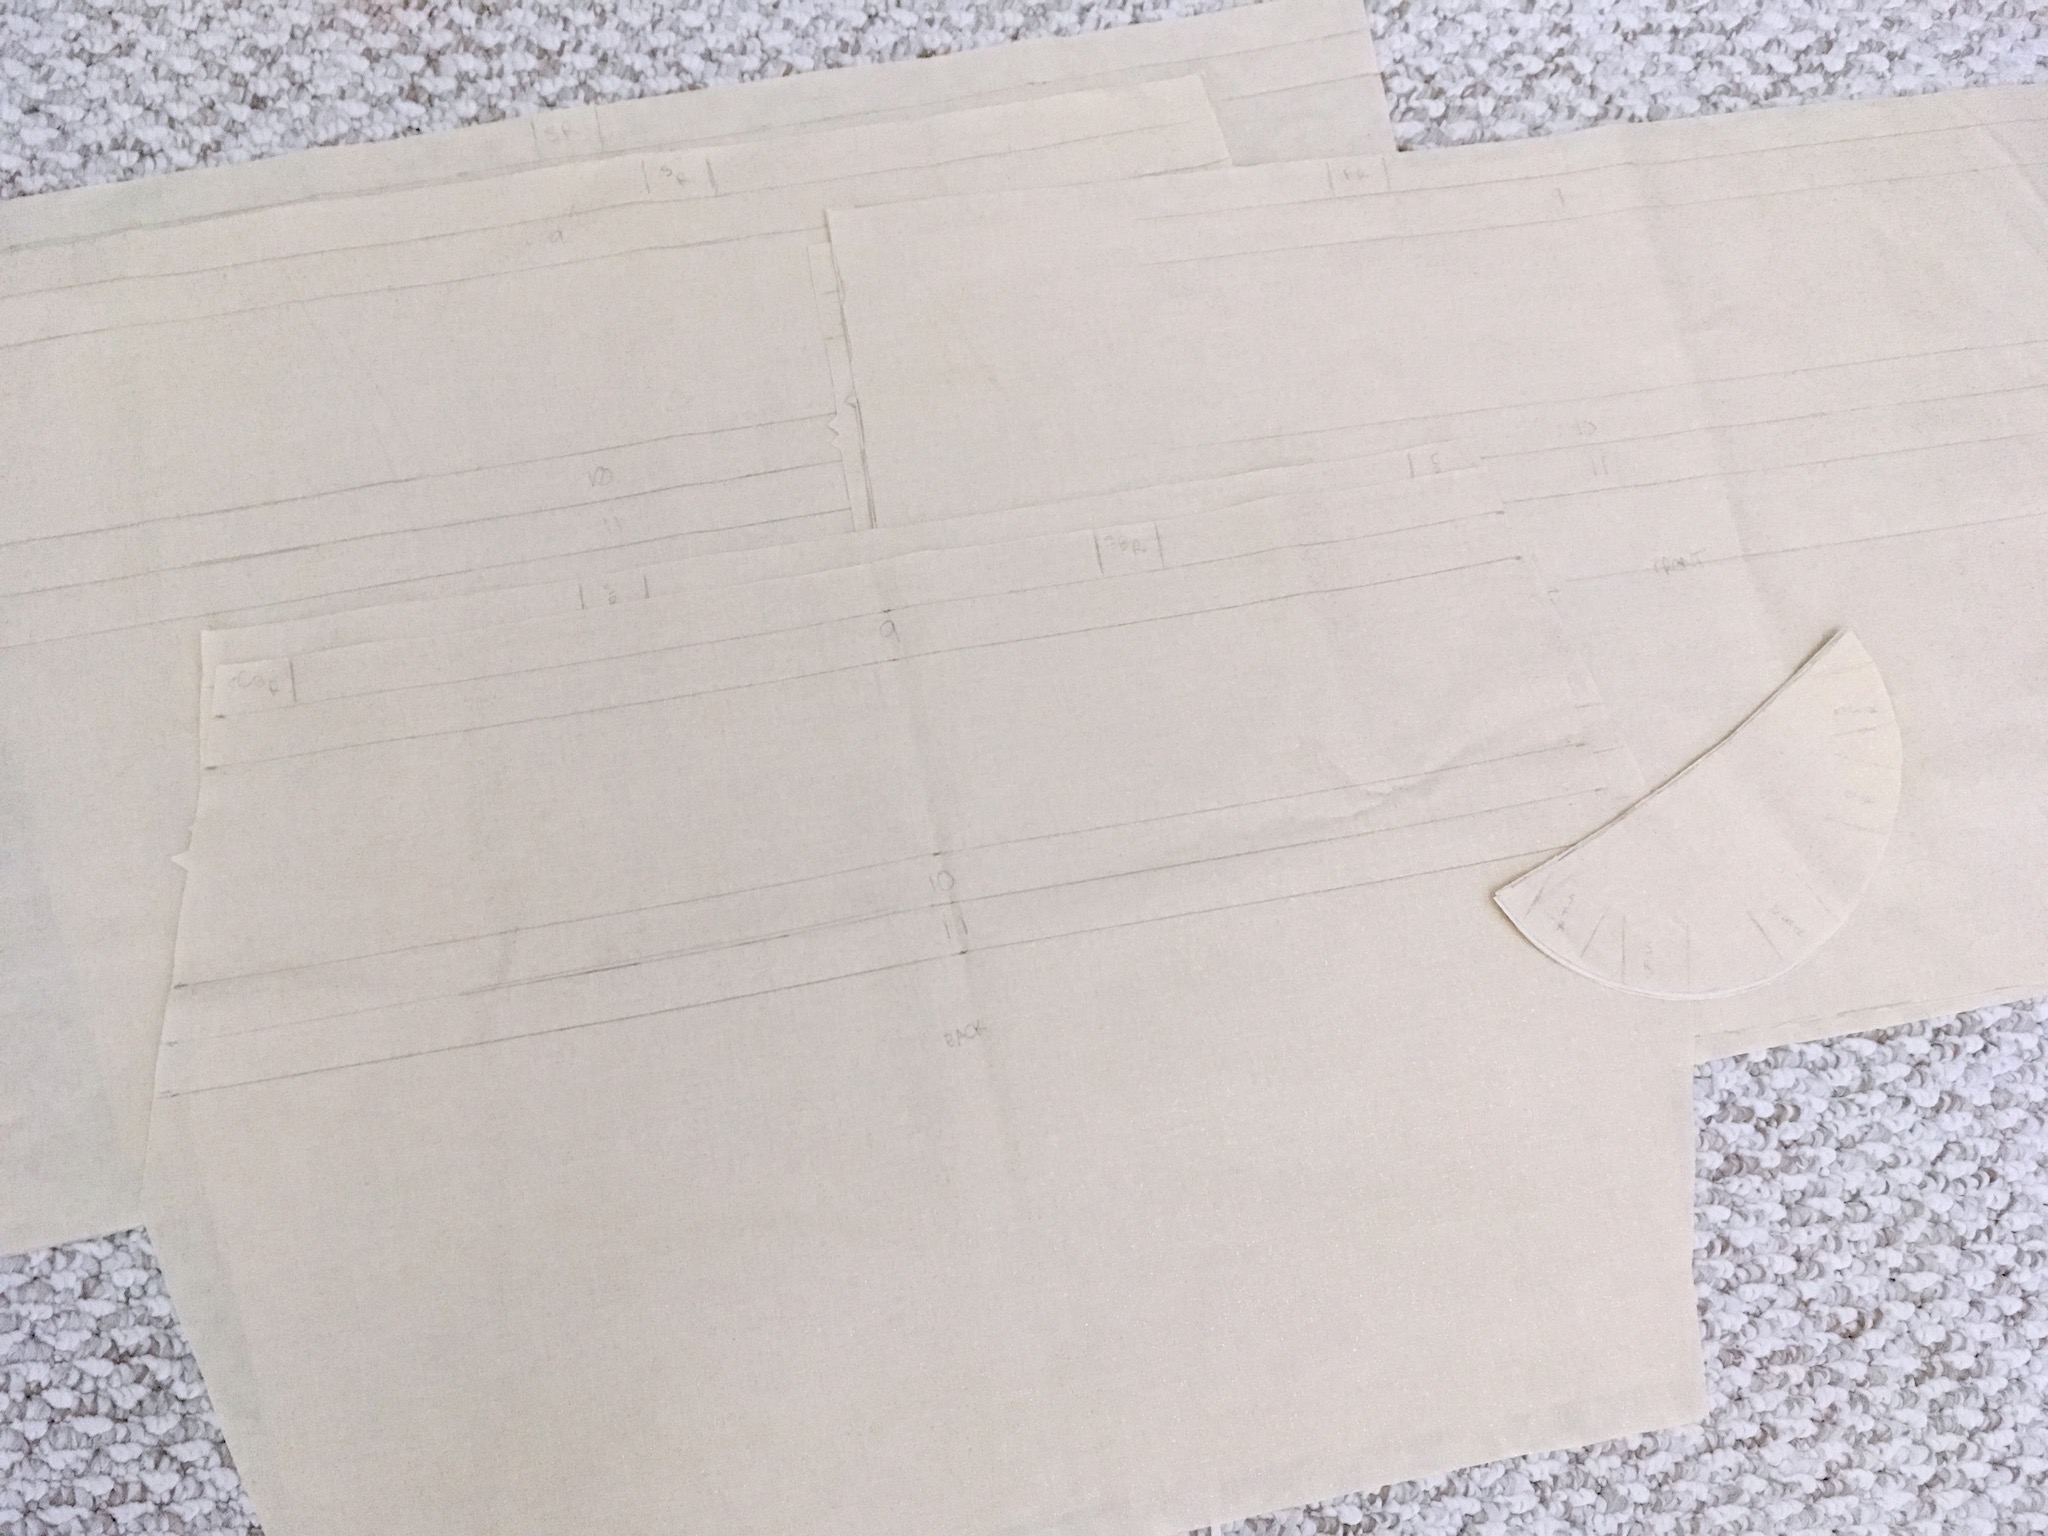
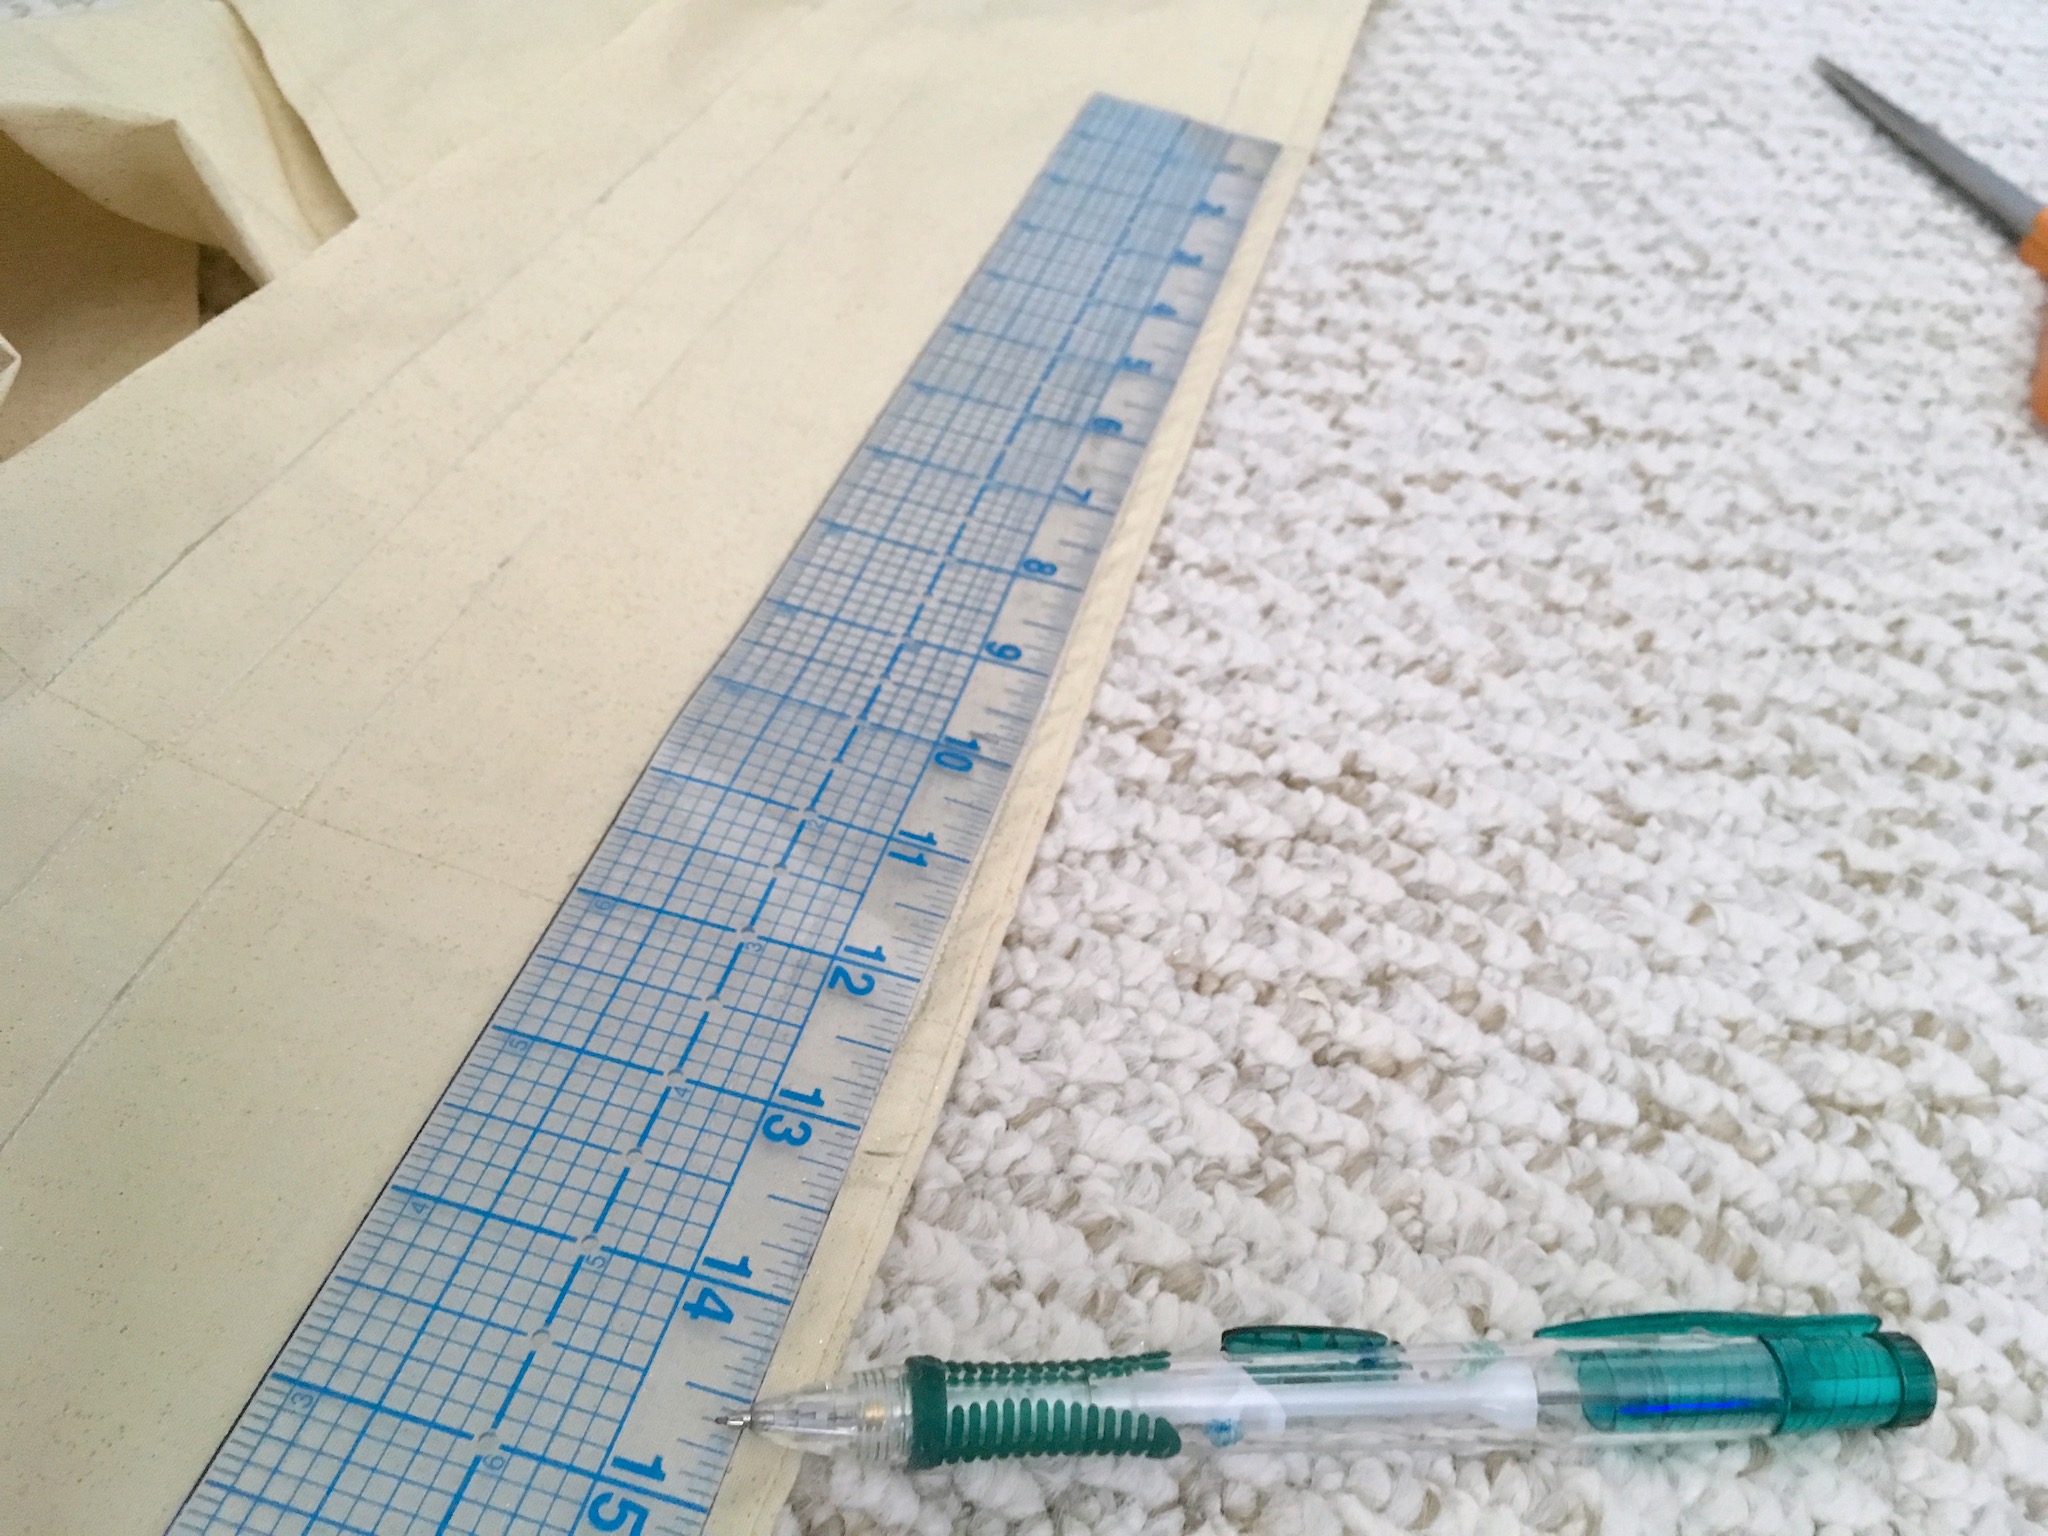
First and foremost, I modified the crinoline’s bag pattern to be slightly shorter. I wanted approximately an 8-9″ gap between the bag and the floor to leave a tiny bit of space between the dress and the floor, allowing the lower ruffles to flow with more movement (as well as pick up less dirt). I subtracted 3″ from the top and bottom center line of the bag pieces. The bag retained all three hoops.
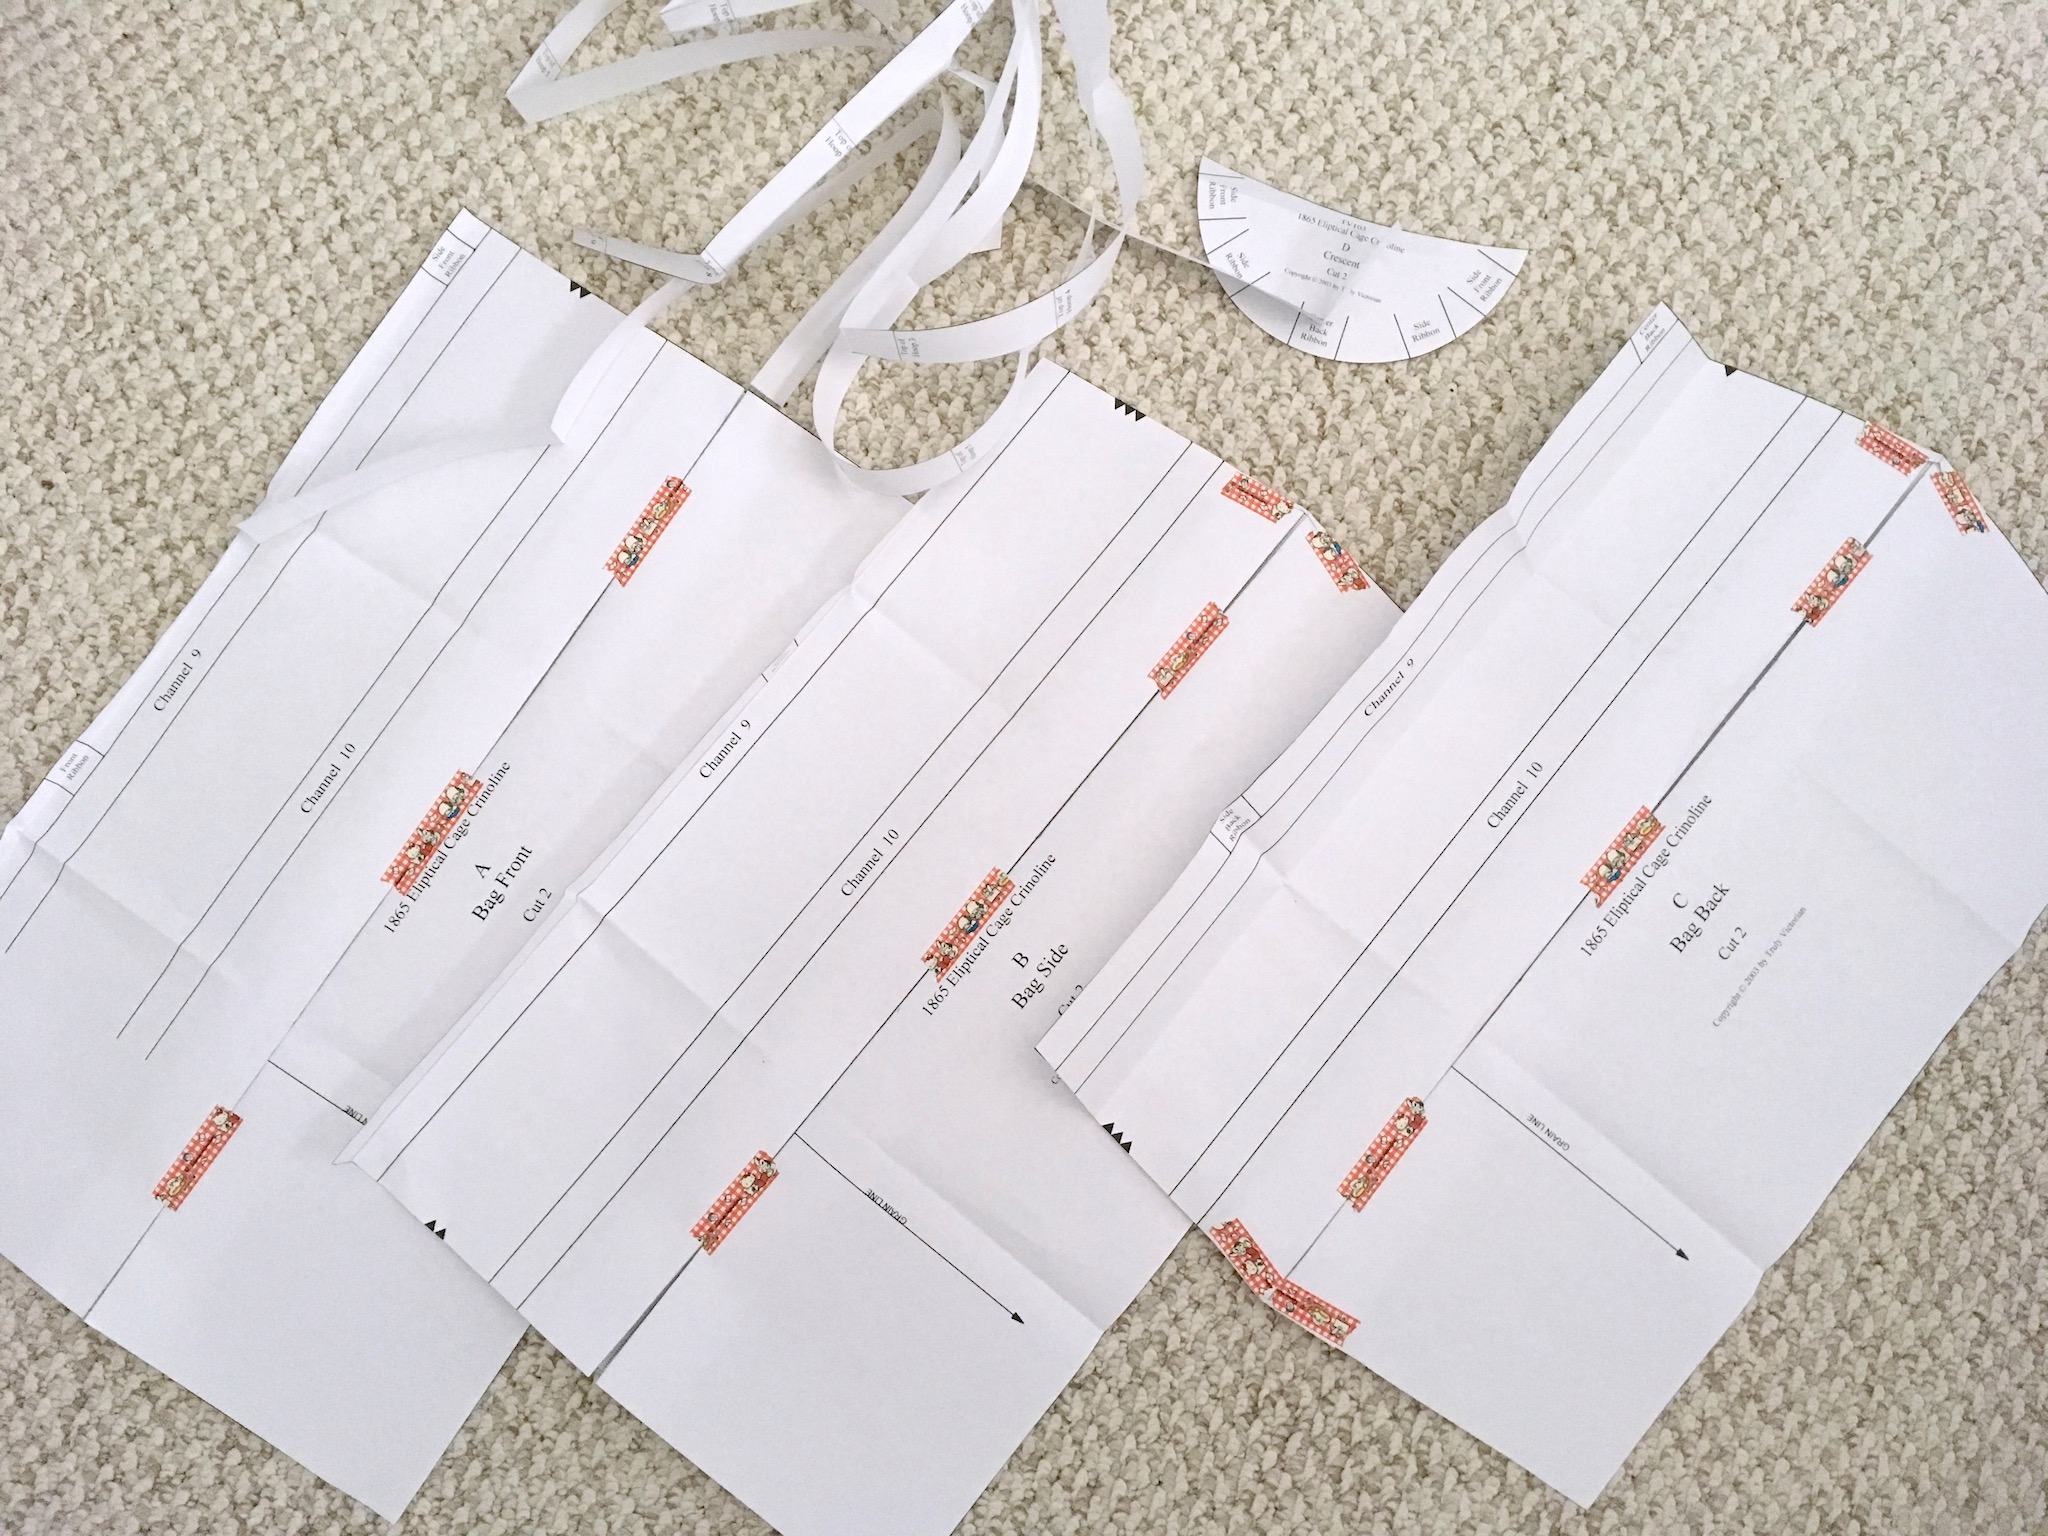
Next, I cut out the bag and crescent pieces from my gold quilter’s cotton, transferring any markings.
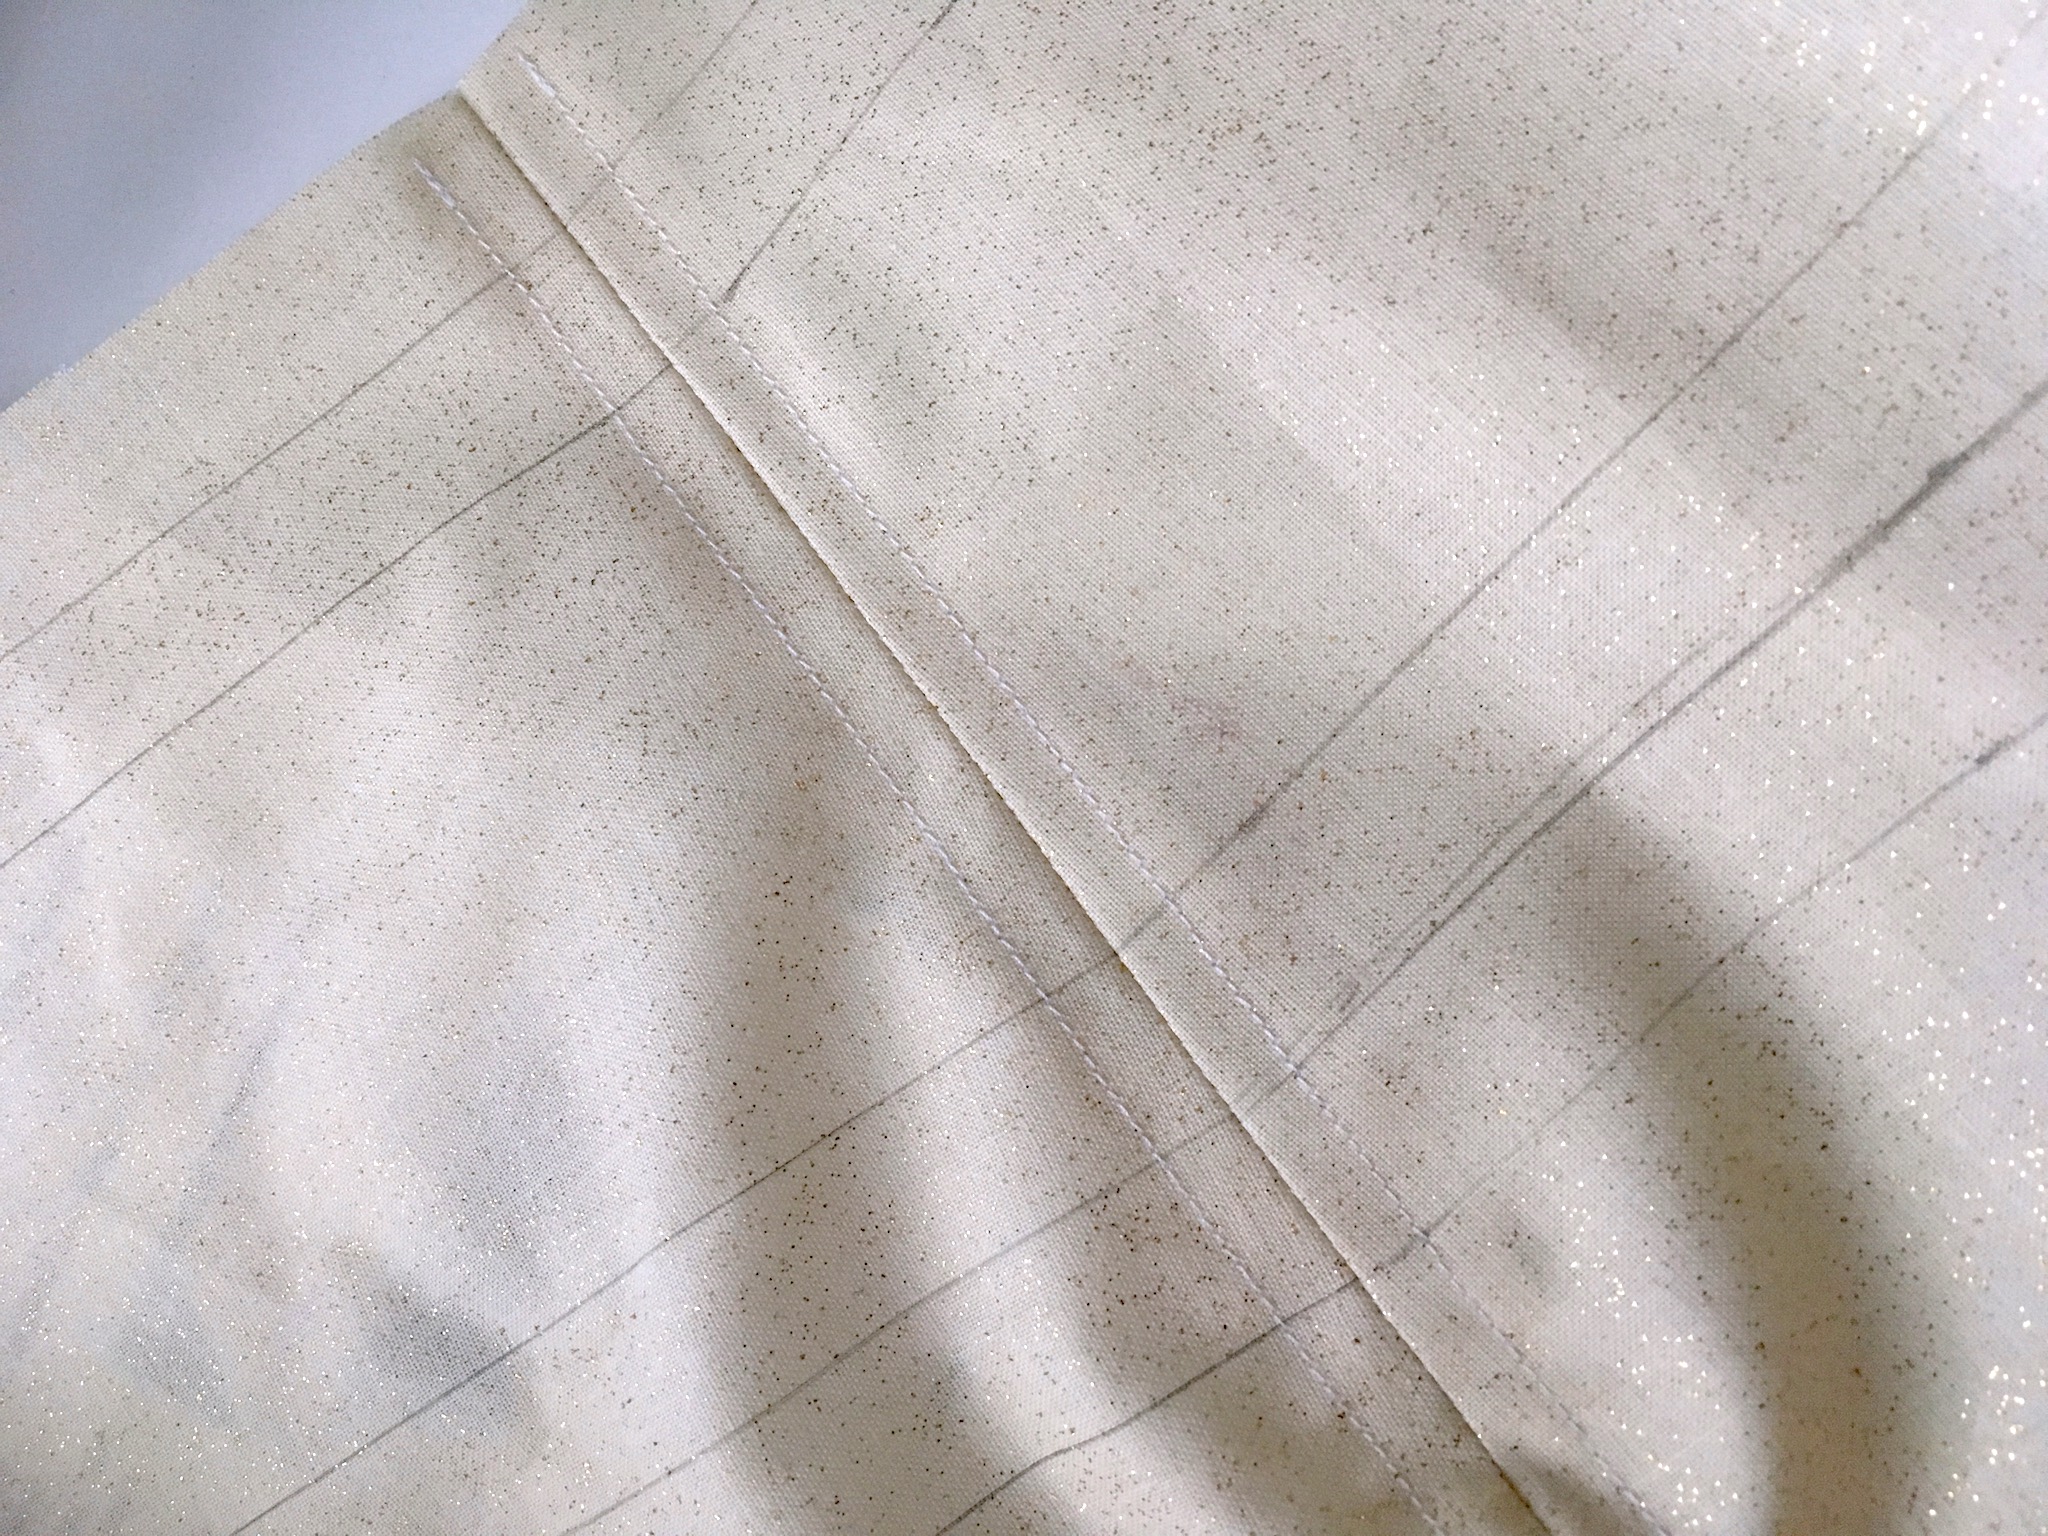
Then I sewed the bag sections together, pressed the seam allowances, and top-stitched them flat.
To form the bag, I folded the pieces in half (“hotdog style”) and sewed along the top edge, leaving a gap of 6″ at each end. Then I closed the ring of the bag by sewing the front ends together. This seam was also pressed flat and top-stitched.
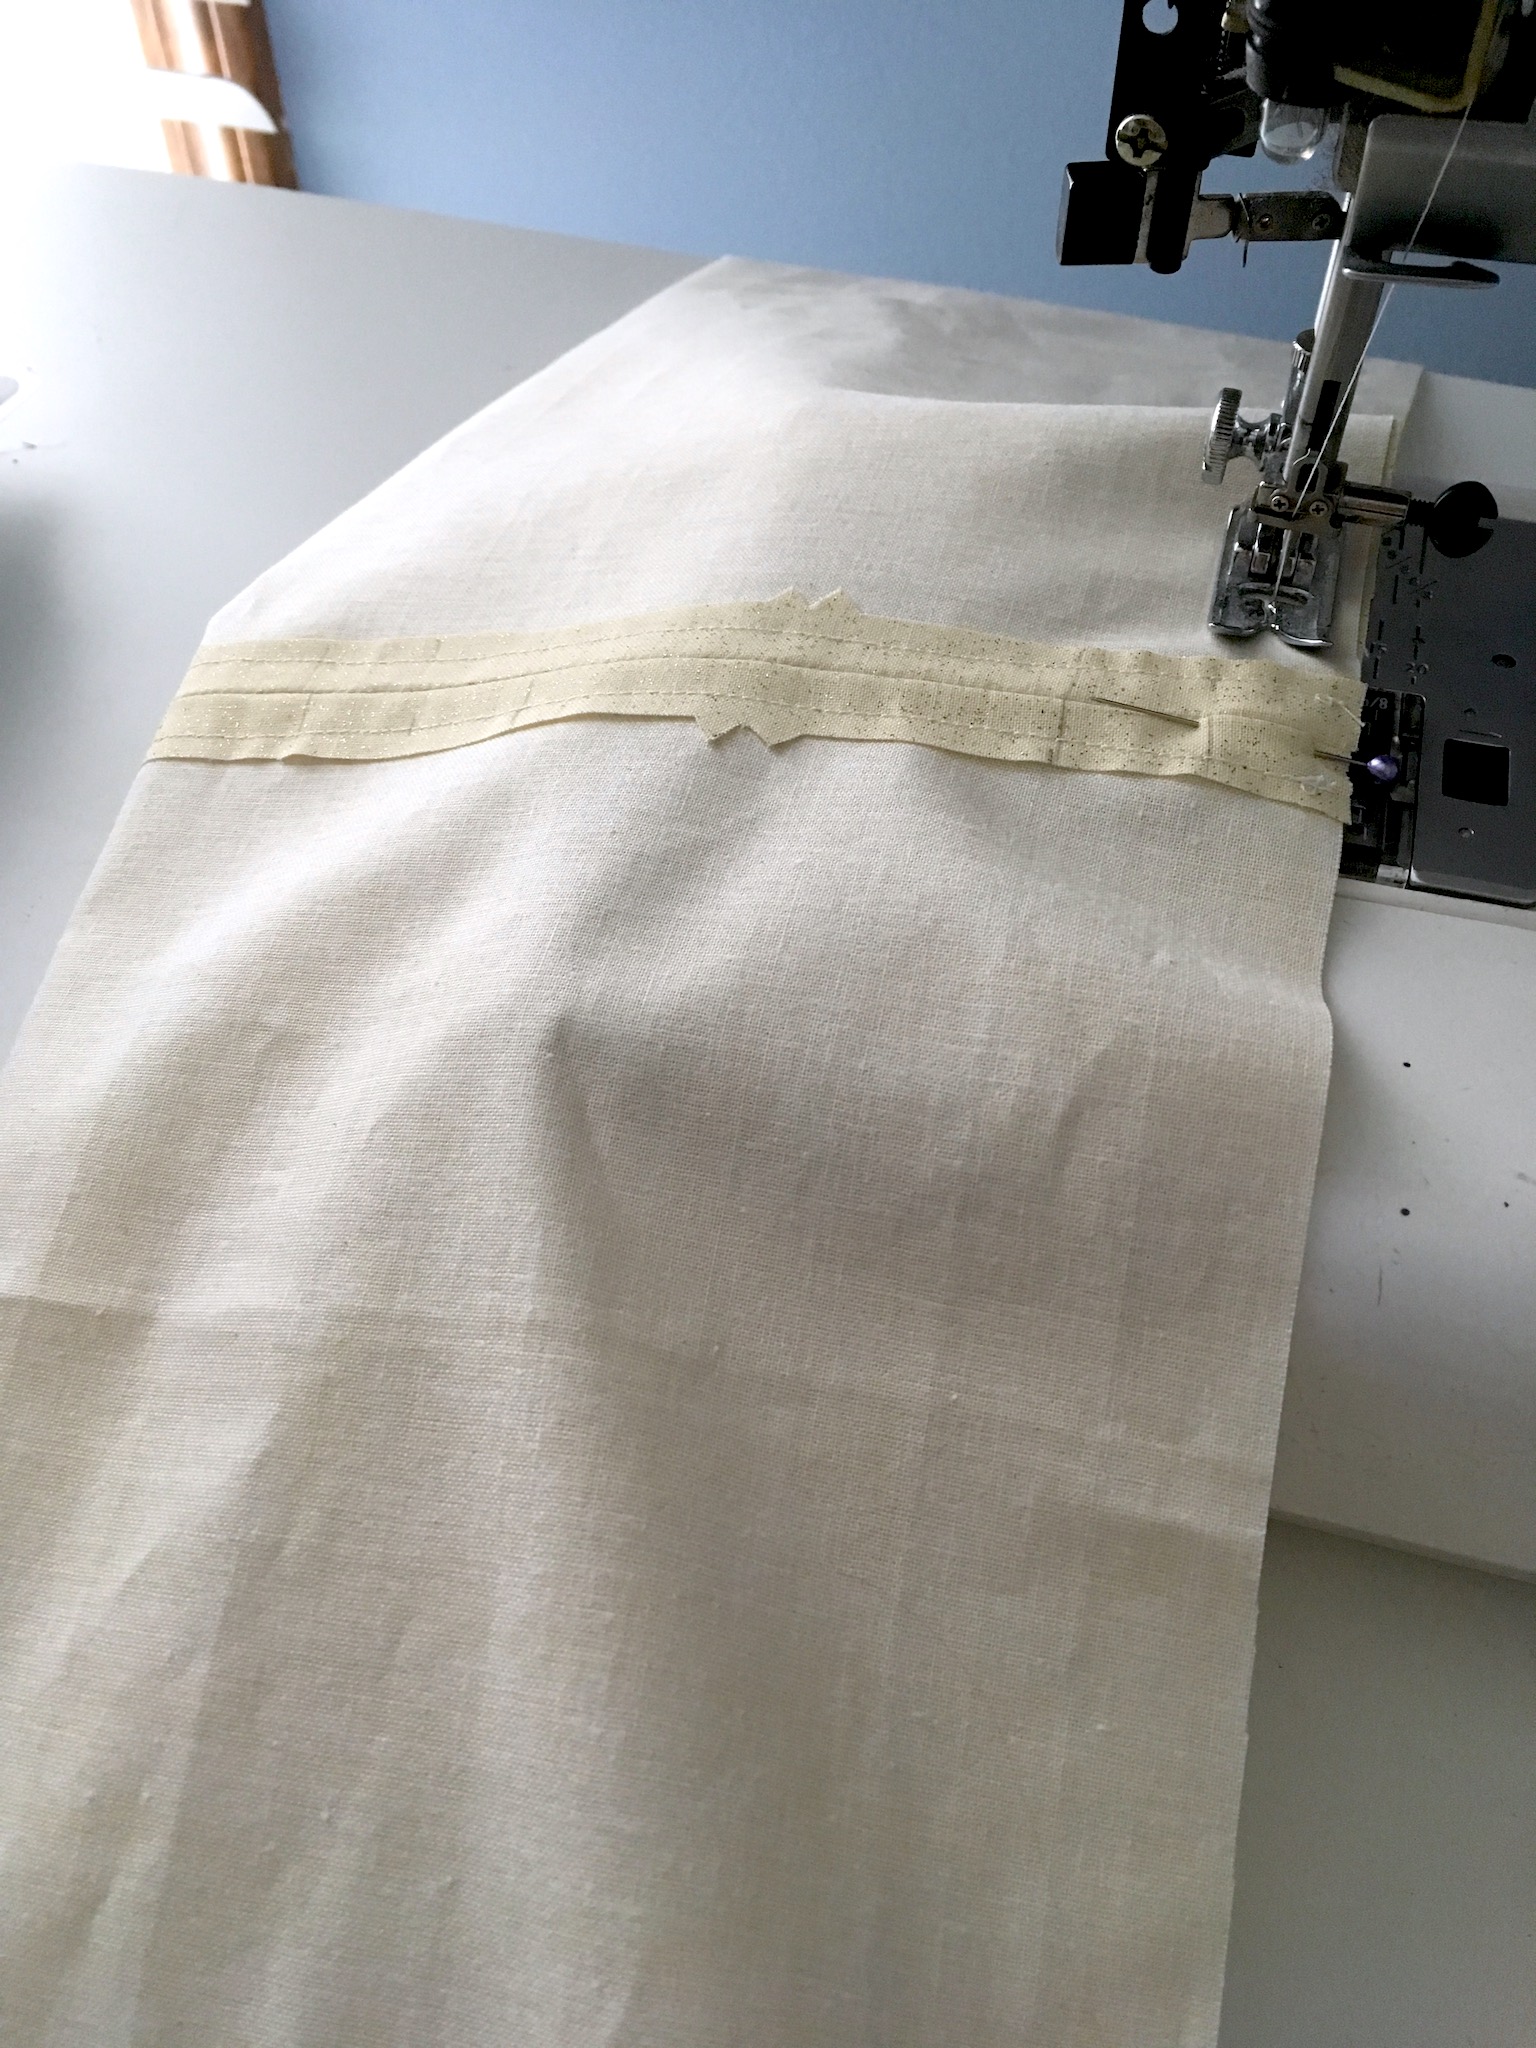
I stitched along the markings to define the boning channels. (Again, I didn’t stitch across the gap in the center front.)
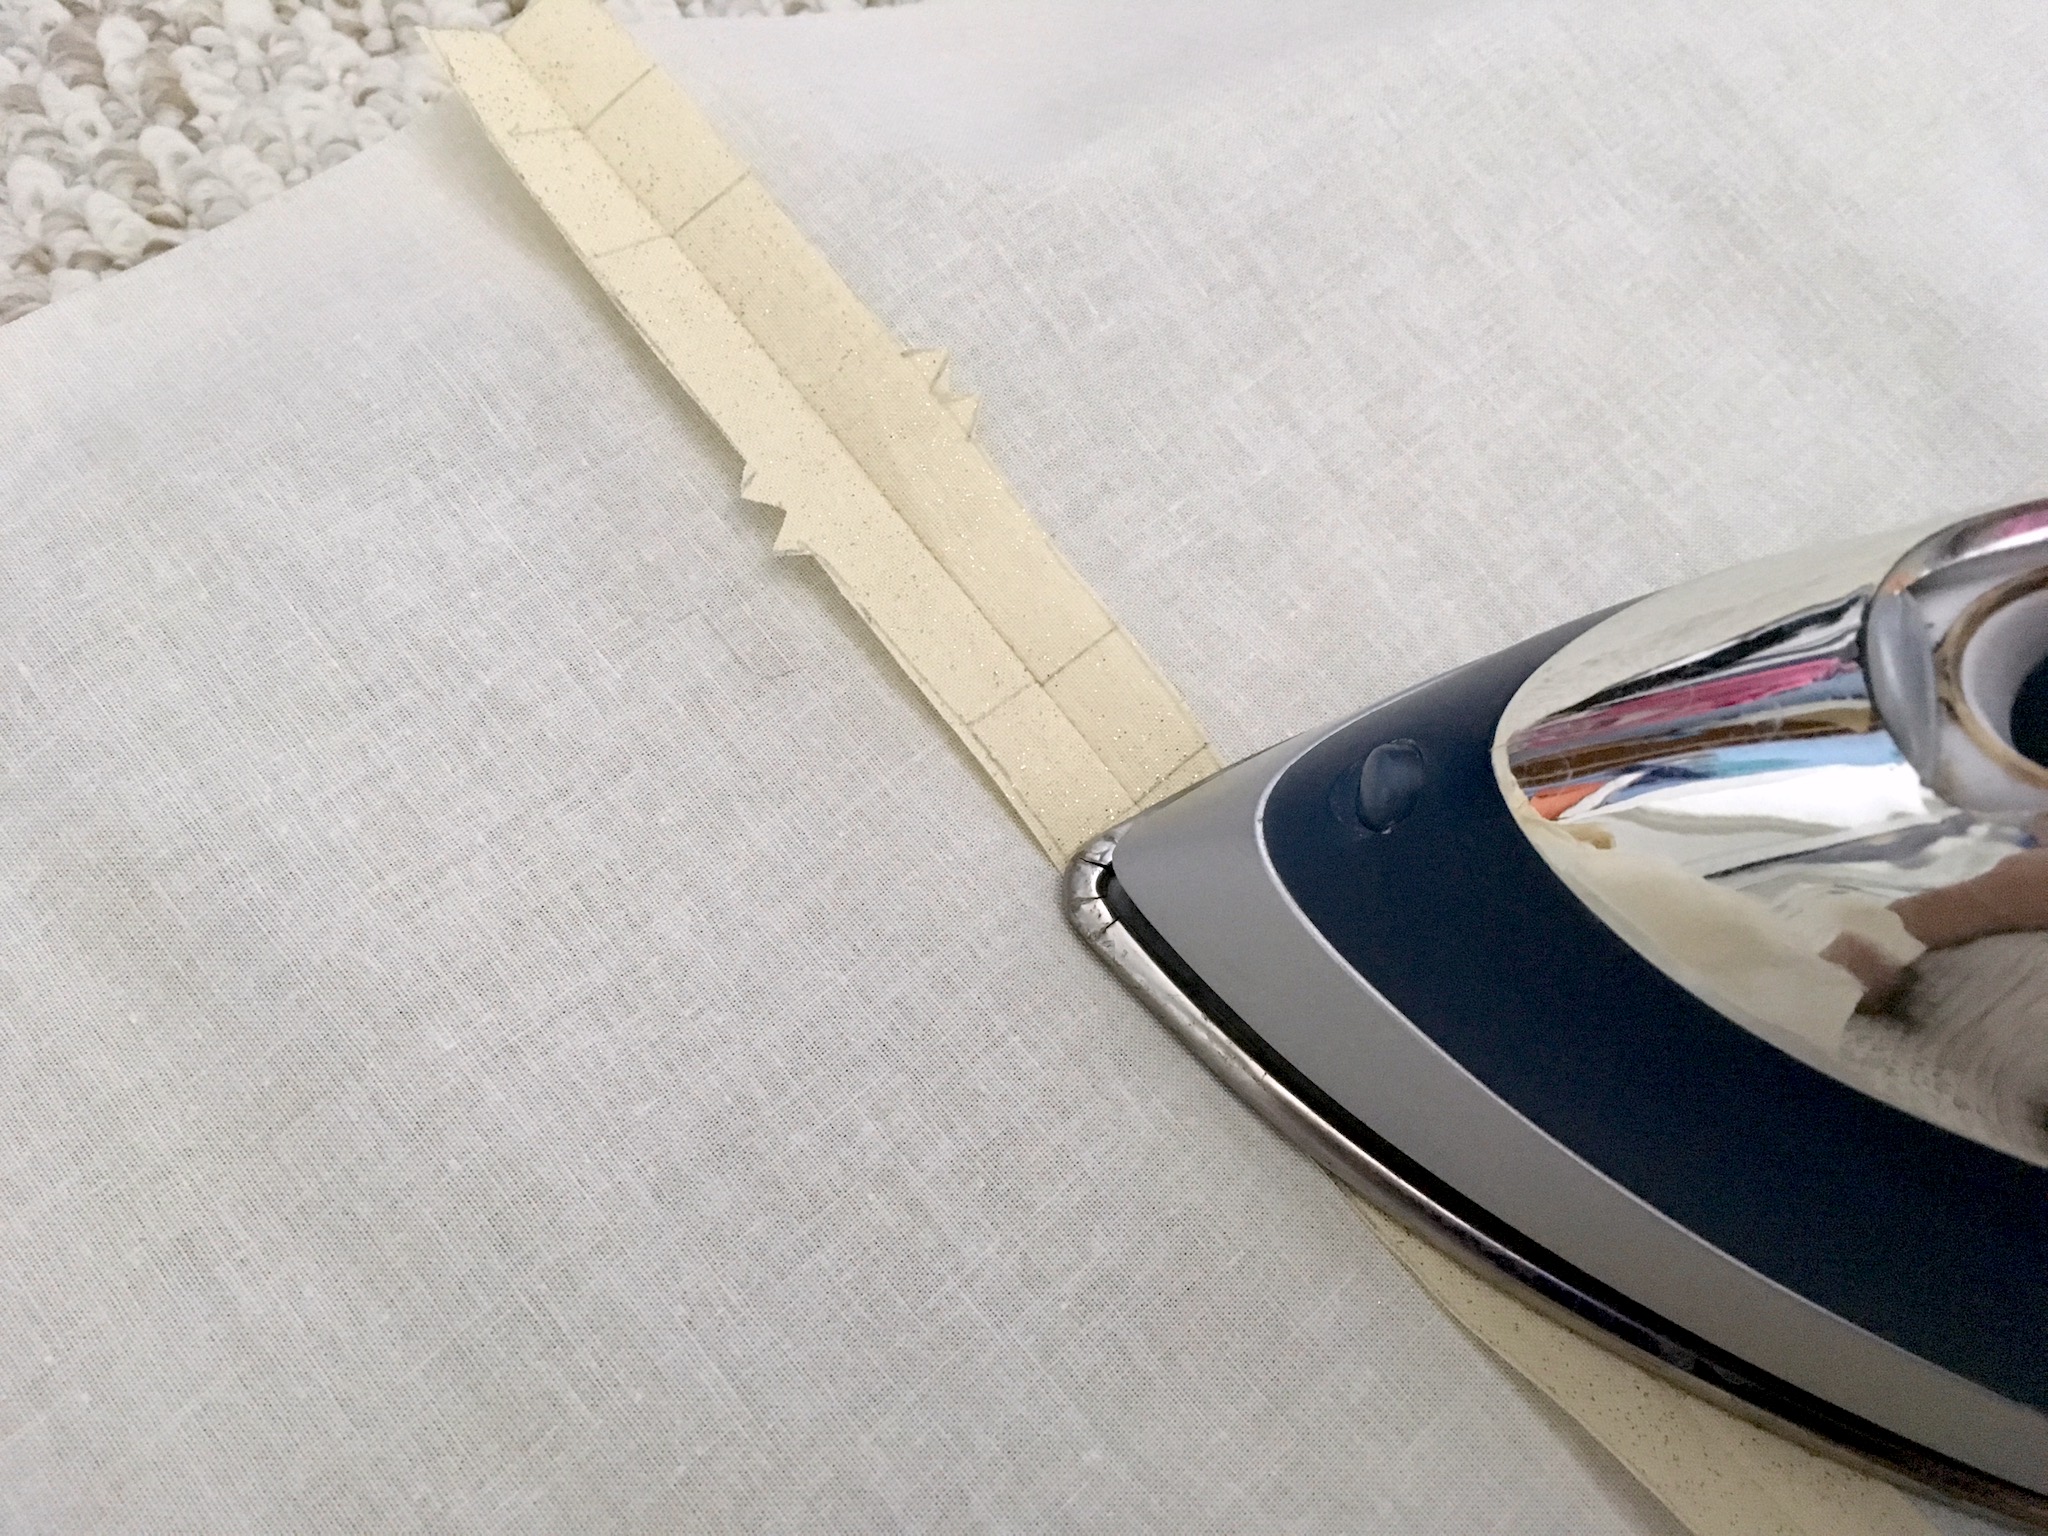
Once the boning channels were sewn, I finished the raw edges of the front opening by pressing them under and top-stitching.
Next, I made marks on the top edge of the bag in 13″ intervals, starting from the center back seam. These marks signify the placement of the ribbons.
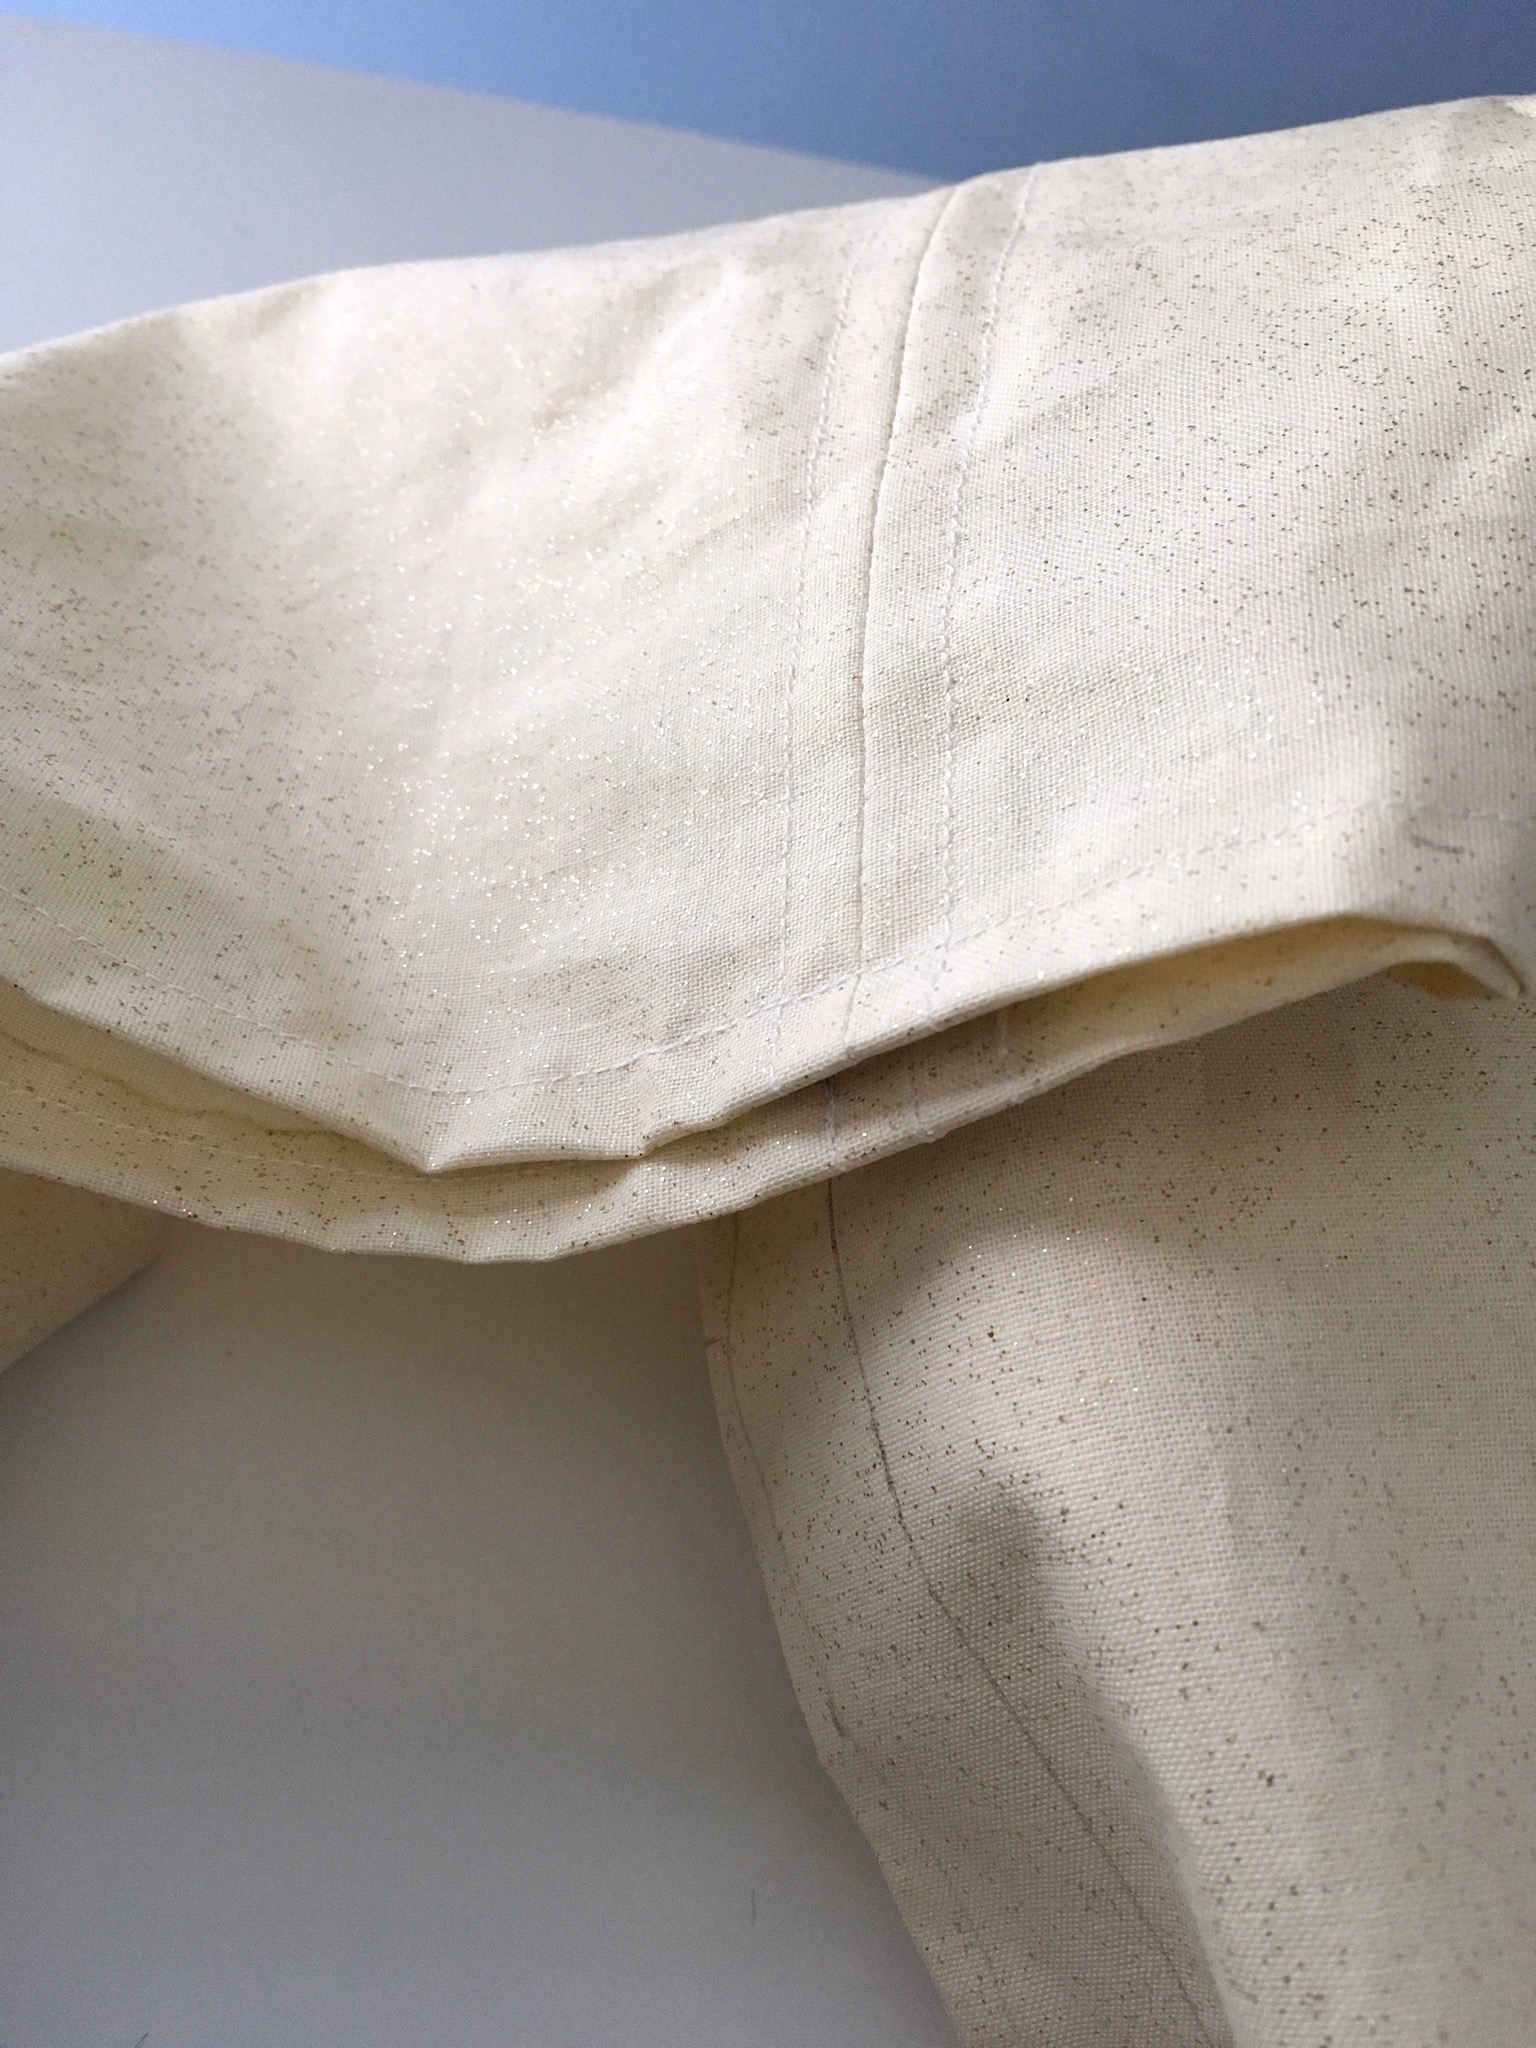
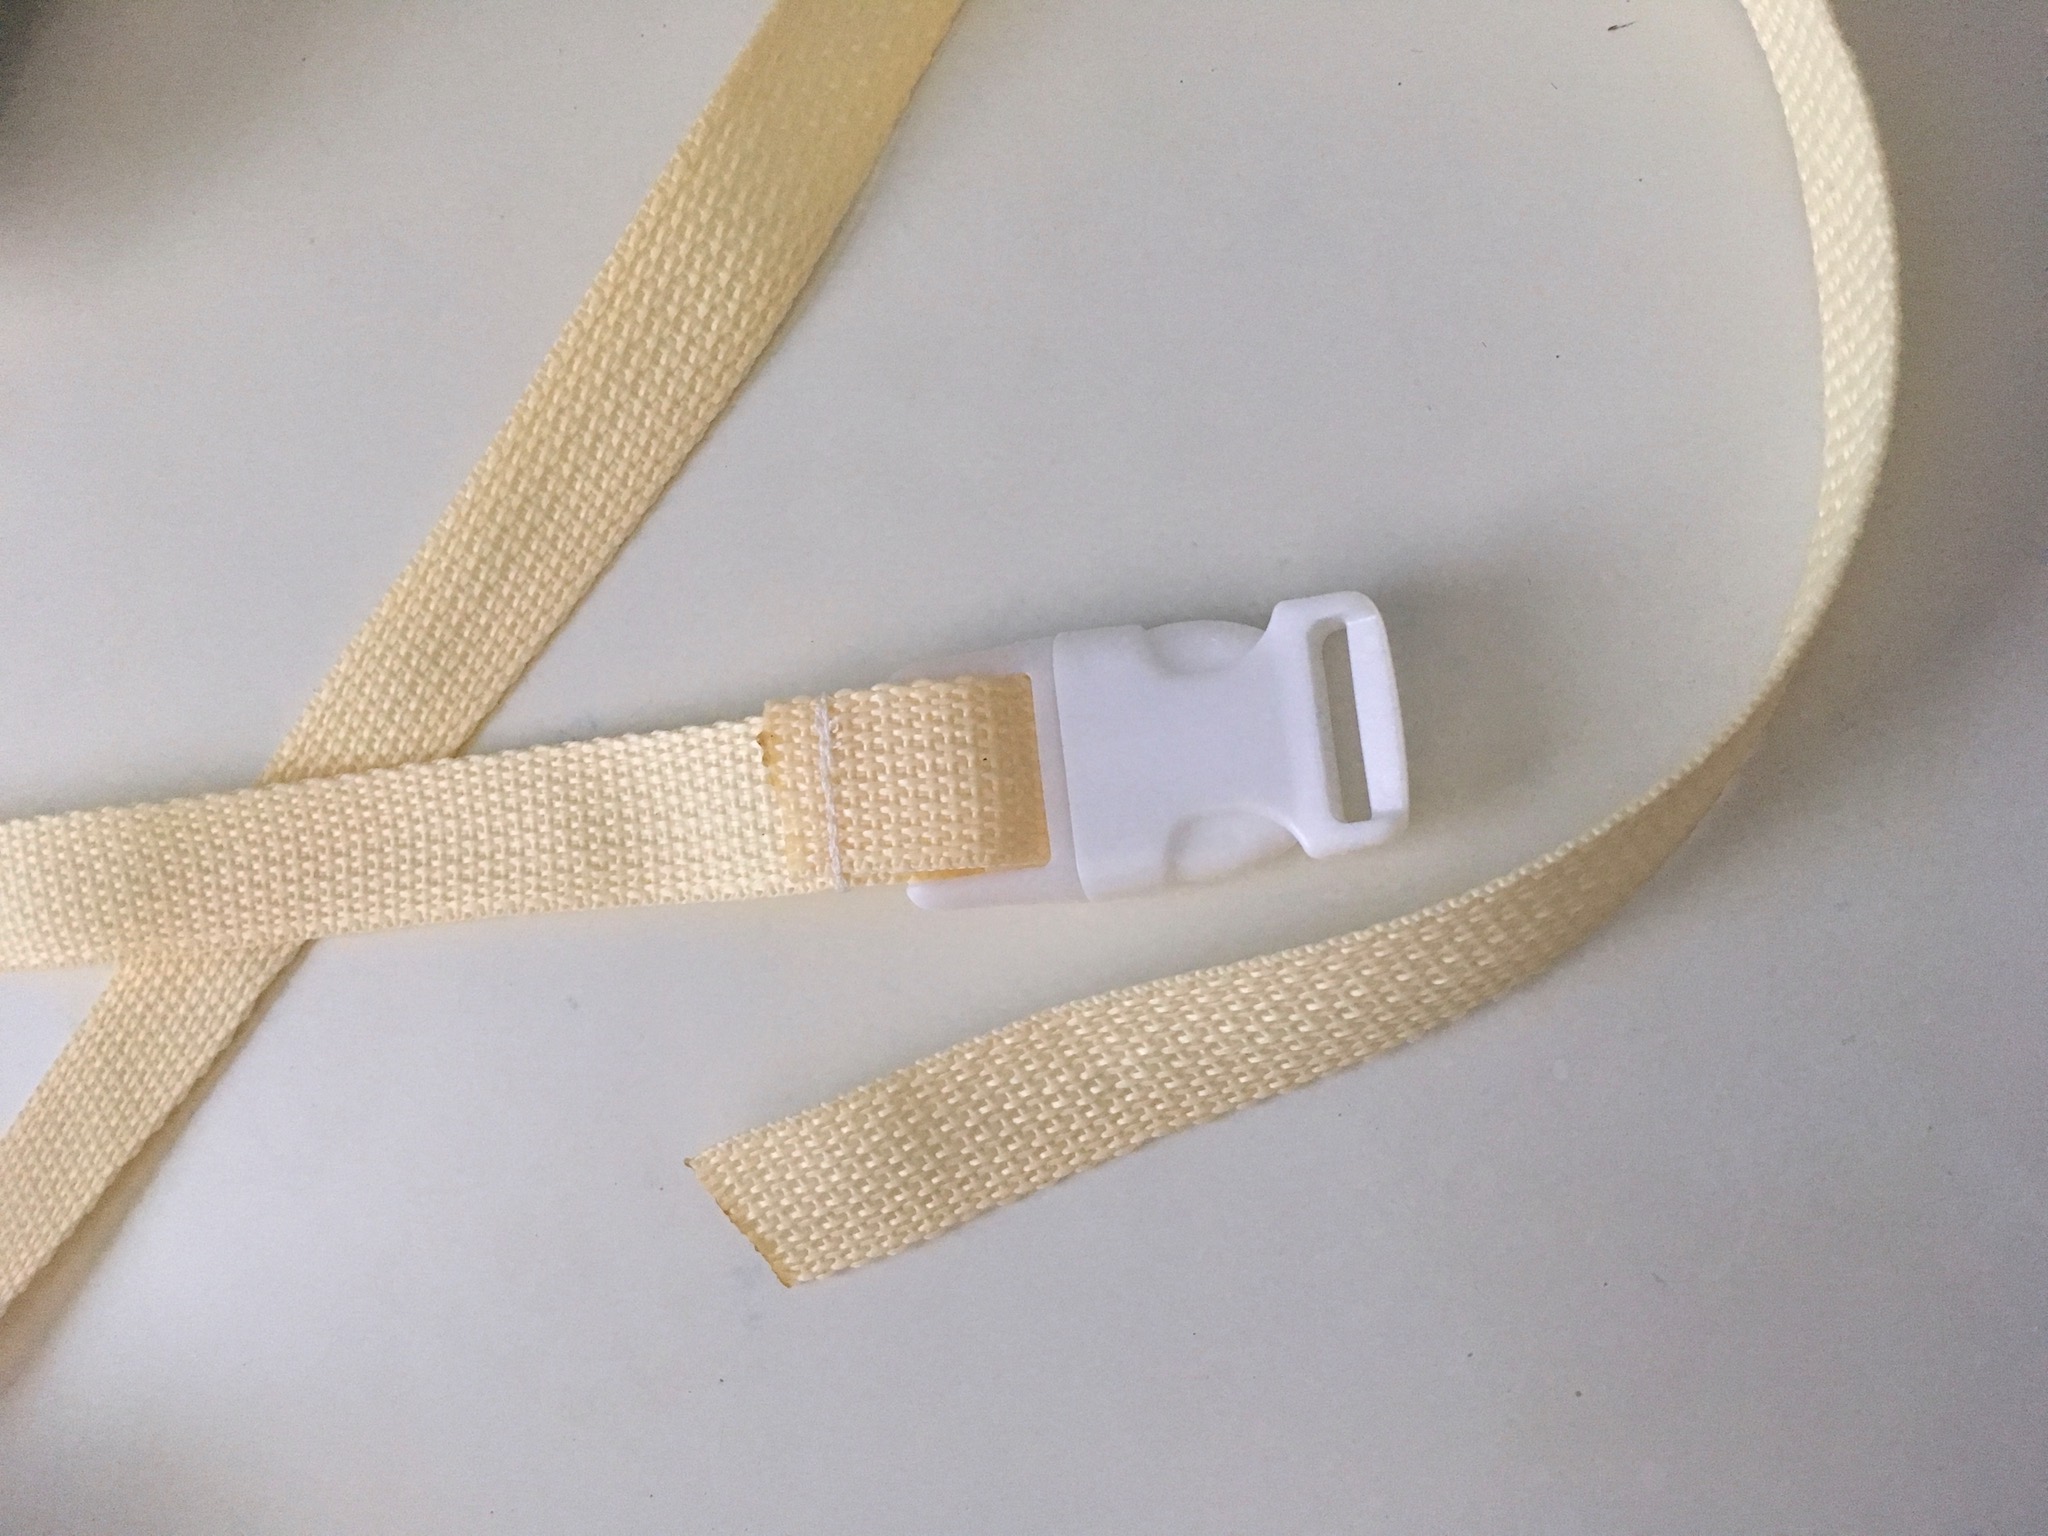
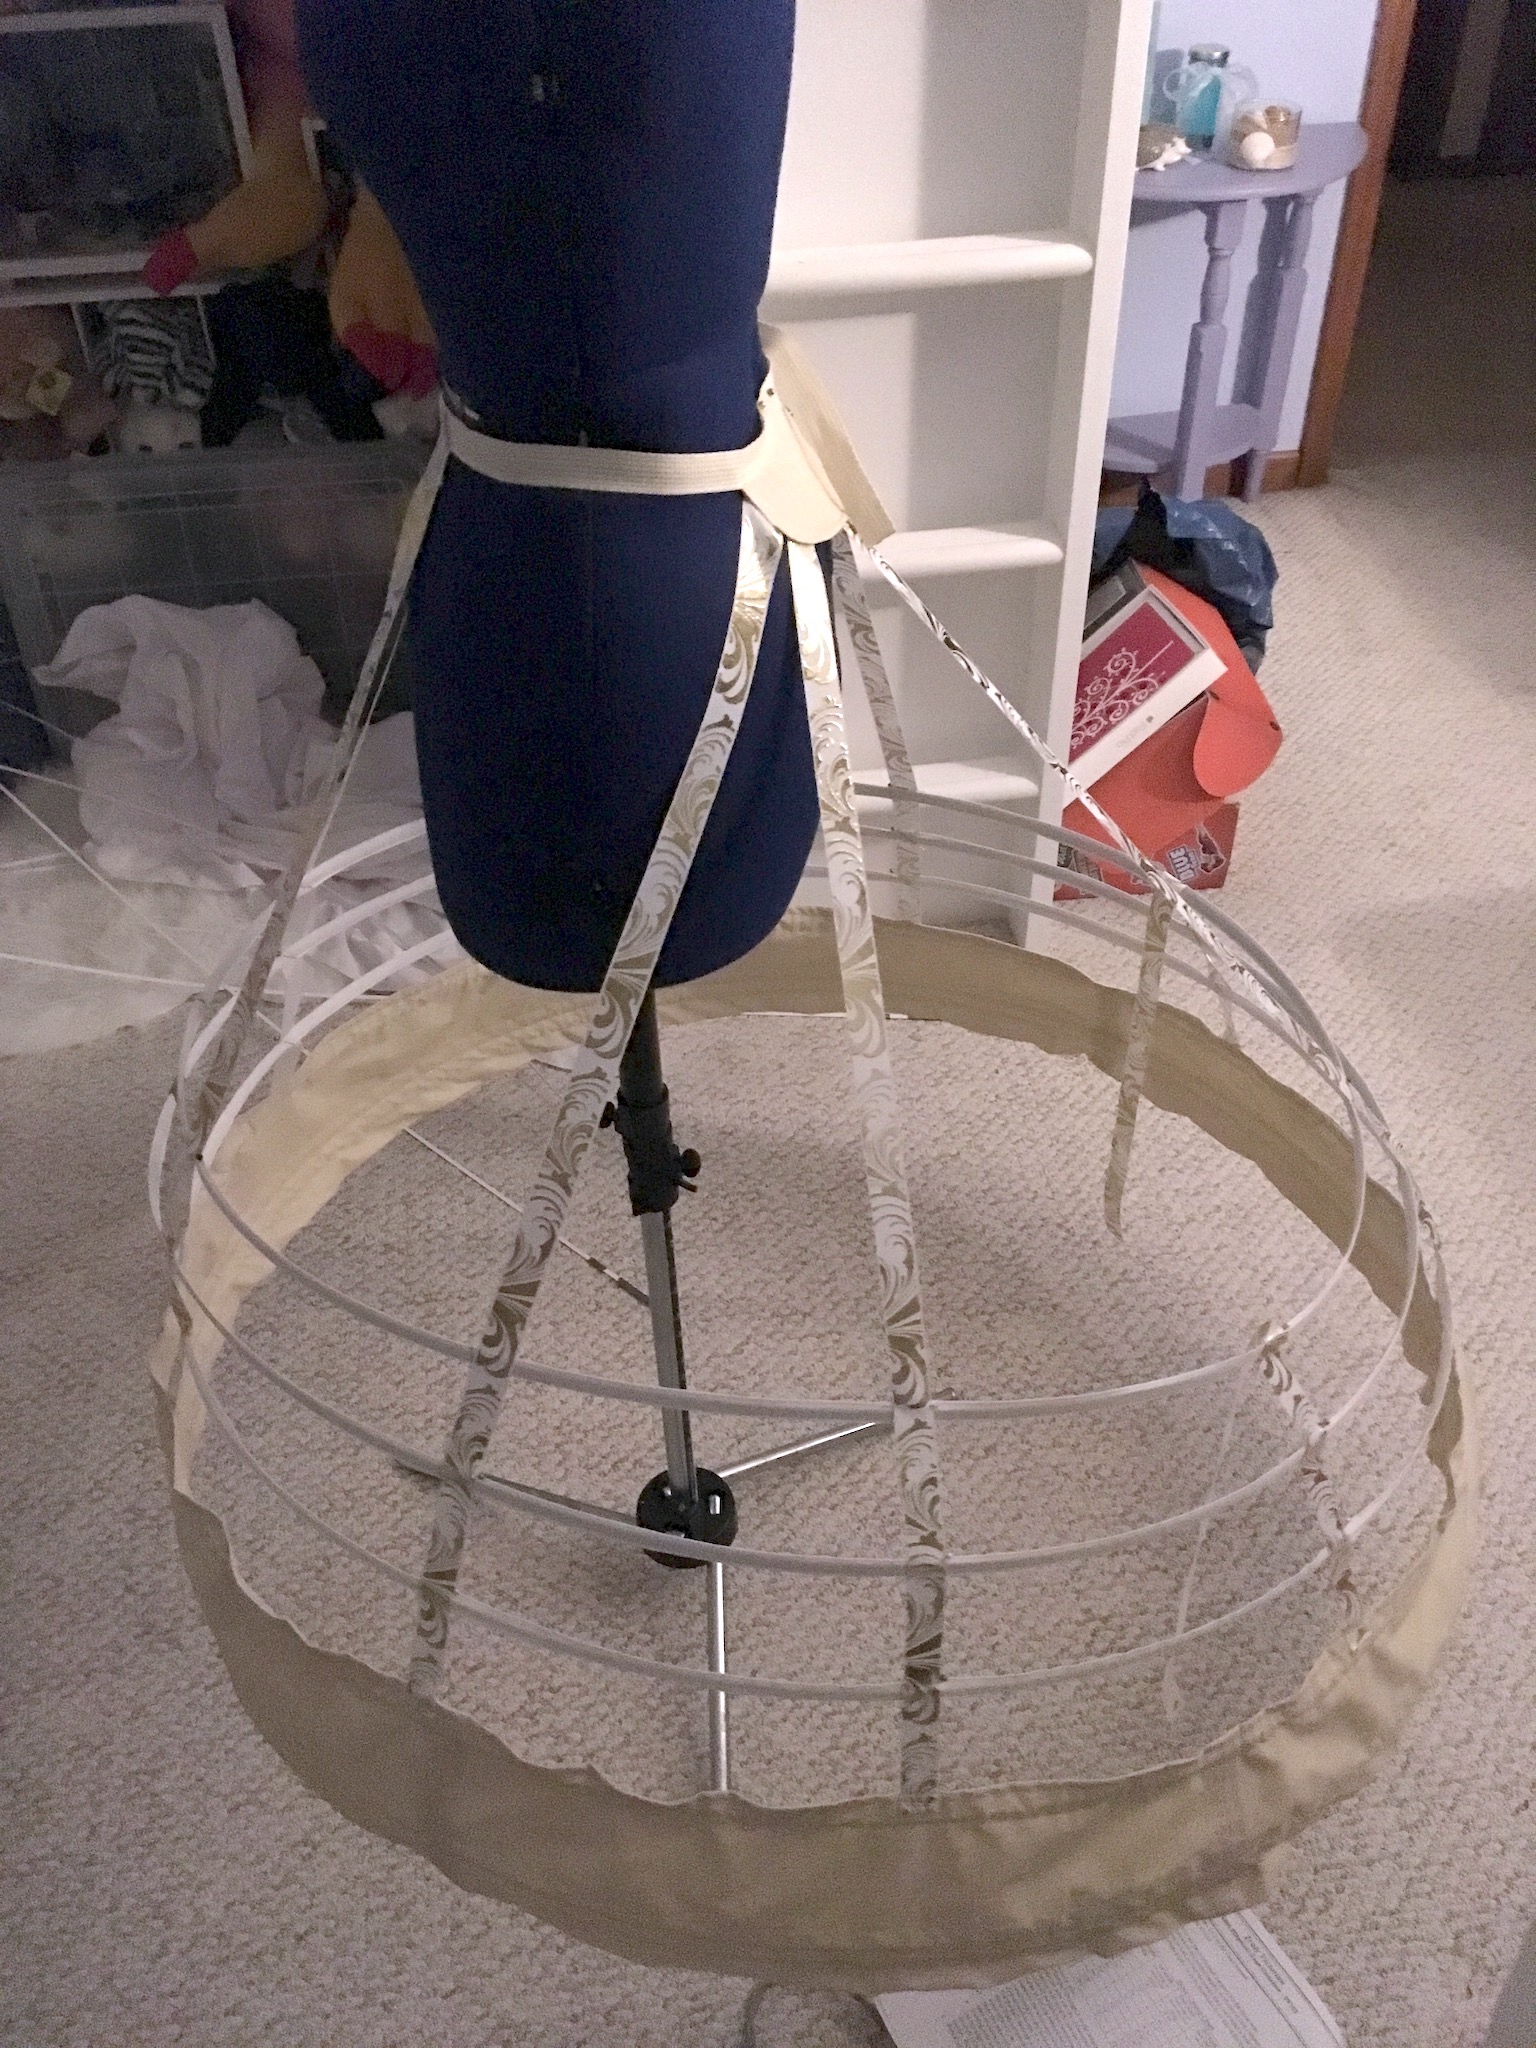
It was time to take a break from the bag! I shifted my focus to the top of the crinoline and made my waistband using the polypropylene webbing. One side was attached to the buckle; the other side was pinned for the moment. I burned the raw edges to prevent the webbing from fraying.
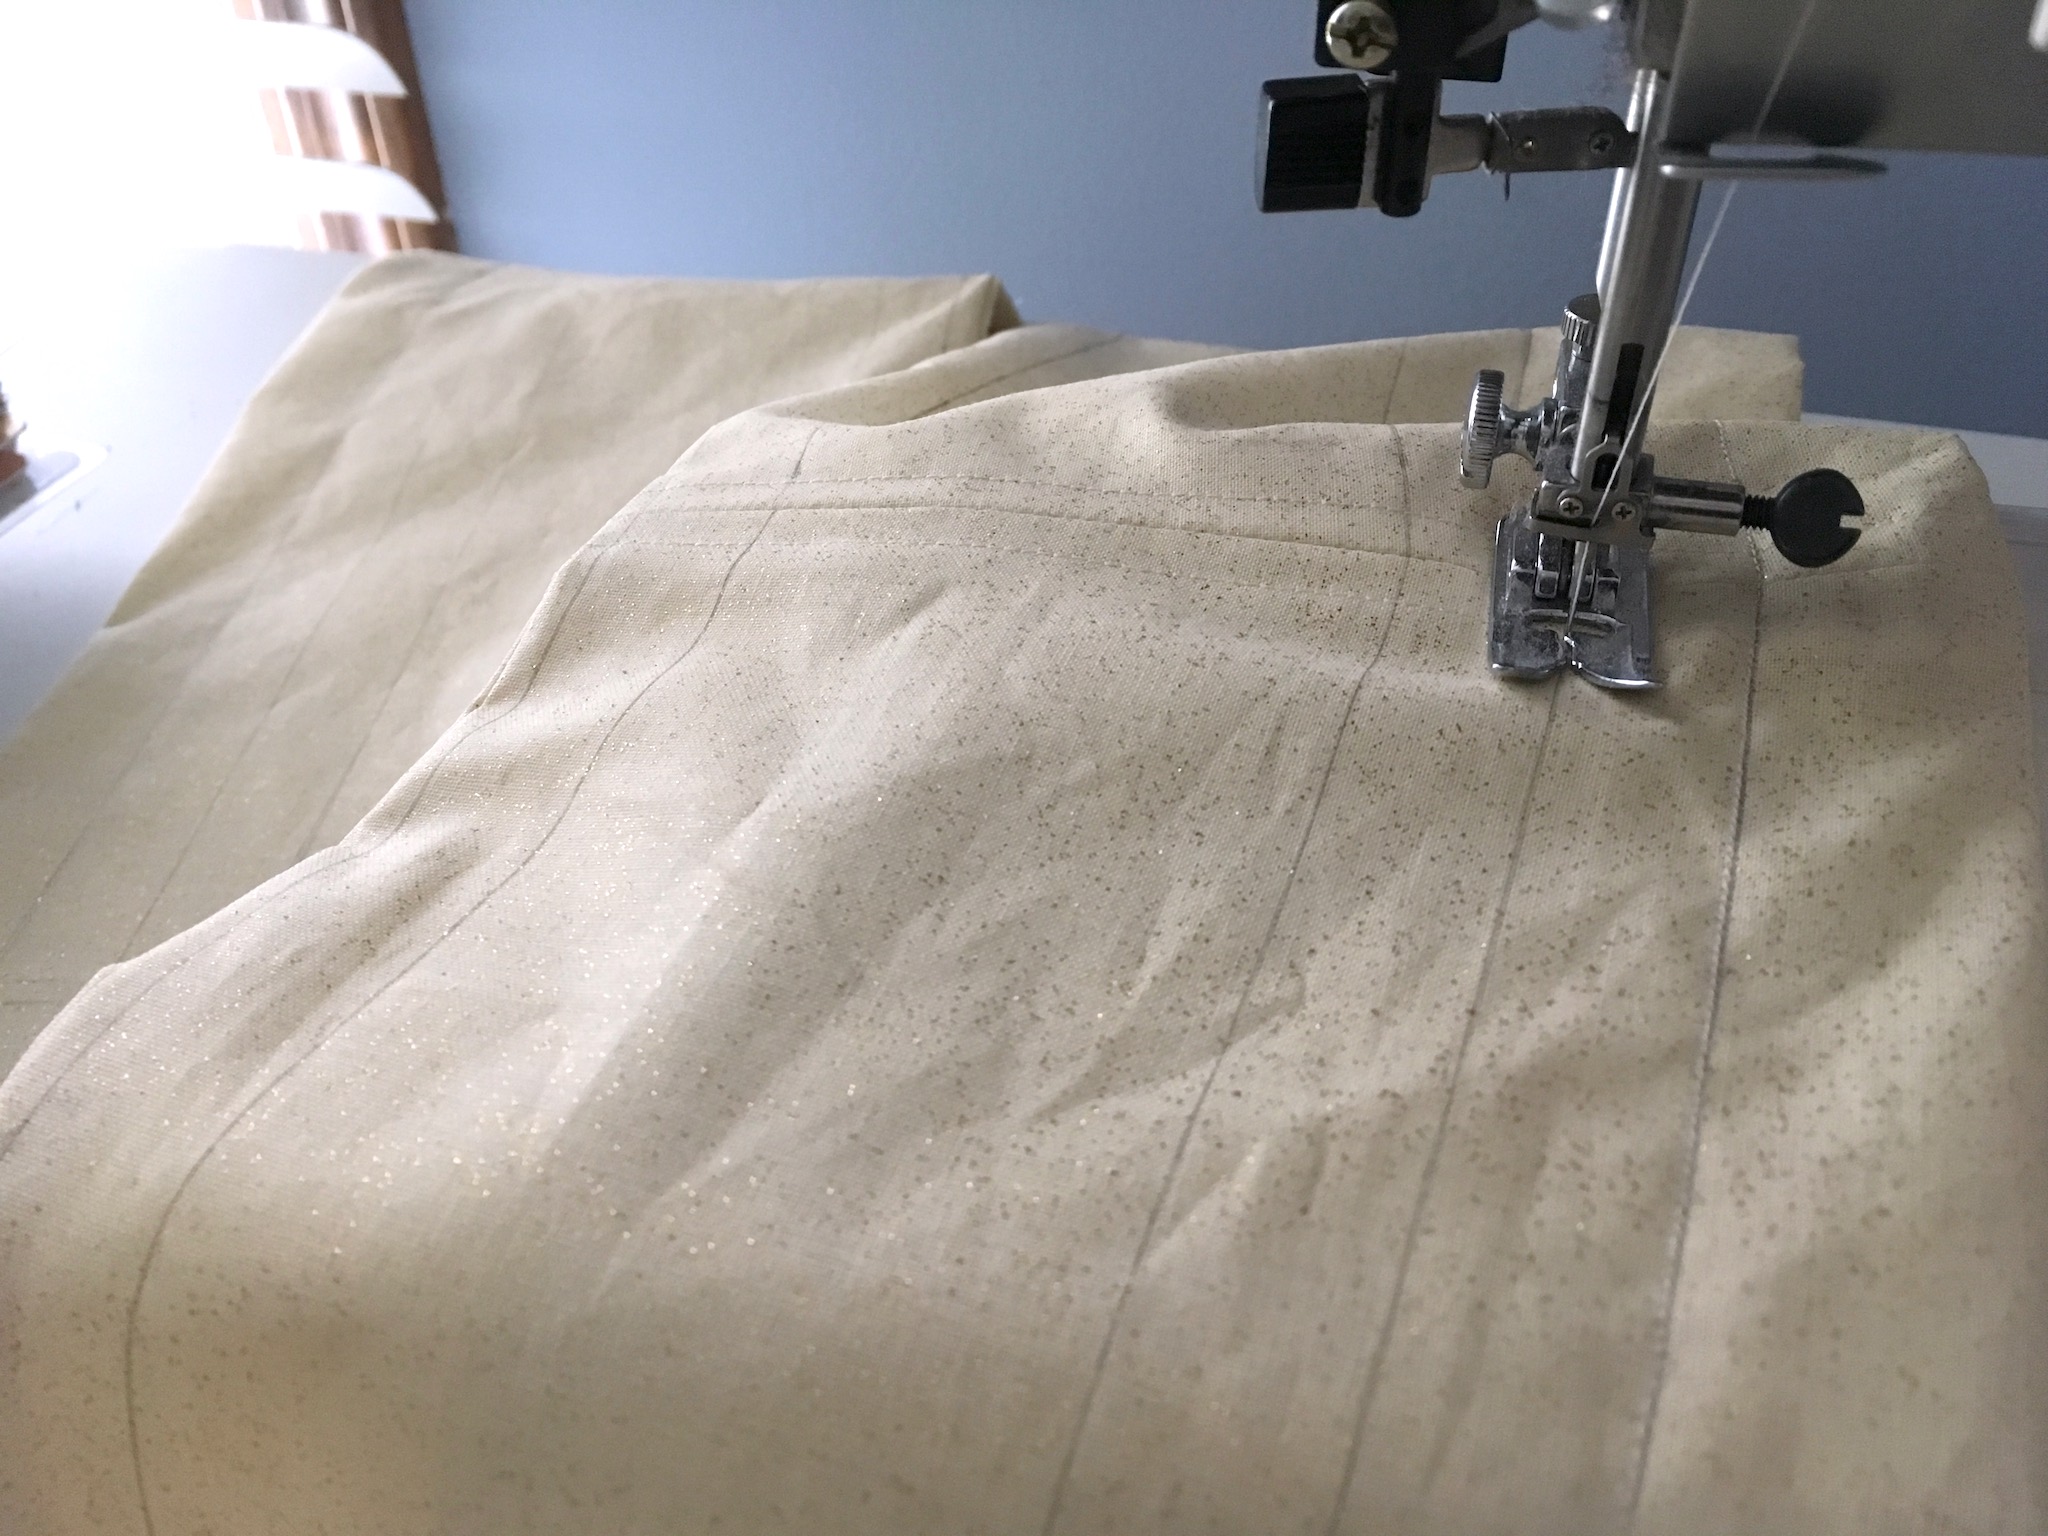
Still focusing on the waist area, I sewed the crescent layers together, adding arcs of stitching at 3/8″ intervals to provide support and stability to the piece.
After finishing the raw edge, I stitched the crescent to the underside of the waistband. (Note how it’s positioned so that the buckle is off-center; this is to reduce bulk in the front tummy, instead hiding it by the hip.)

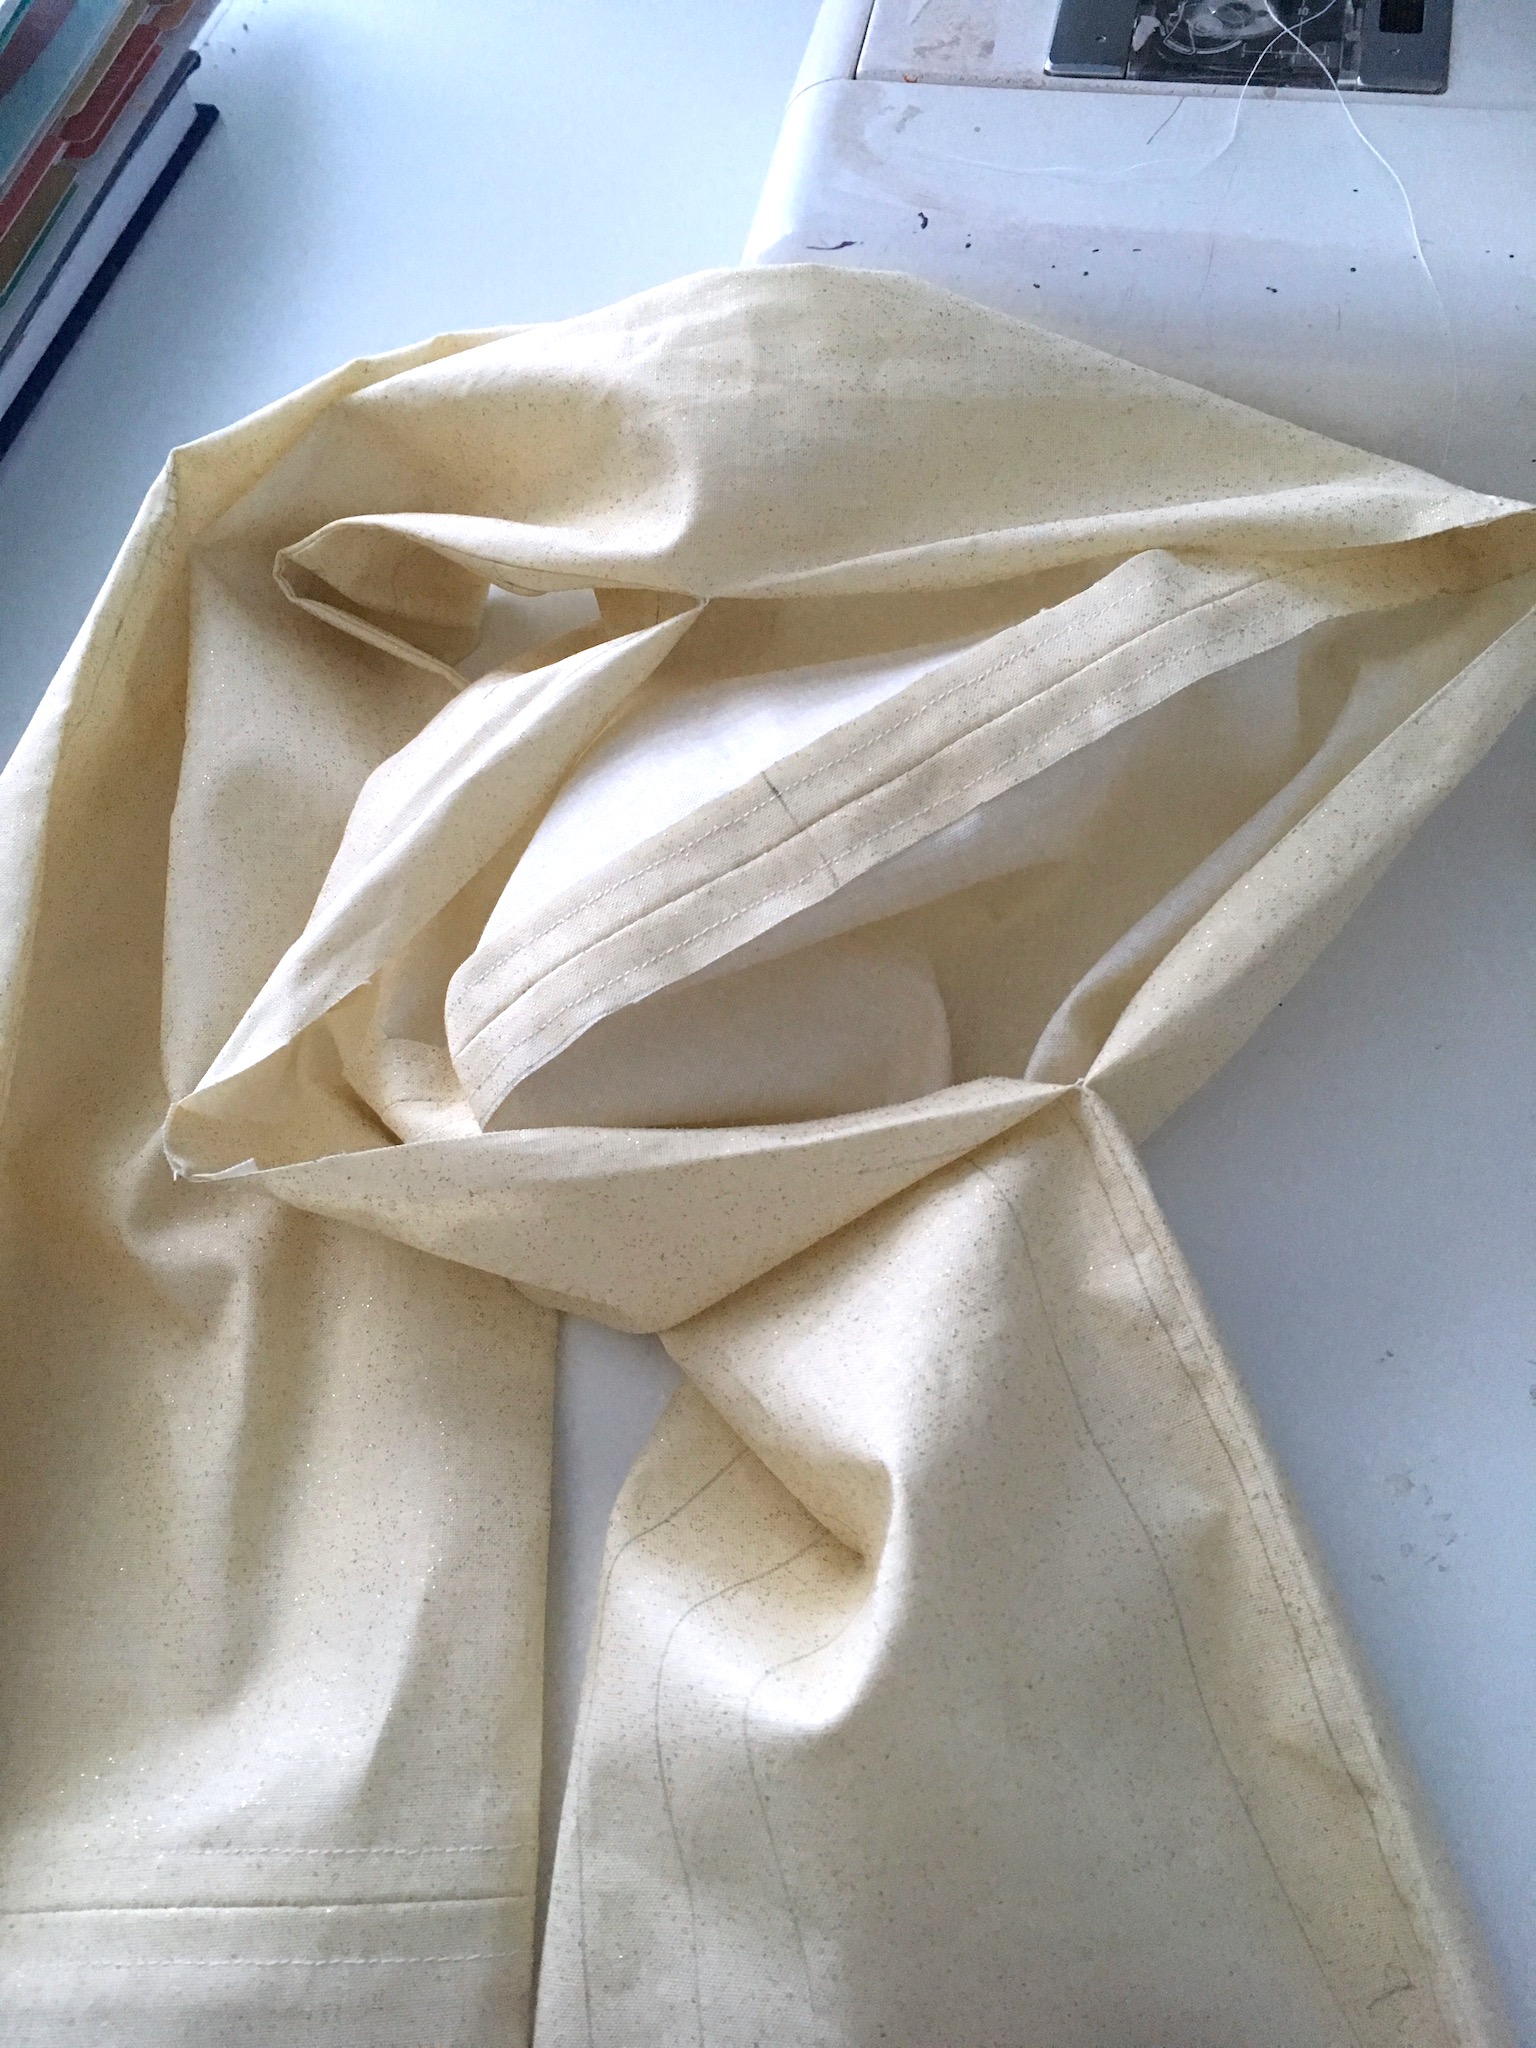
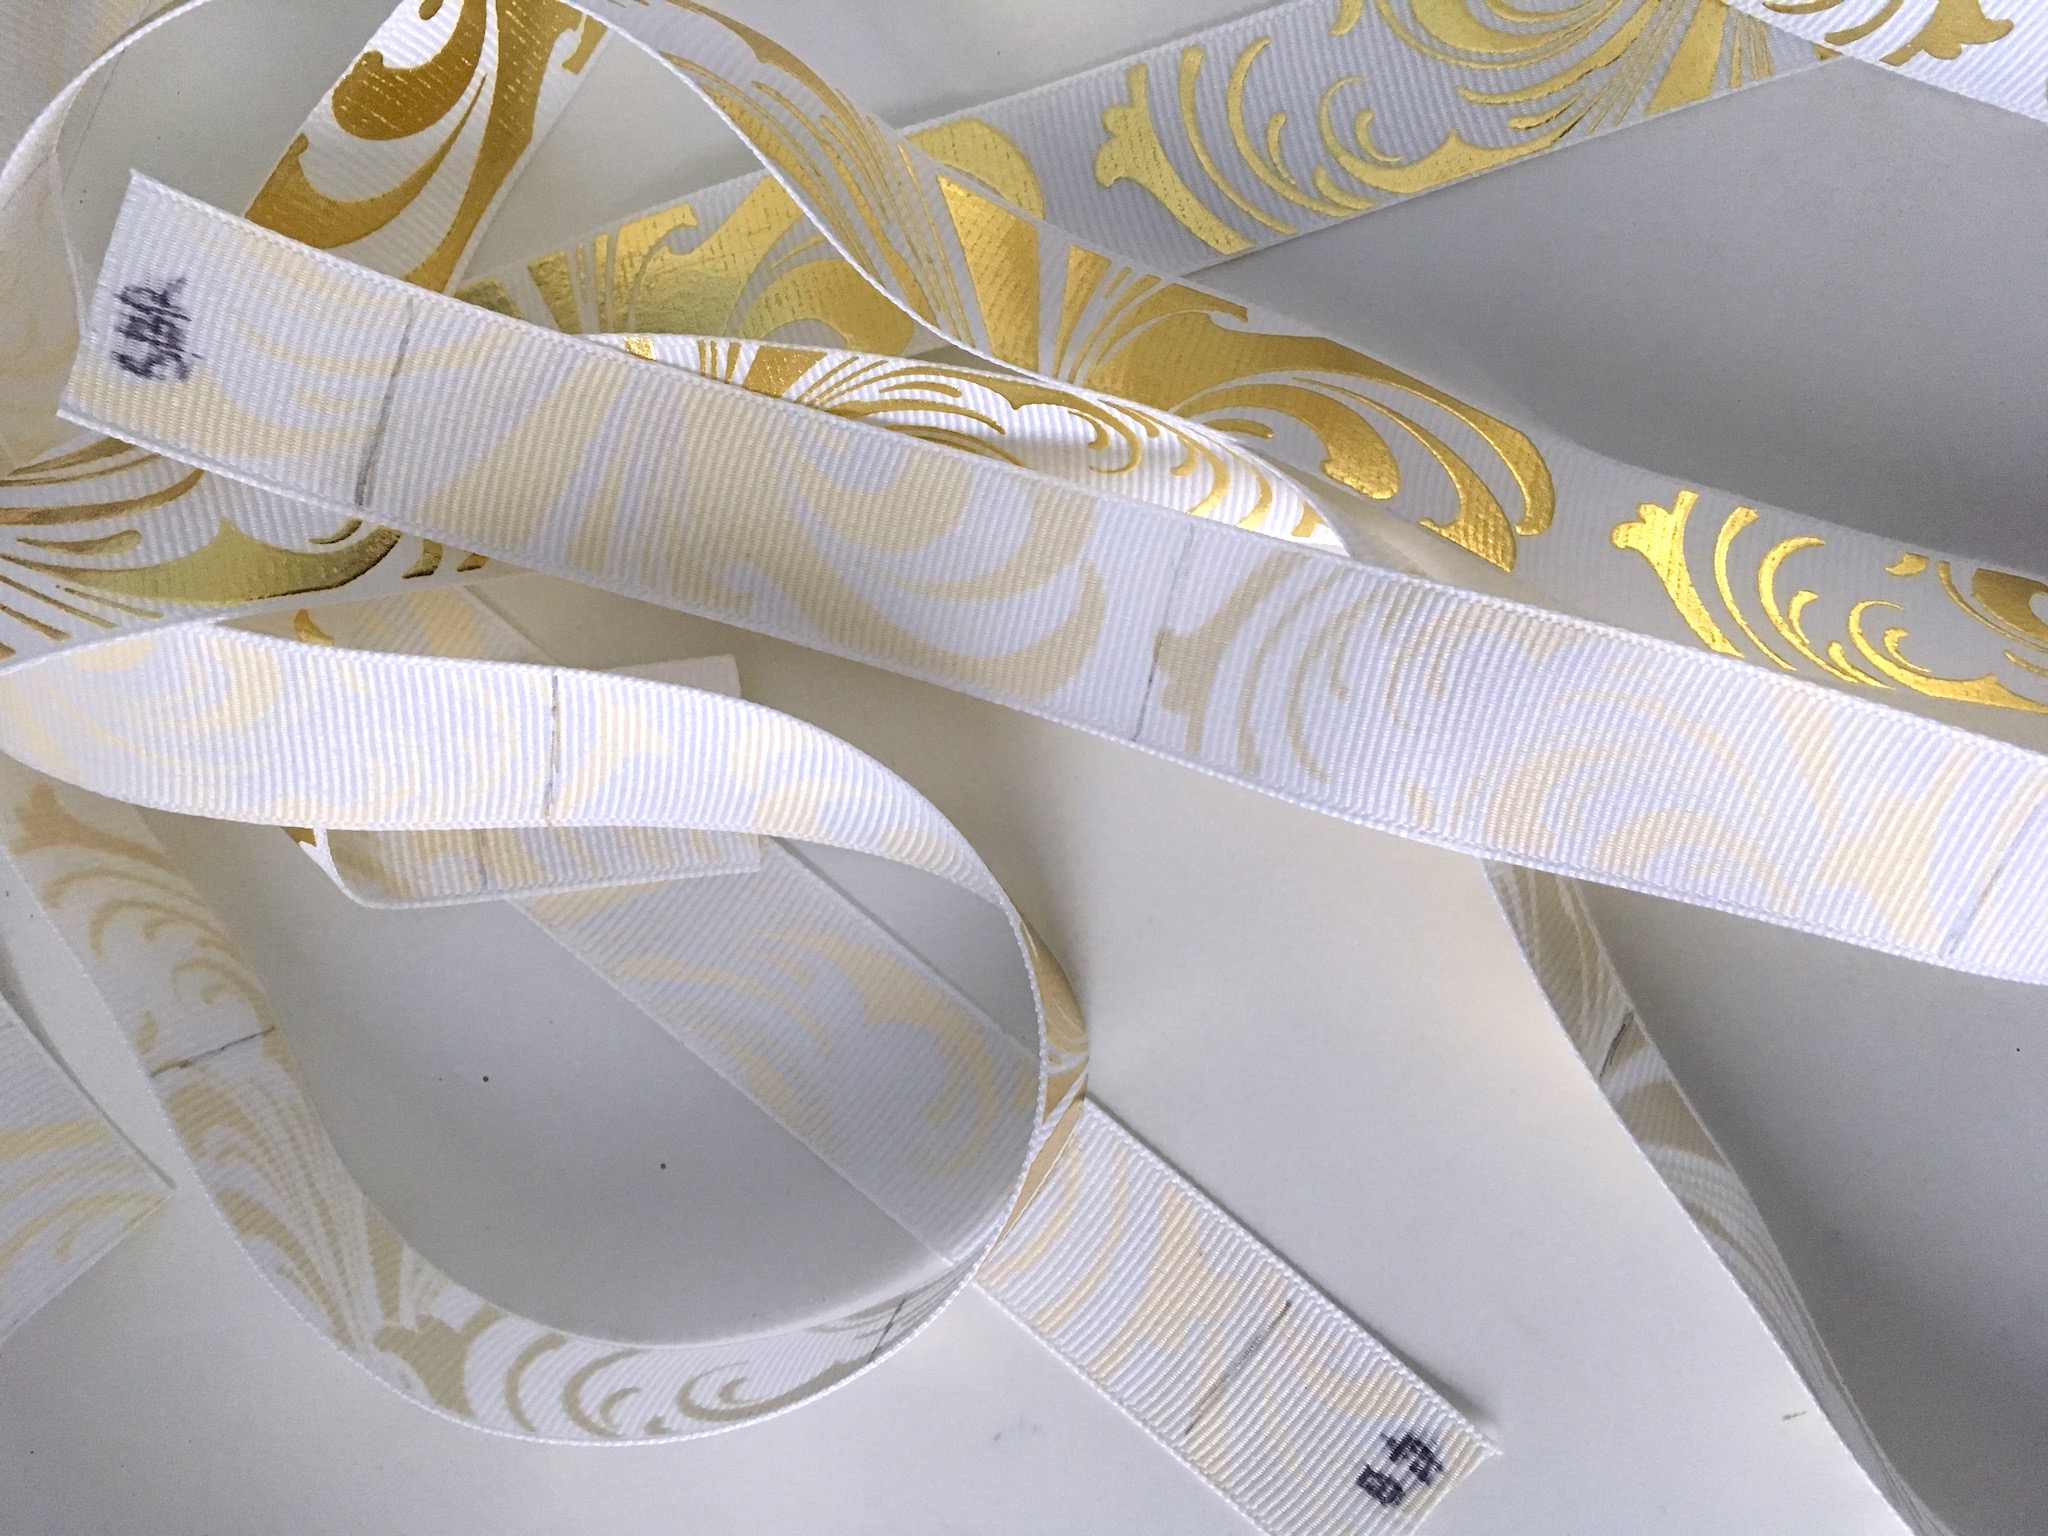
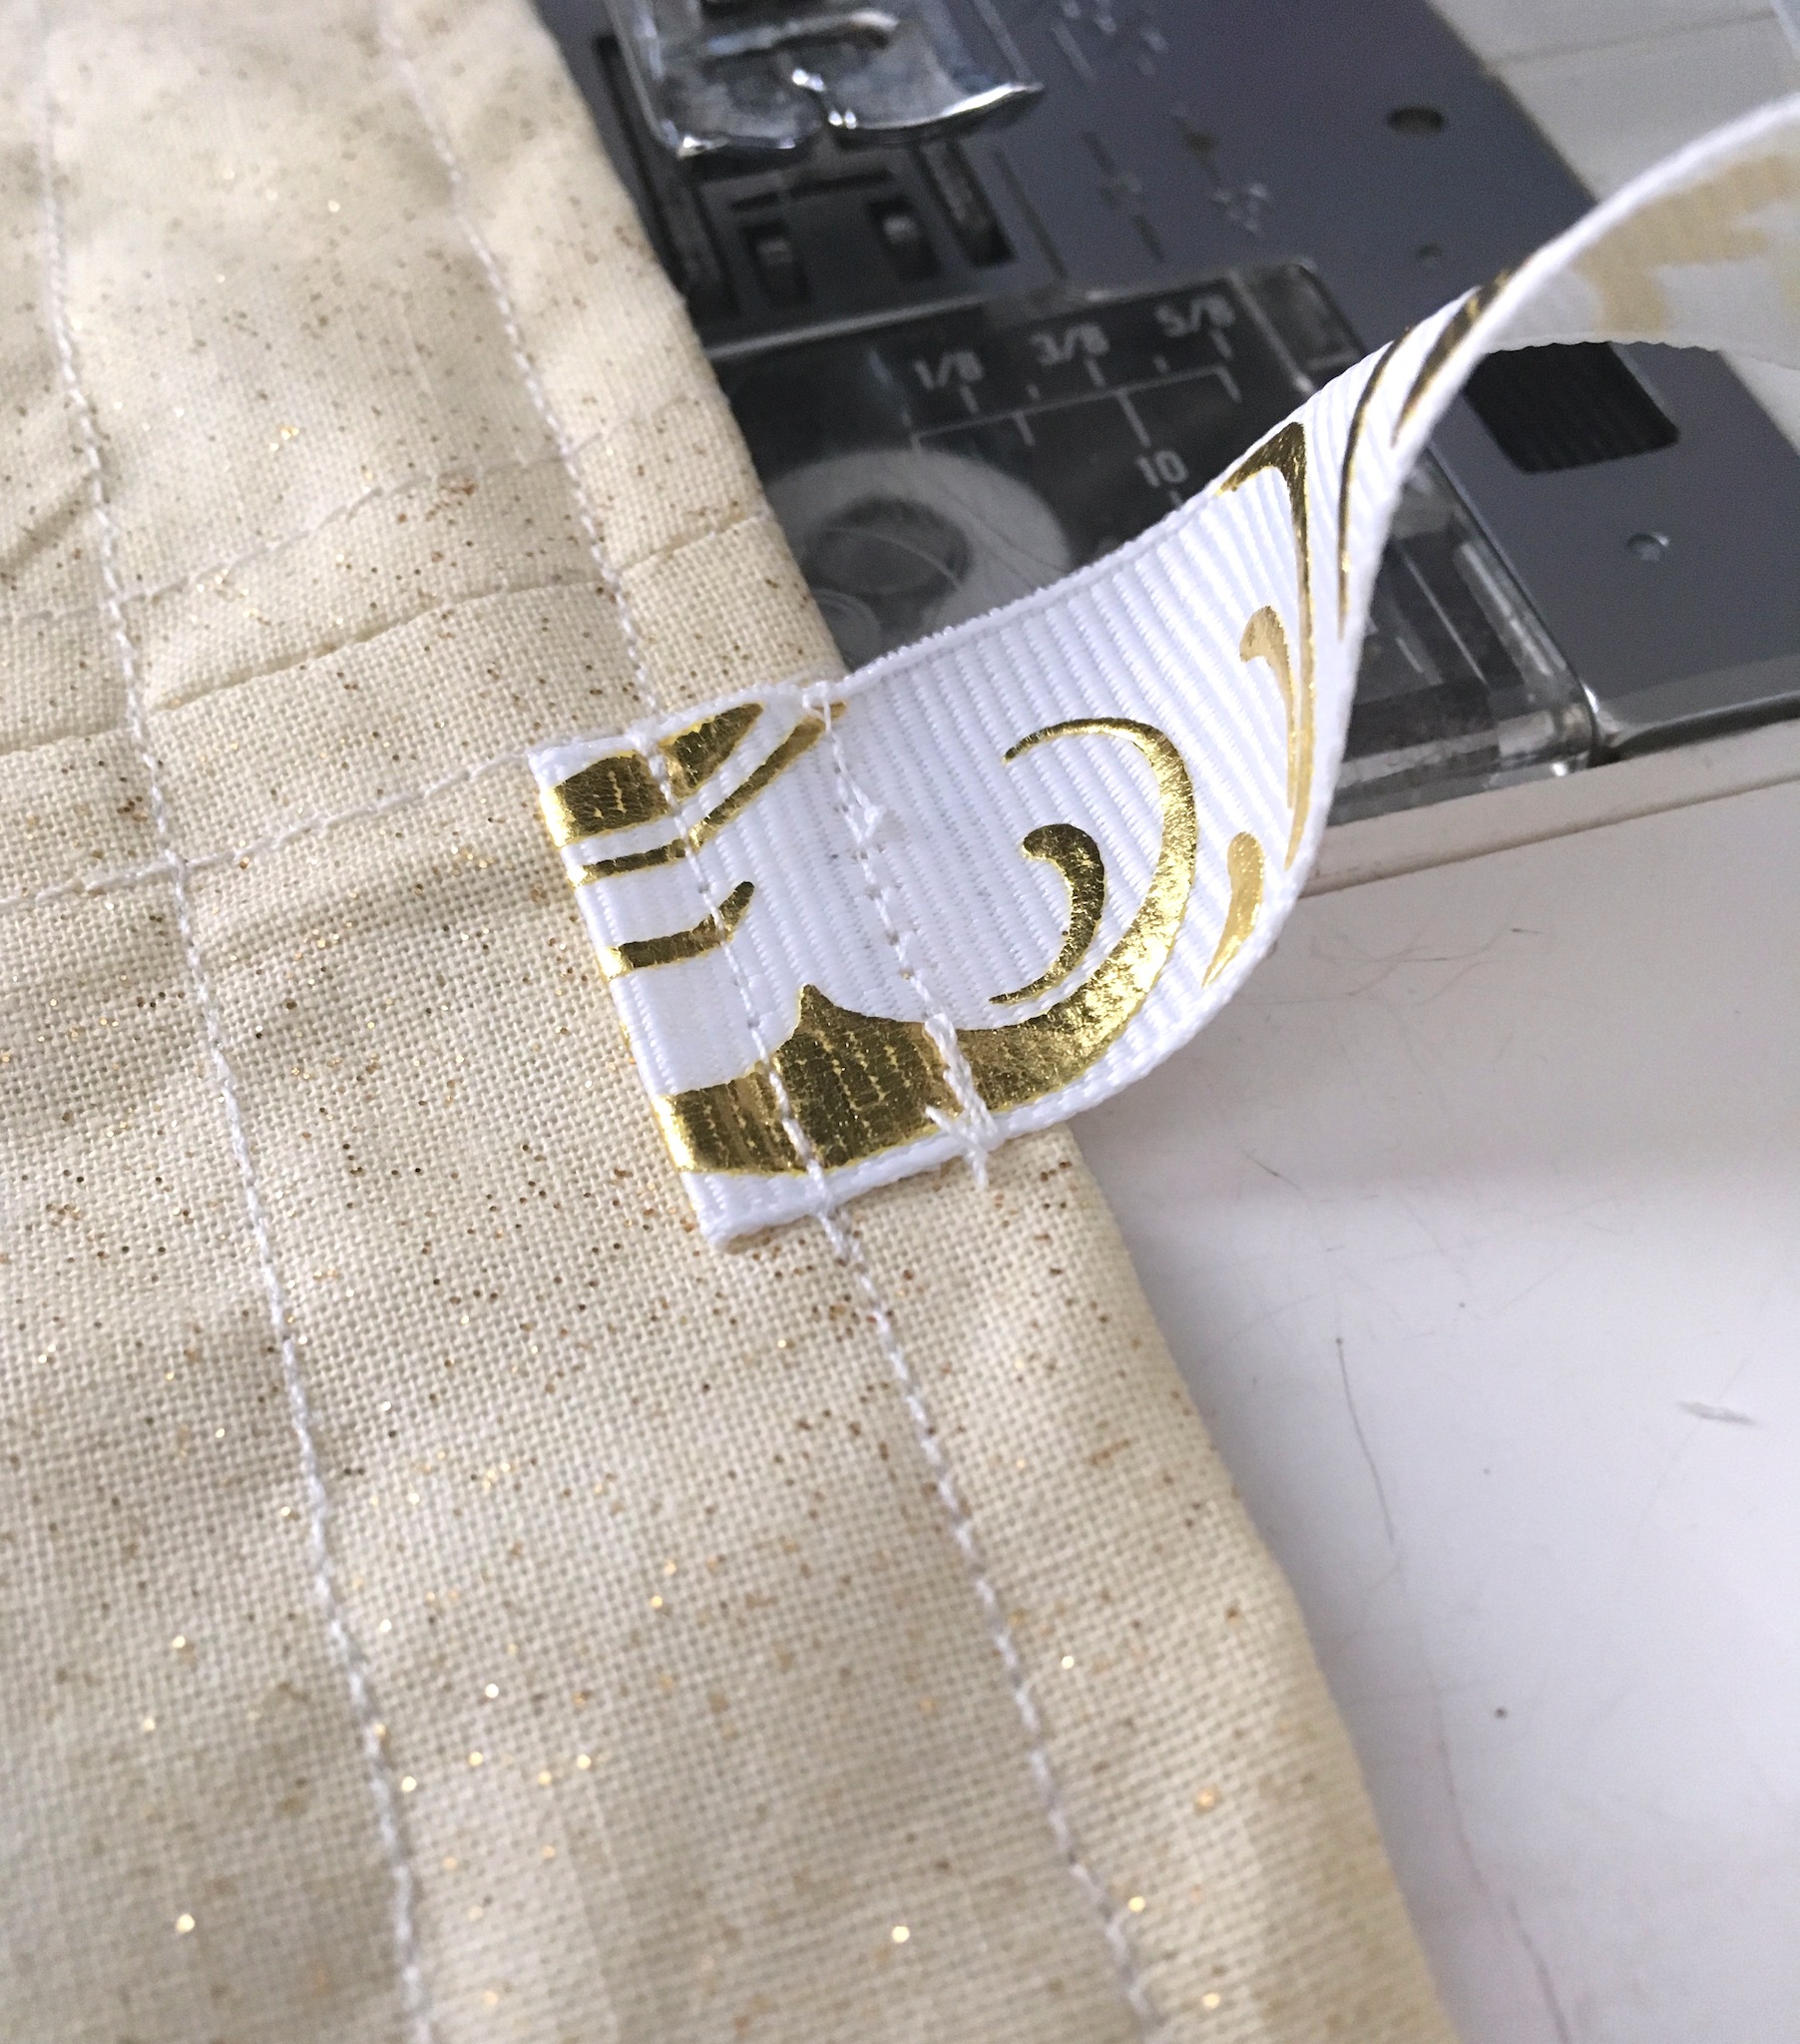
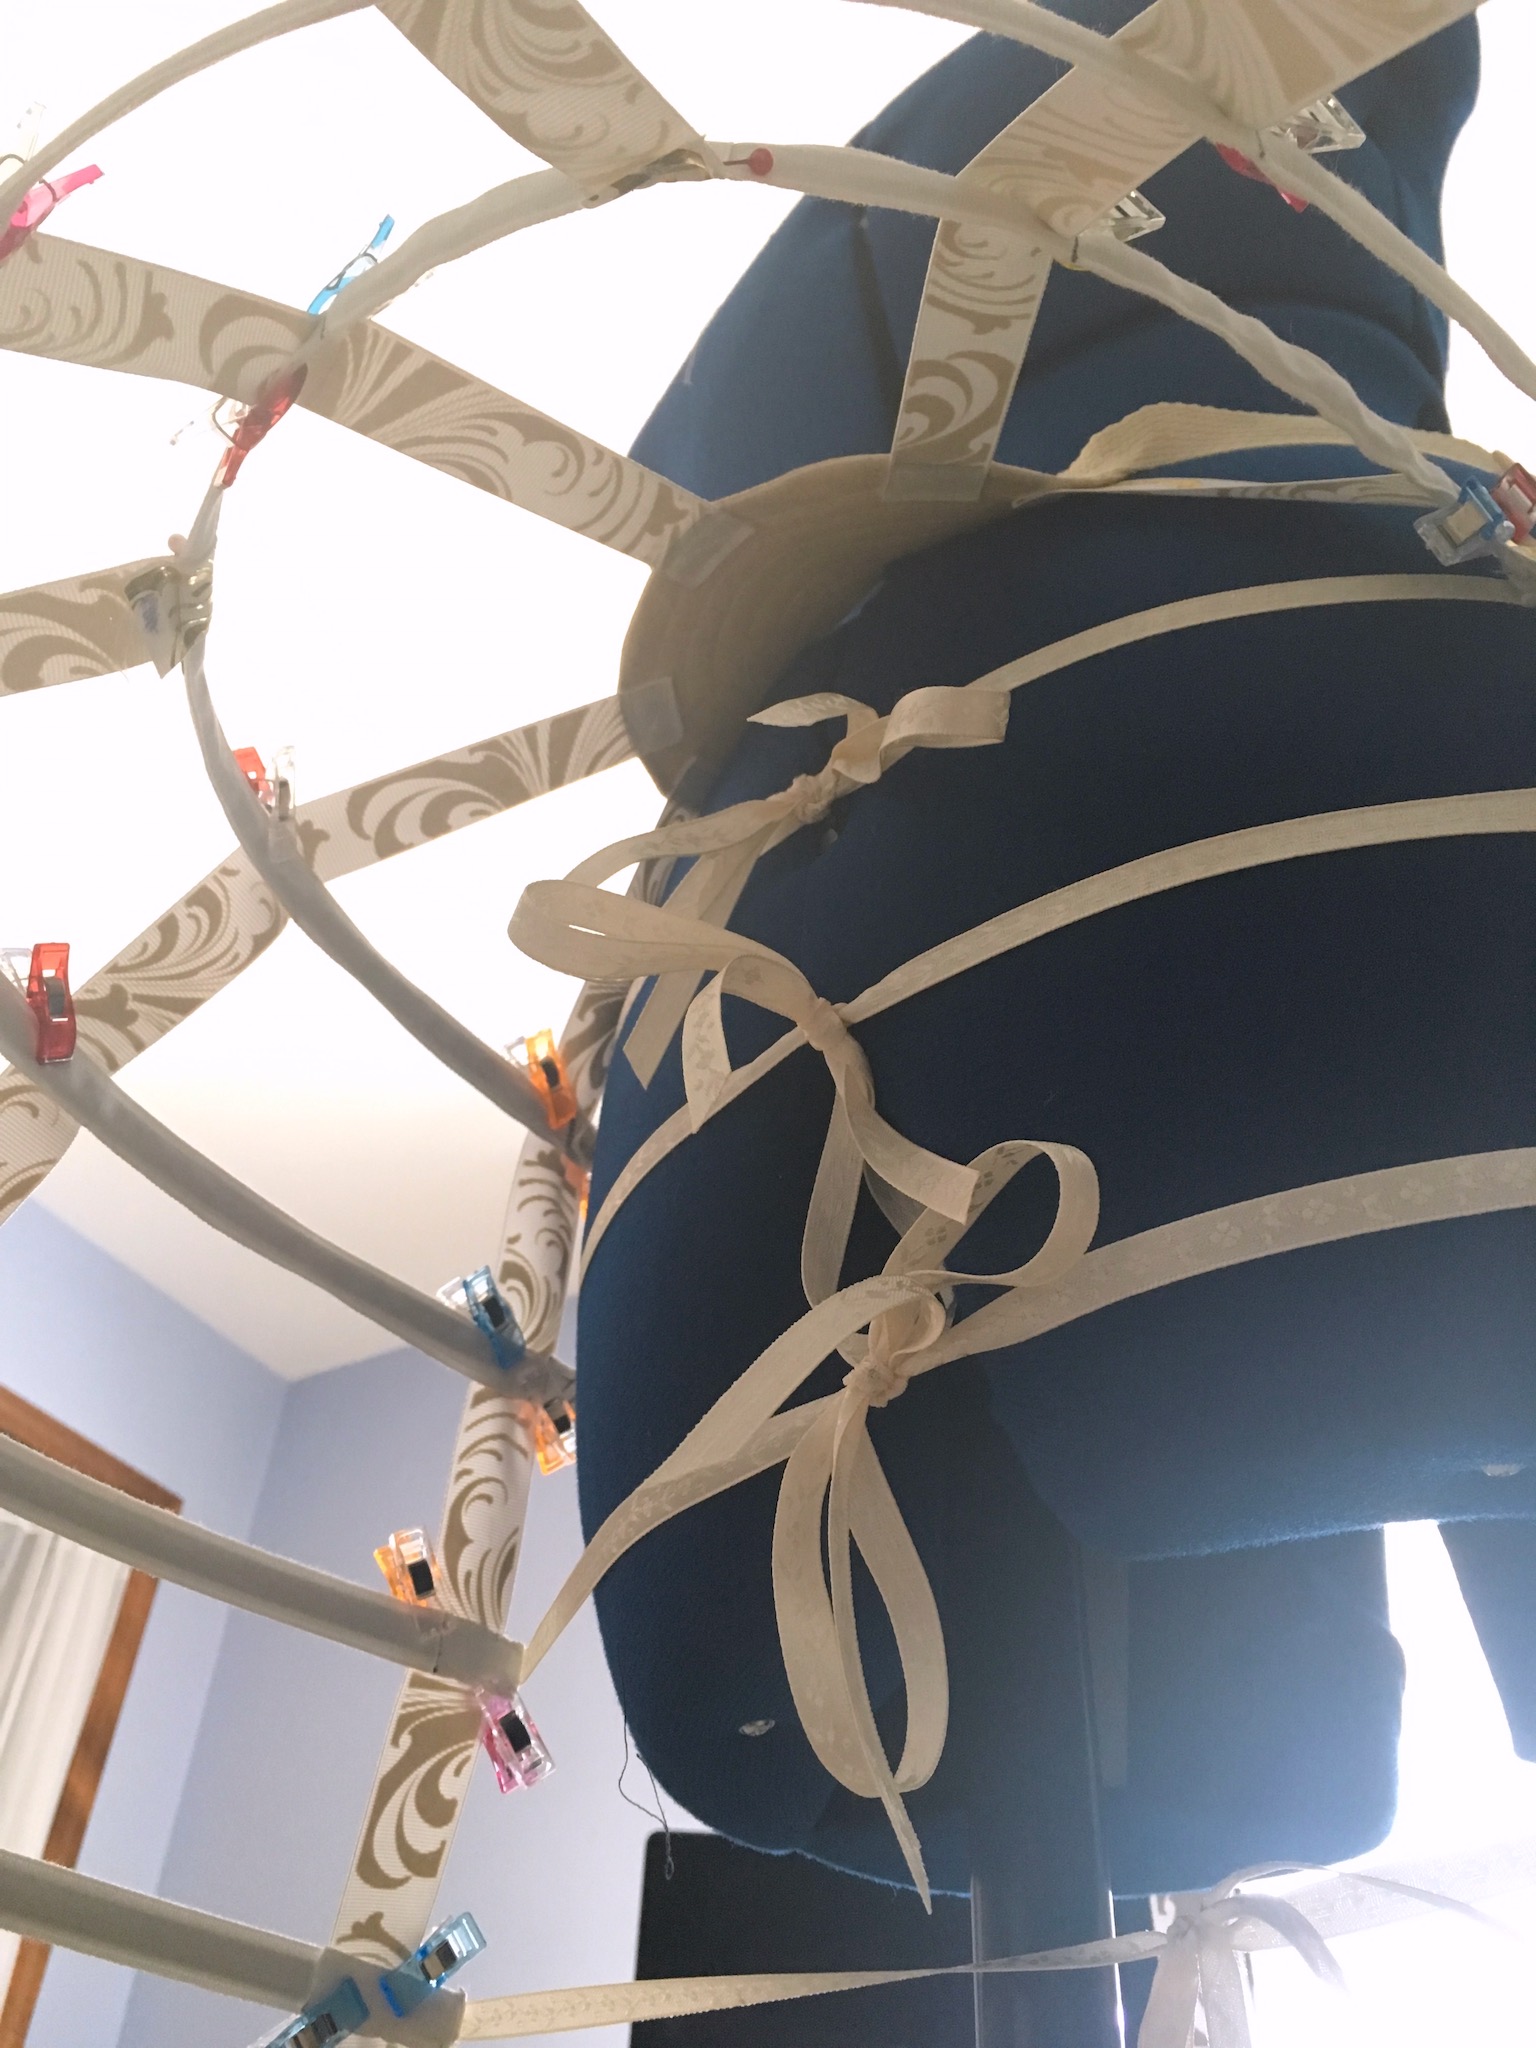
On to the ribbons! Using the pattern pieces provided, I cut out the grosgrain ribbons that form the vertical structures of the cage. I transferred all the hoop alignment markings to them as well as labeling them. (Obviously, you can just use a plain ribbon! I saw this, though, and couldn’t resist choosing something a bit more fun, even if no one could see it.)
I sewed the top ends of the ribbons to the underside of the crescent and sewed the top ends of the front ribbons into loops around the waistband.
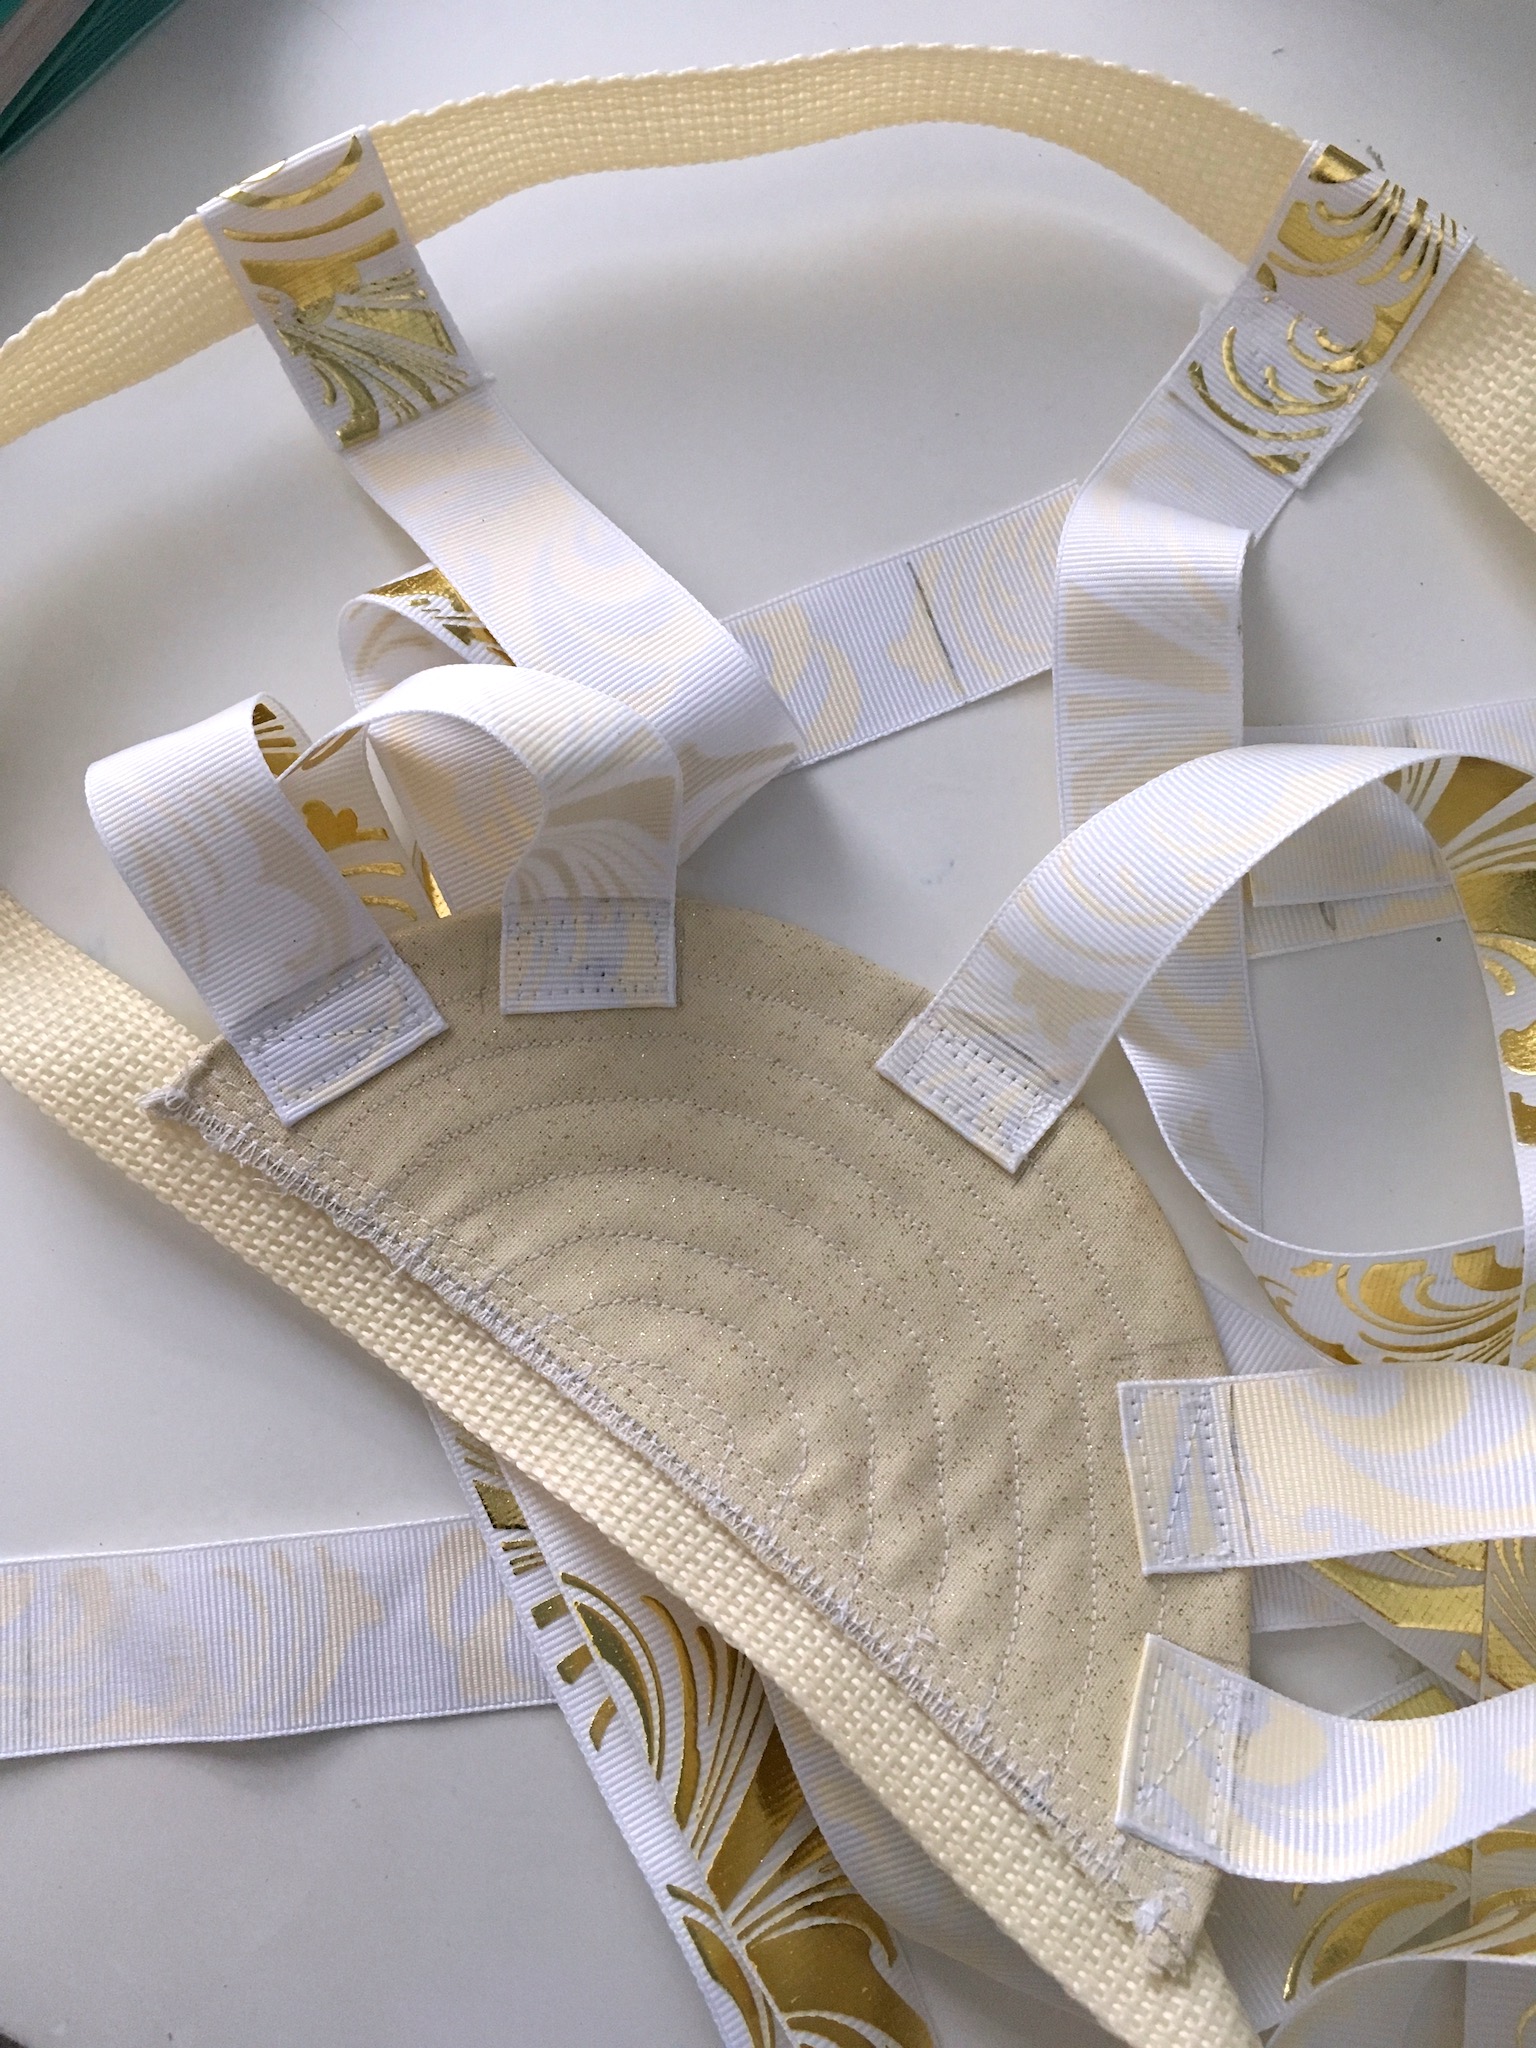
Then, I stitched the bottom ends of the ribbons to the top of the bag at the 13″ interval marks.
Alright, now for the tricky part: the hoops! With a quilter’s measuring tape, a Sharpie, and a pair of wire cutters, I parred down the giant coil of hoop wire into the necessary lengths. I used the lengths provided in the Truly Victorian pattern, although I modified the bottom hoops to be 120″, 125″, and 125″ due to the shortened length of the bag.
I inserted hoops #9, #10, and #11 into the bag, sealing them with industrial duct tape. Once they were in, I stitched up the boning channels and the front bag opening.
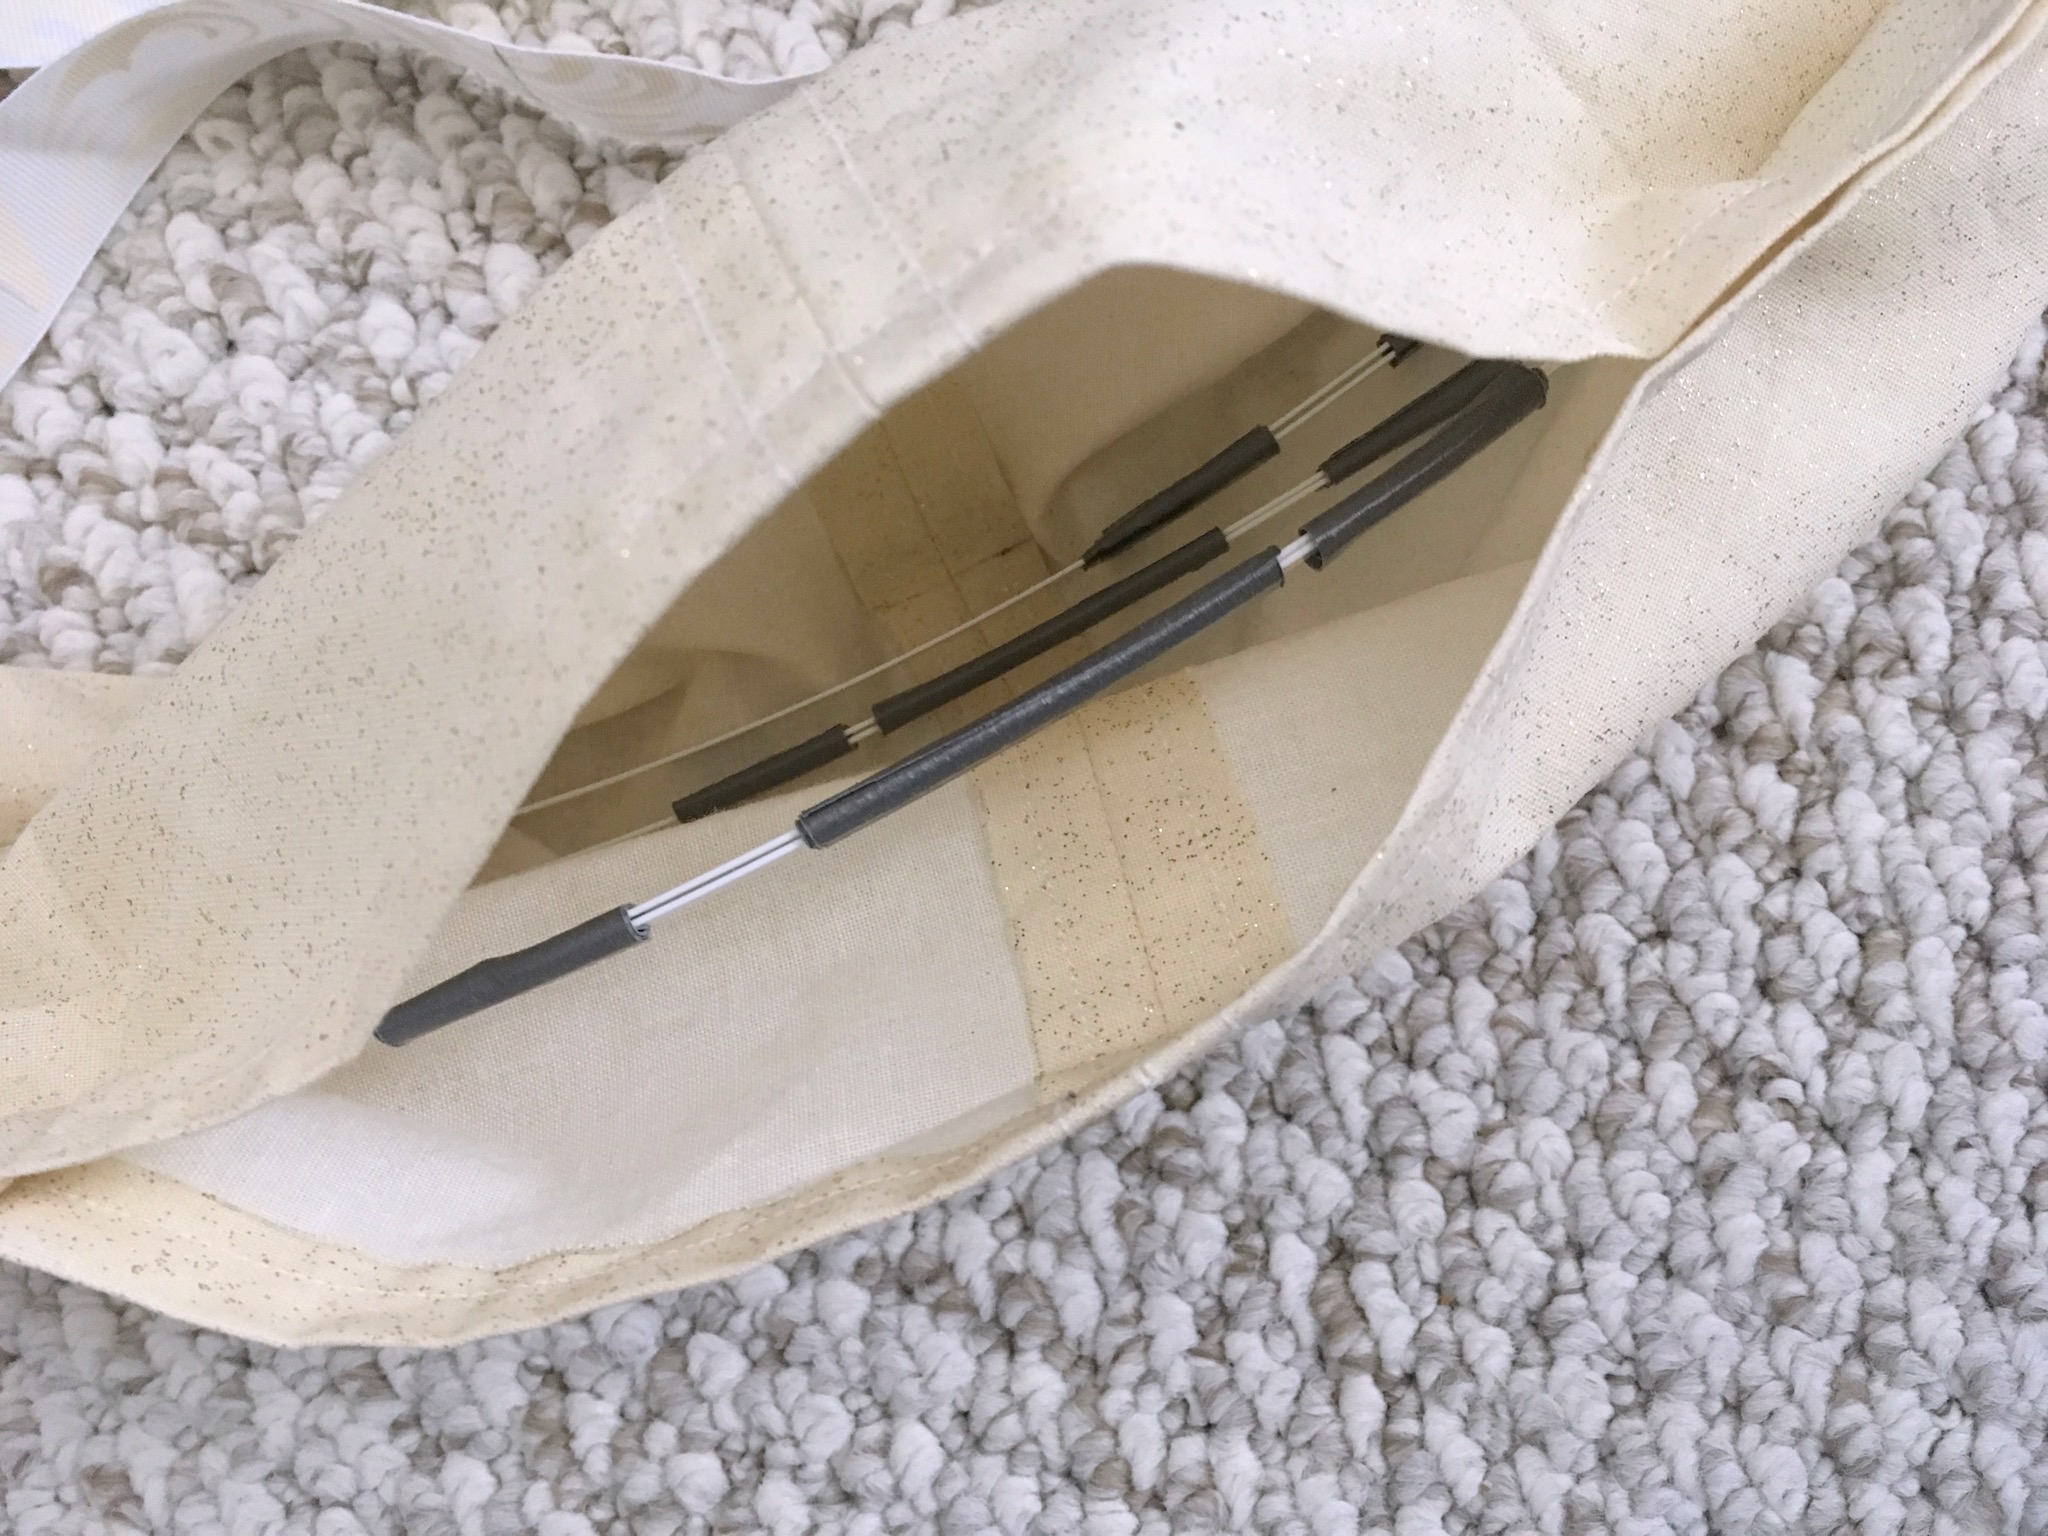
Finally, the bag was done! Moving along, I made bone casings for the hoops, labeled them, and inserted the hoops. For the lower four hoops, I duct-taped the wire ends together, then hand-stitched the casing edges shut.
Now came the most difficult part of making the elliptical cage… leveling. Gravity and balance are fickle things. I set up my crinoline structure on my dress form, then set about attaching the hoops to the vertical ribbons at the markings. (I used a combination of pins and clips to do so; personally, I recommend clips over pins for this task. Much less risk of stabbing yourself.) For this initial attachment, I went by those markings, which in theory should lead to a perfectly-level hoop skirt. Unfortunately, human error requires adjustments.
The hoops must be balanced so they hang parallel to the plane of the floor. This takes quite a bit of time because it involves lots of micro-adjustments, measuring, and trial-and-error. There were several instances where I thought it was leveled, but after stepping away for a few hours, I came back to see I wasn’t even close; it had only looked that way due to the particular angle from which I was working.
Once you believe the cage is level, I advise looking at it from every possible angle to ensure you’re satisfied.
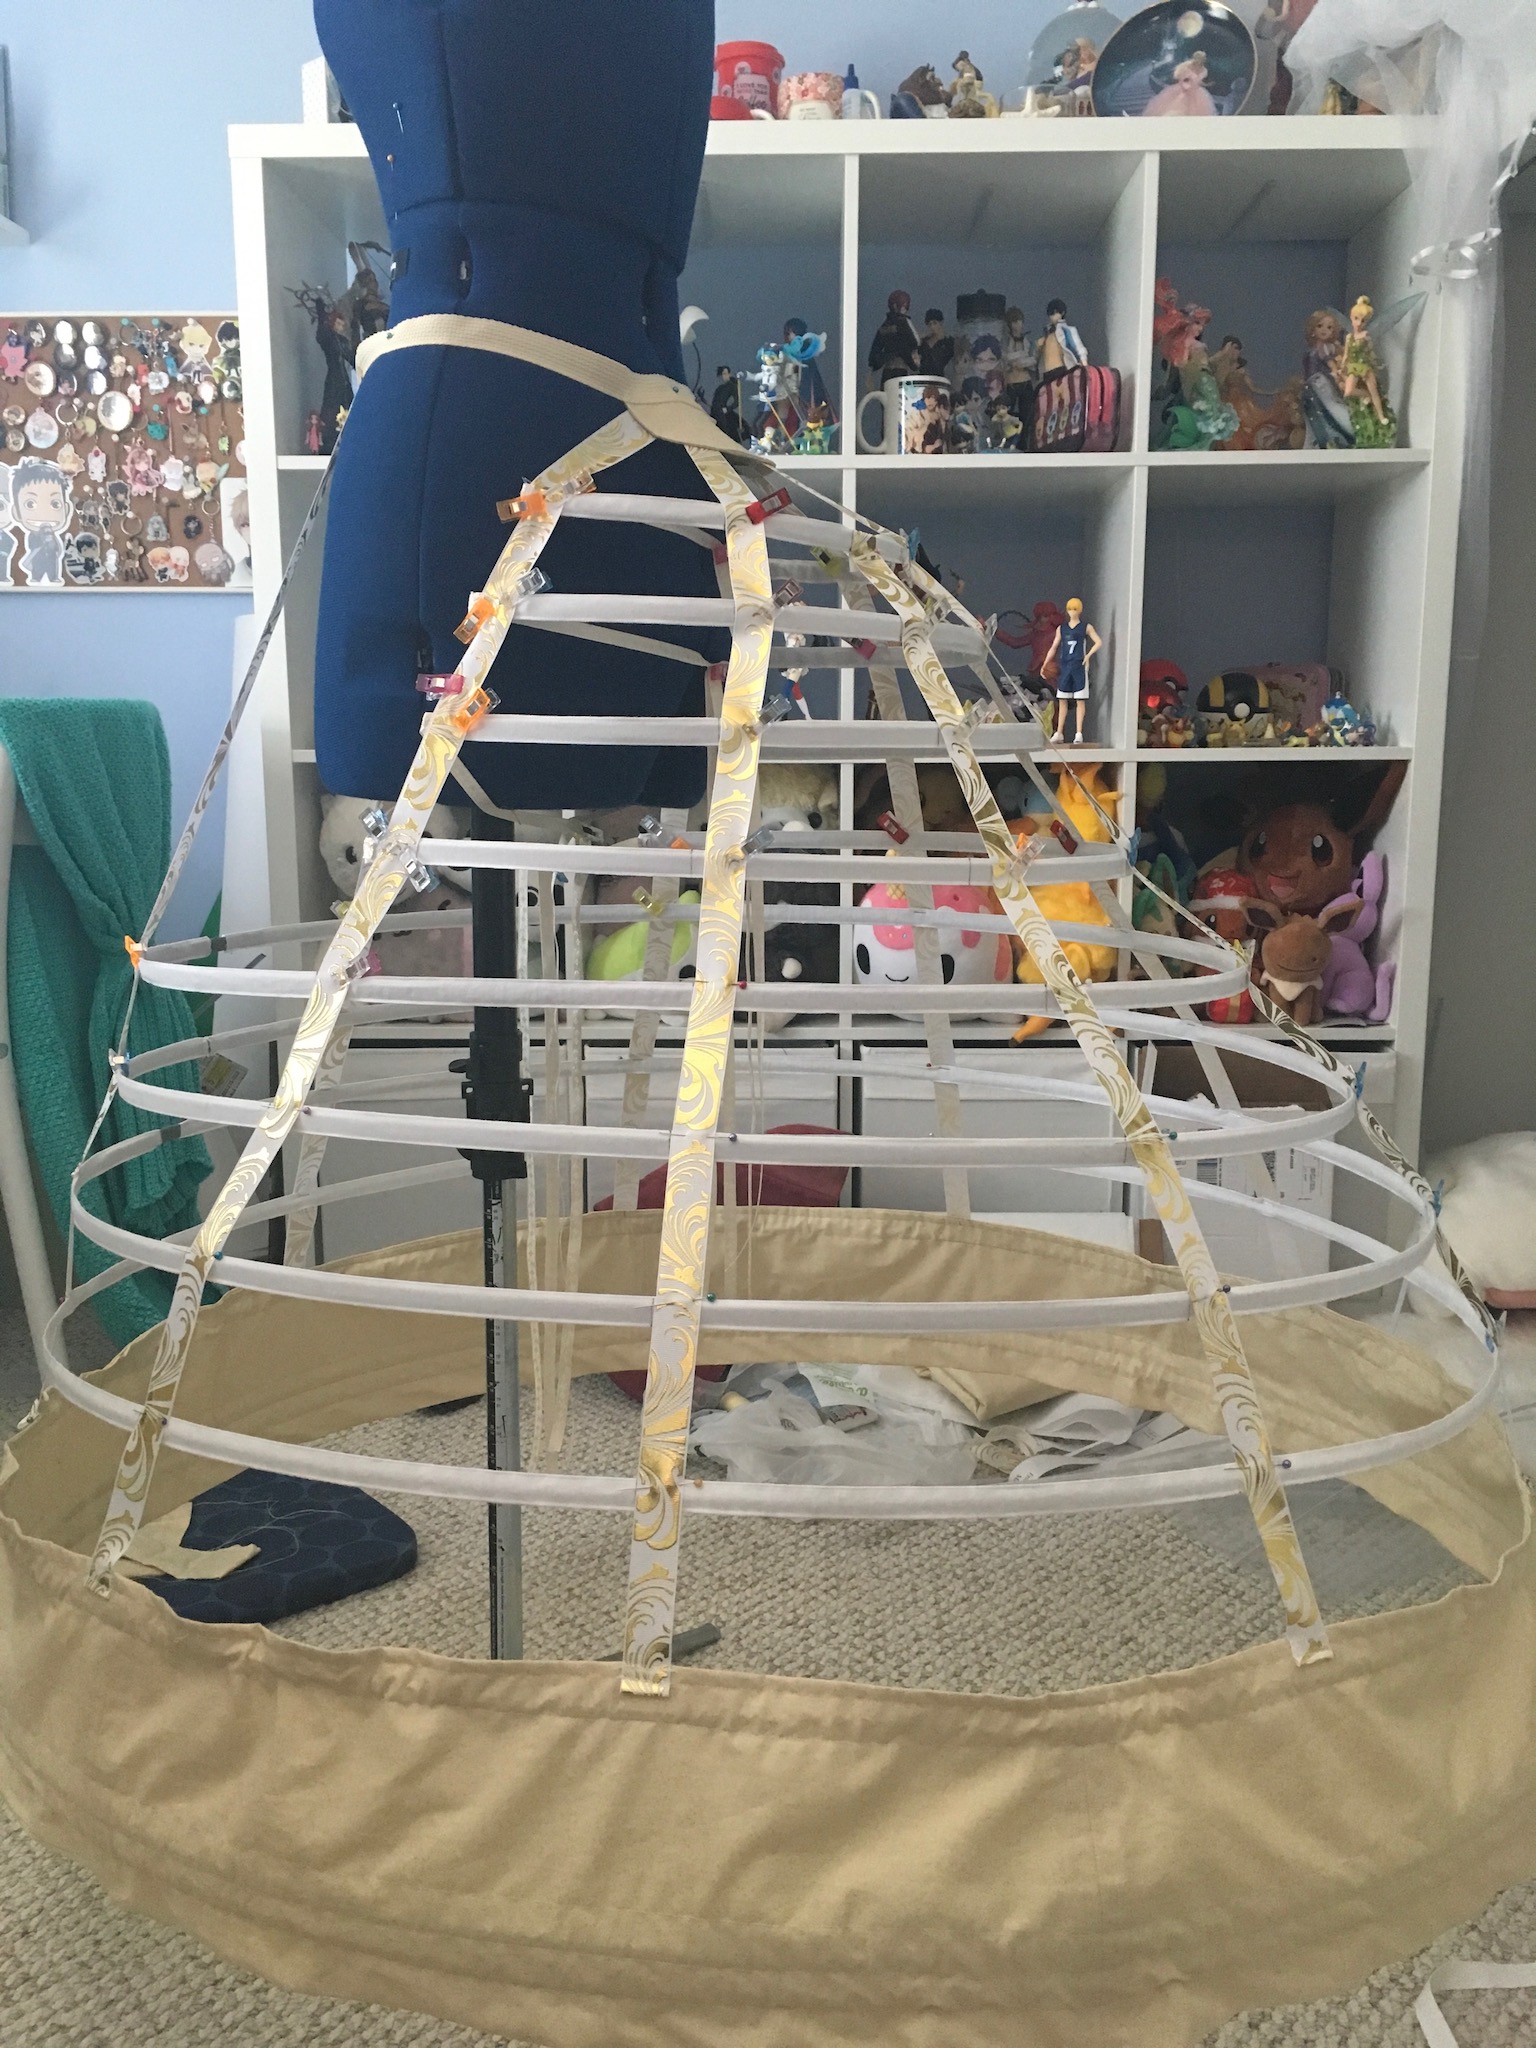
Before permanently attaching the hoops, I added the ribbon ties to the top four hoops to adjust the tension and shape of those rungs. (As you can see in the above photo, the tension and placement of #4 was a little tight, causing the back vertical support to bend inwards. This was fixed after the tension was adjusted once the ribbon was properly tied.)
After I was satisfied with the ribbons and the leveling, I hand-stitched the hoops to the vertical support tape. There was quite a bit of finger-pricking involved; I felt more like Aurora than Anya.
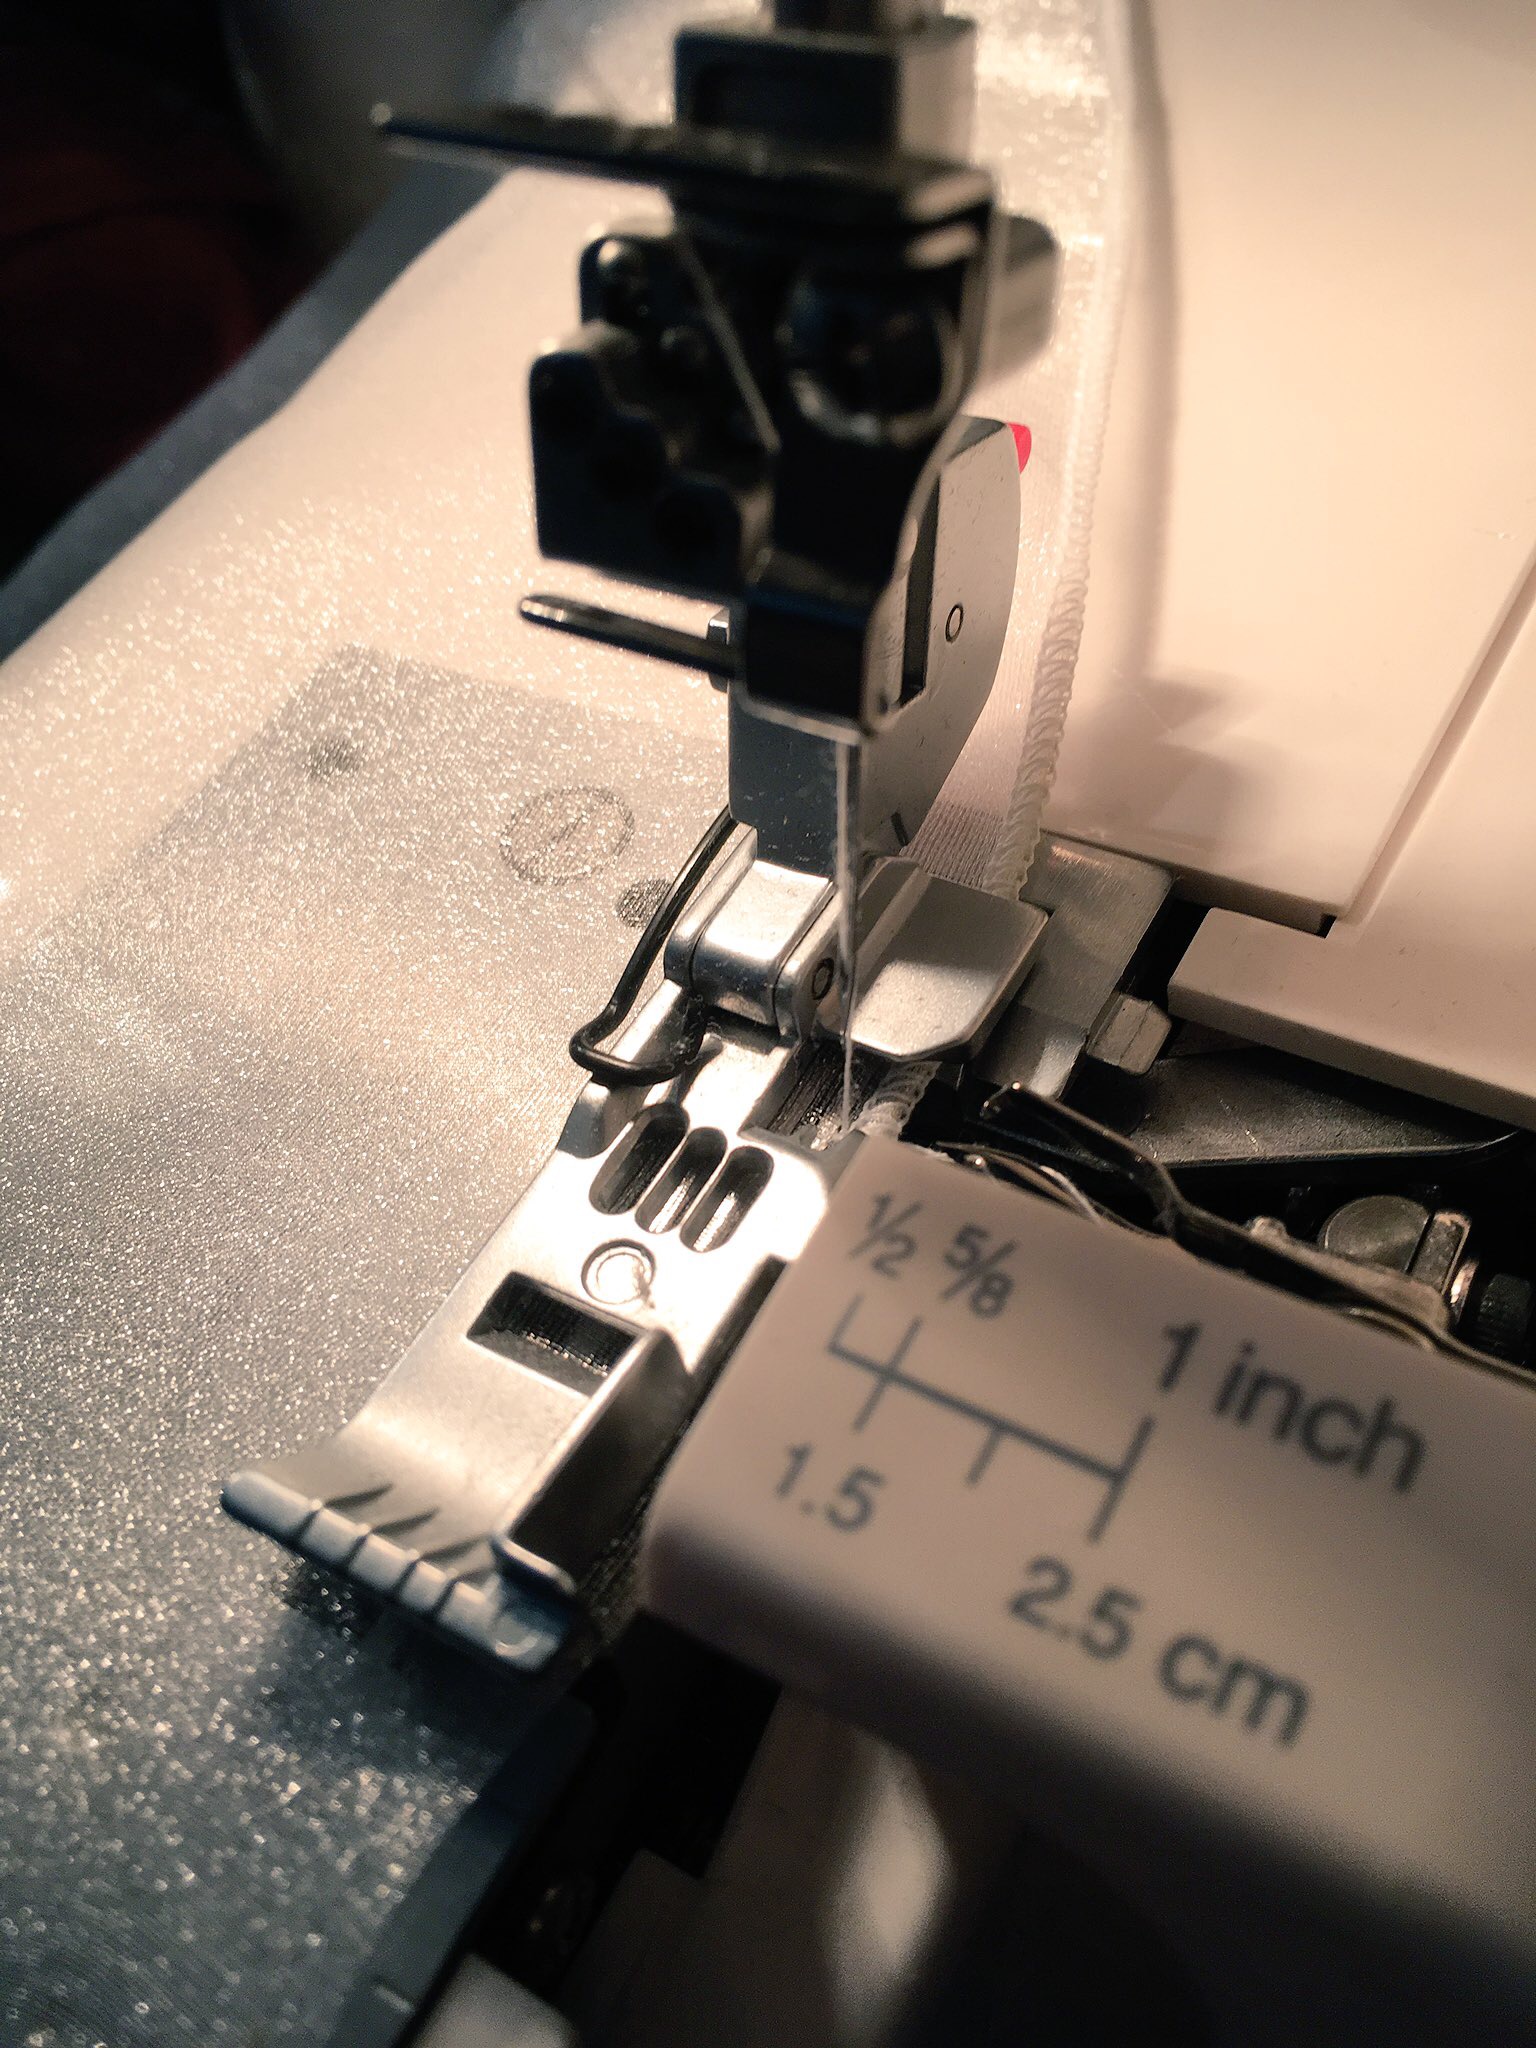
Finally, I whipped up a dust ruffle for the bottom of the crinoline. This step is optional, but I wanted to include it for the sake of cleanliness. I sewed an 8″-wide strip of organza that was 6 yards long. Using my serger, I made a 1/16″ three-thread rolled hem on the top and bottom edges to prevent fraying.
I hand-gathered and attached this ruffle to the bottom of the bag using snaps. This way, the dust ruffle can be removed to be washed separately.
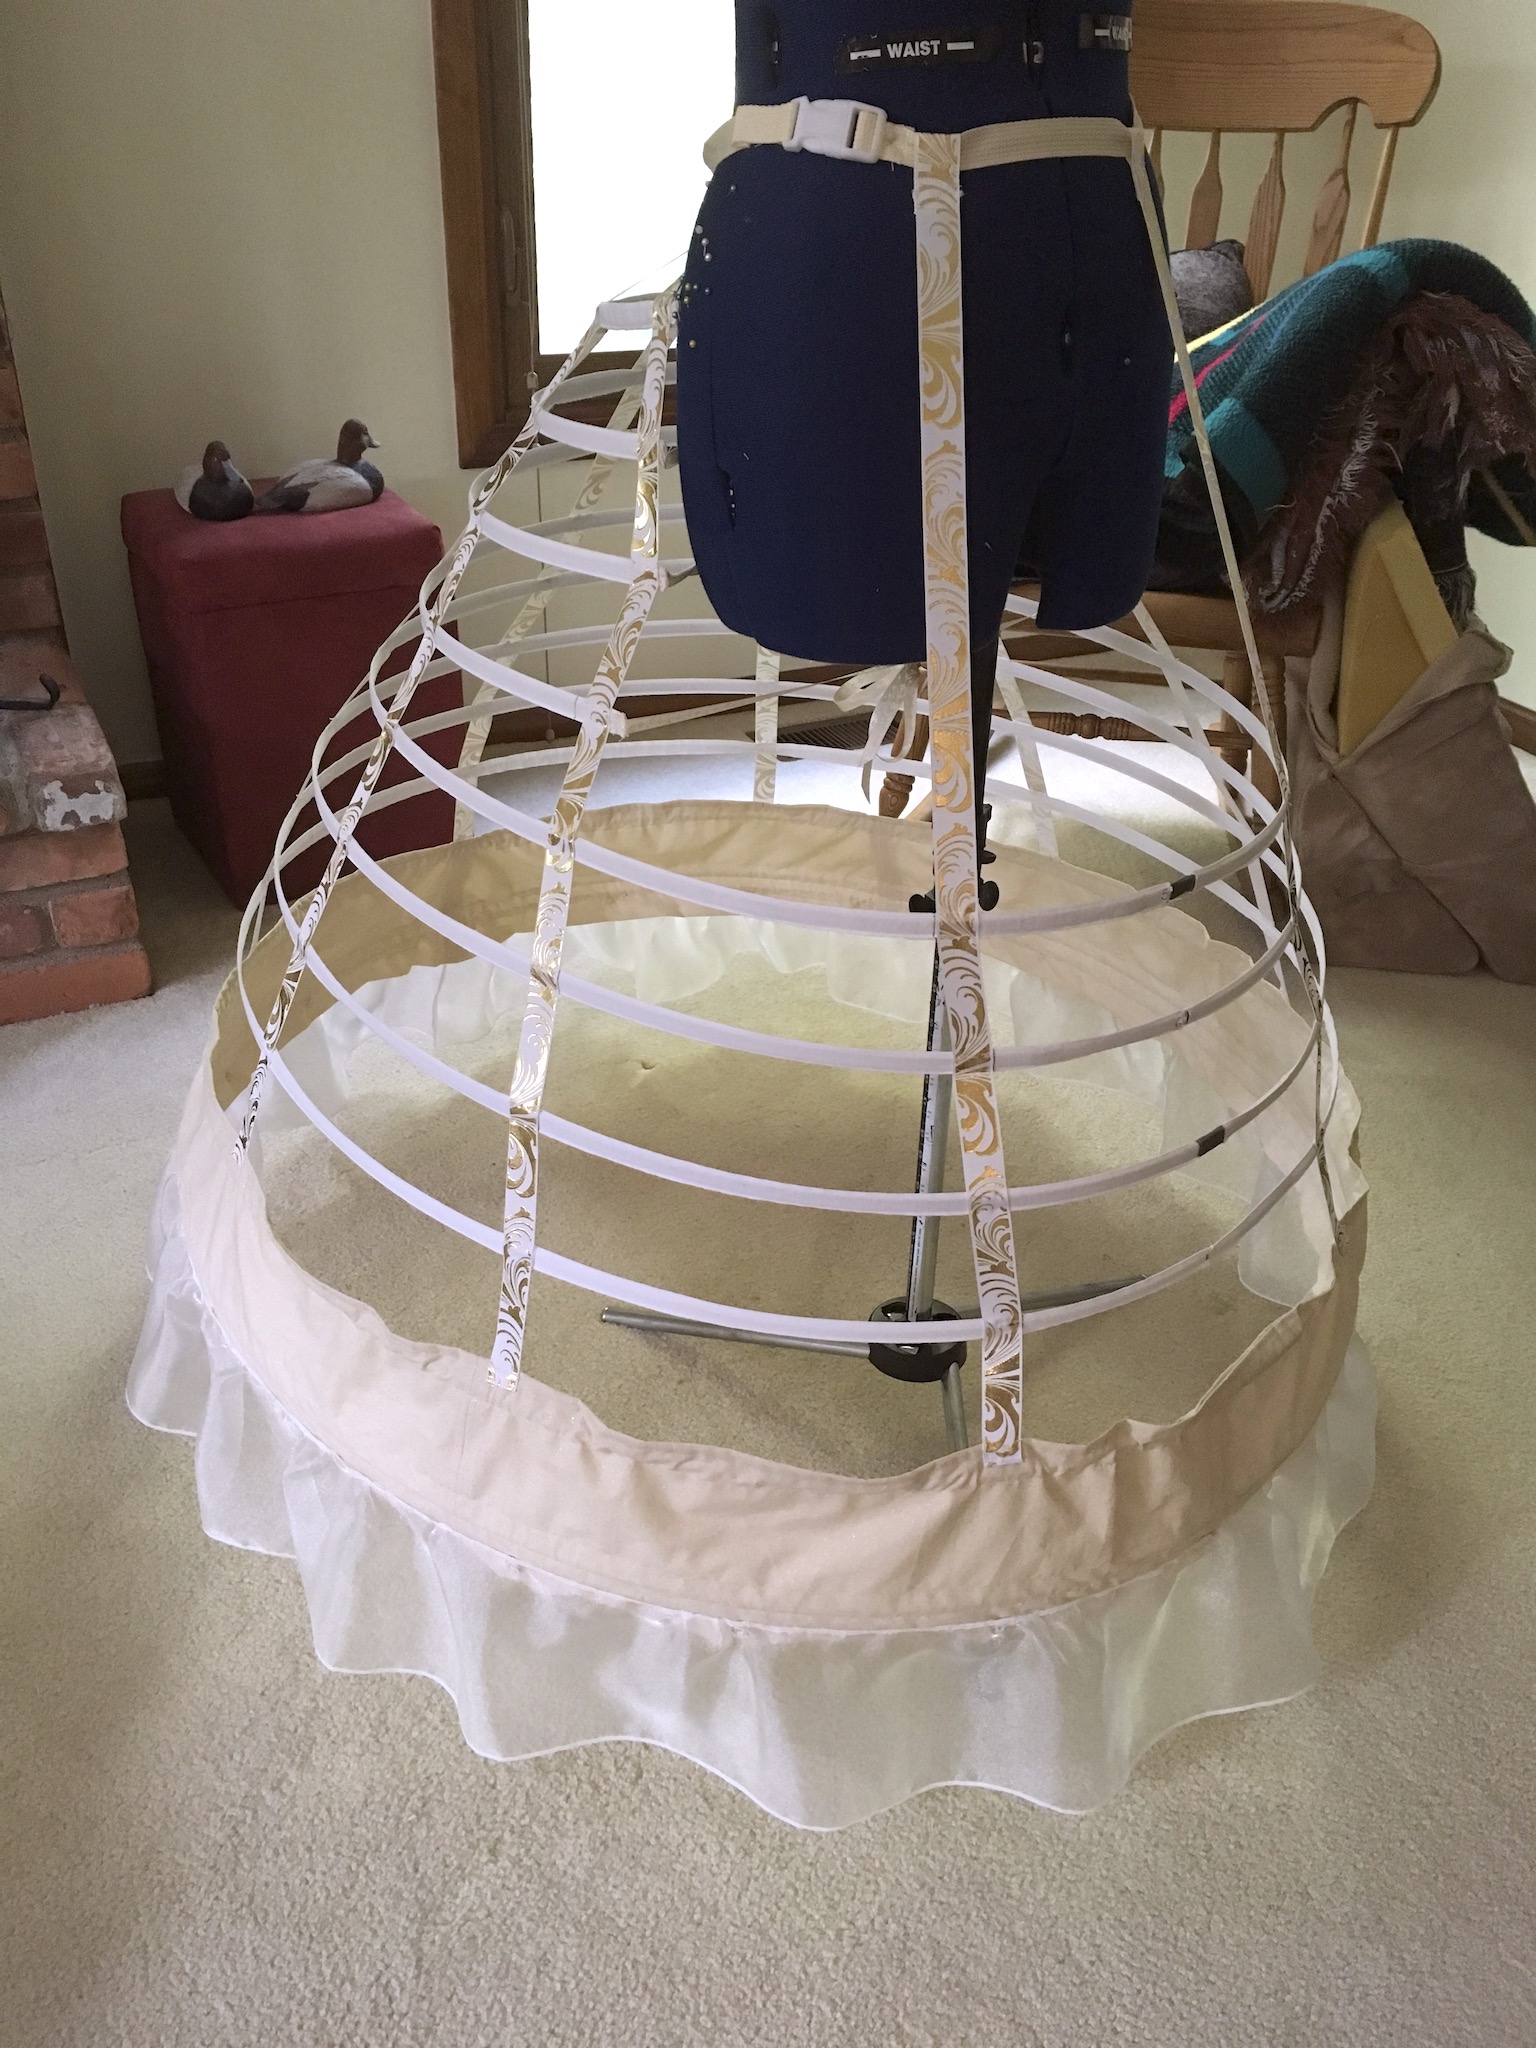
(The upper four hoops were pulled a bit too taught in this photo; they were loosened after trying on the finished crinoline.)
And that’s it! According to my work log, the elliptical cage took around 39.5 hours to finish… Surprisingly, it was perhaps the least time-consuming part of this project.
If this walkthrough helps you make your own elliptical cage crinoline, please feel free to share it with me! I’d love to see your results! 😀

 Anastasia’s Kokoshnik Tutorial
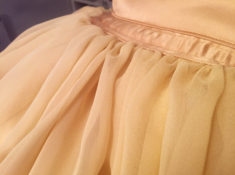 Making the Skirts for Anastasia’s Ballgown
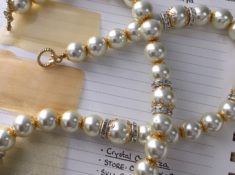 Making Anastasia’s Necklace
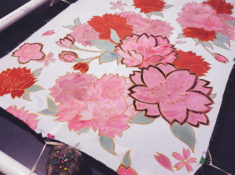 Silk Painting Sakura’s Robe